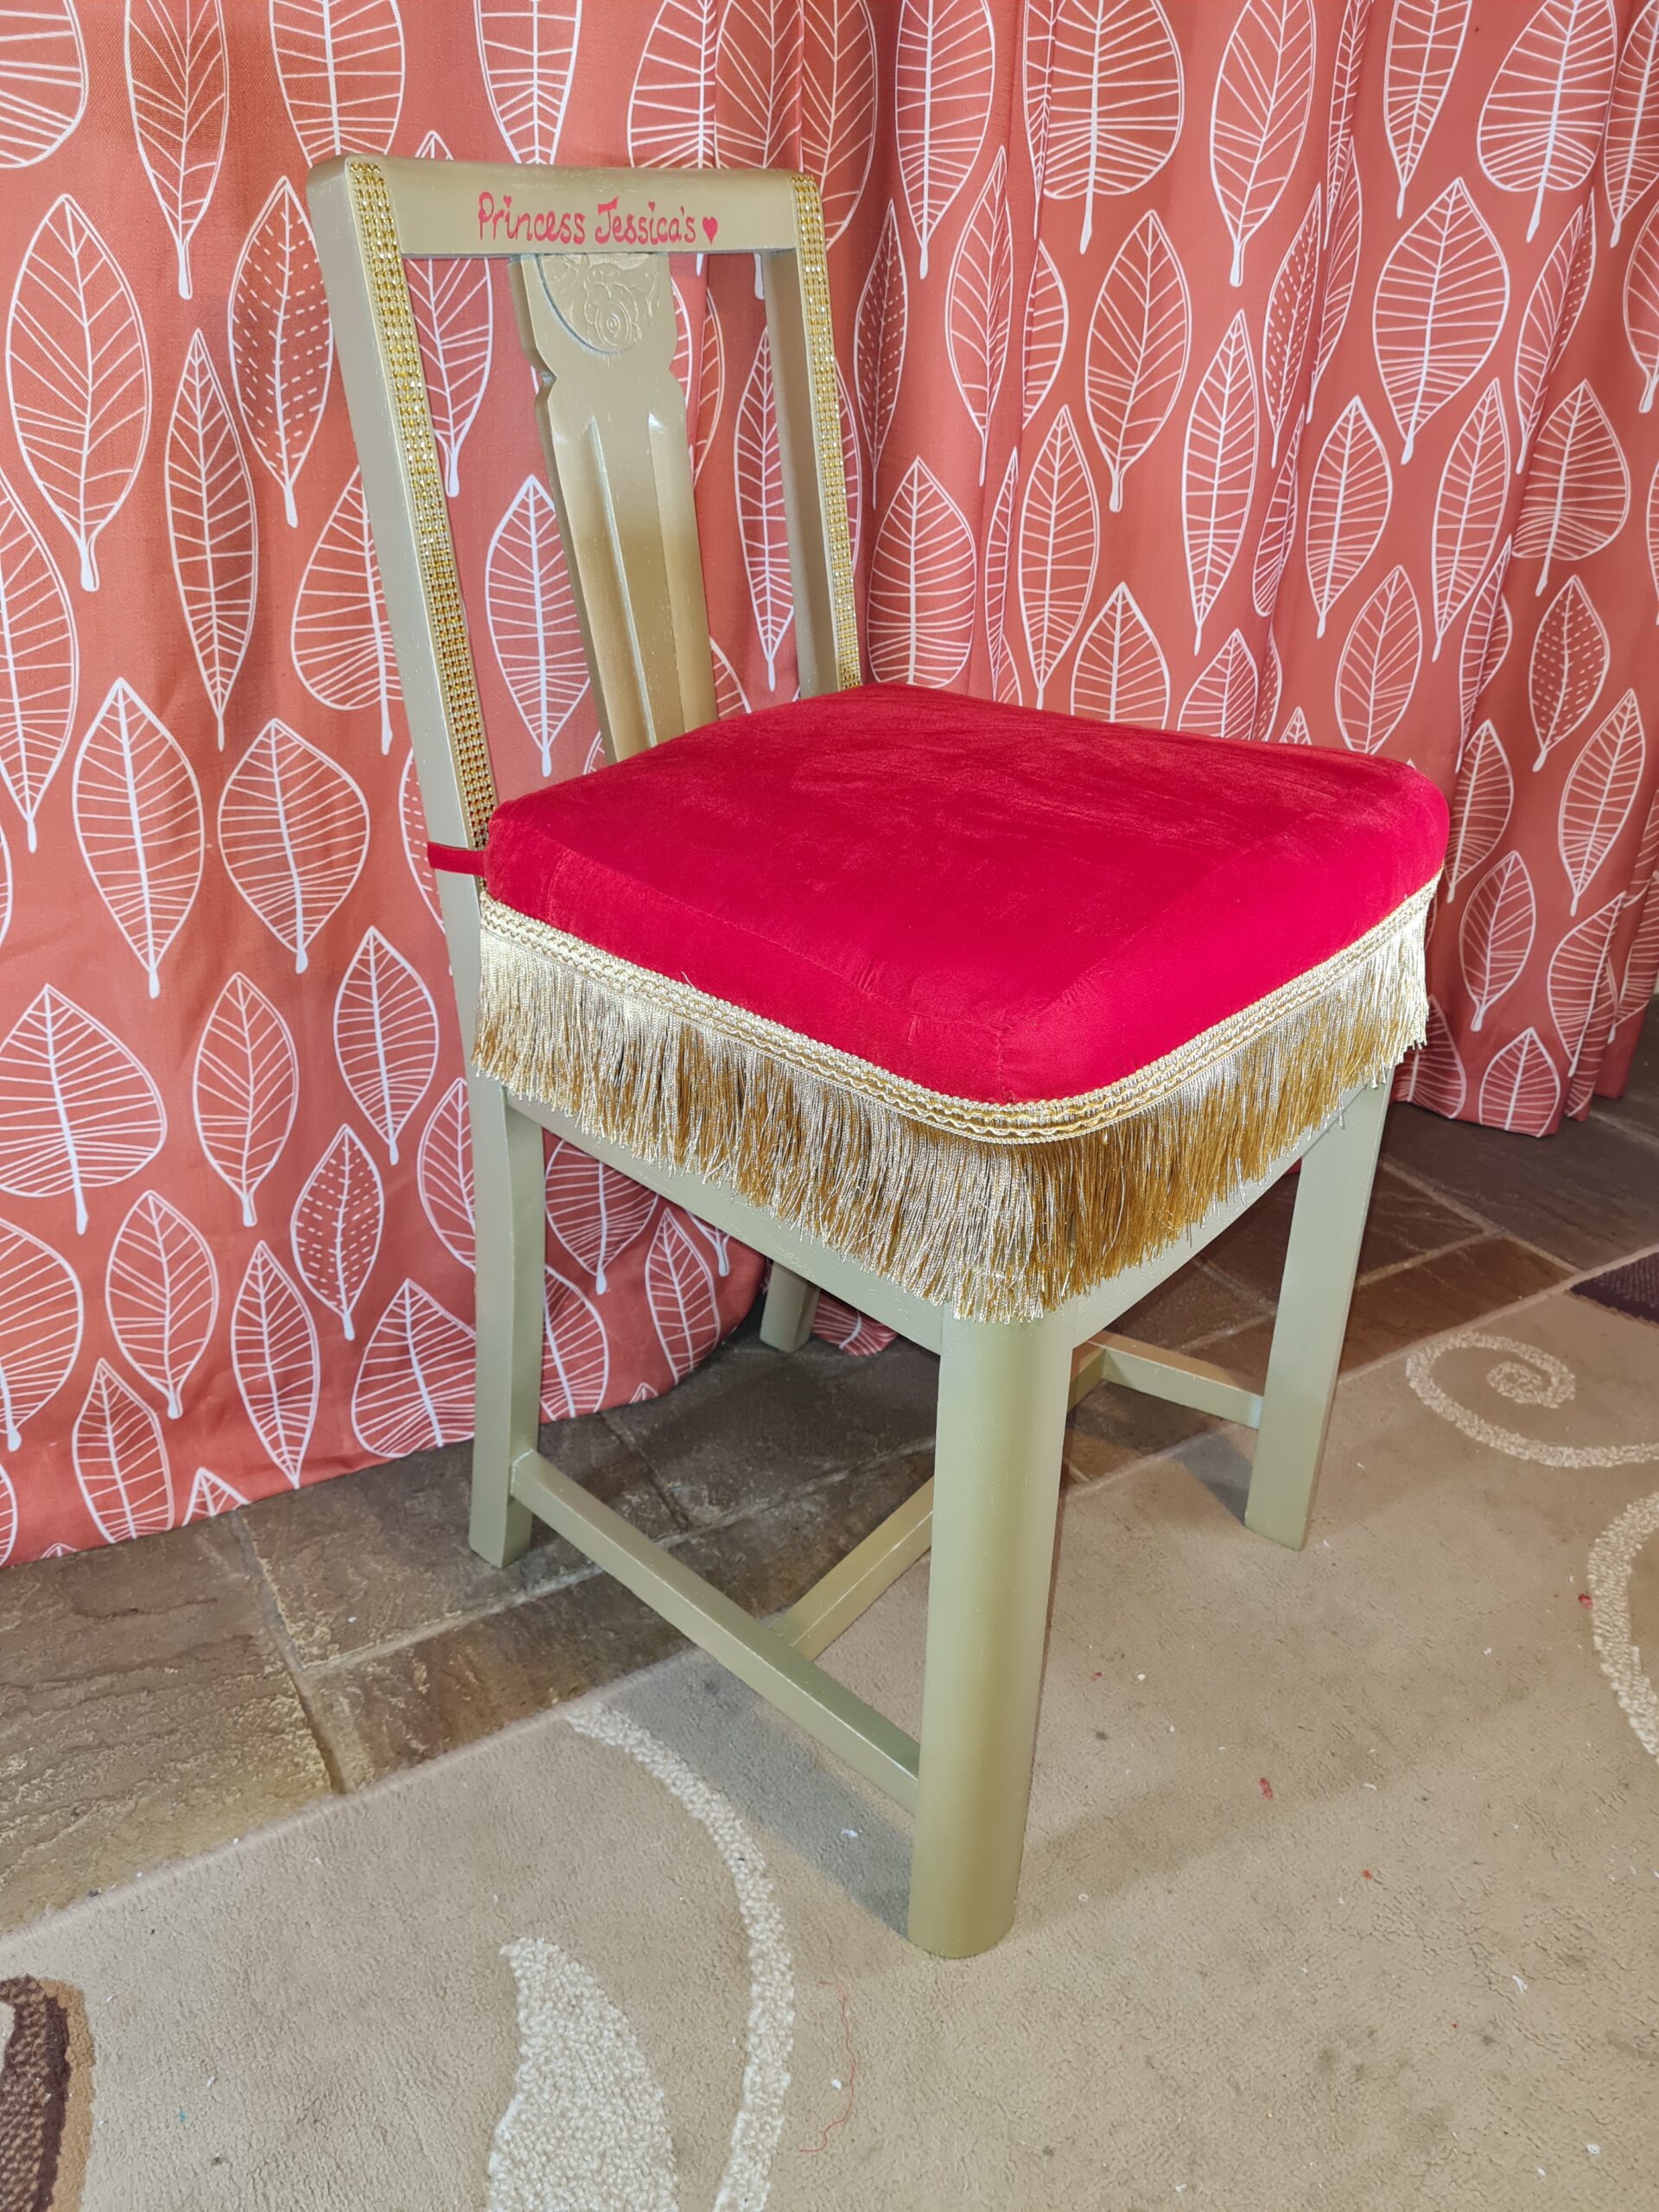
This is a project that really put a smile on my little girls face, which made me a very happy Mummy! For her 6th birthday, I wanted to do something that would make her feel special every day, not just on the day. Little ones birthday’s are all excitement, wrapping ripping, bouncing off the walls, where by the end you just want to collapse and have a strong drink! But to do something lasting, personal, unique, was a privilege to be able to do.
Can you do this?
To take a dining chair apart, clean it, and put it back together takes patience, planning, tools and some skill. But you don’t have to do that part if you have a perfectly good dining chair. So, I’ve put a few steps in for the chair restoration (steps 1 – 7), but concentrated mostly on the painting of the chair and the creation of the booster cushion. If you have a perfectly good dining chair to start with, start at Step 8.
Why do it?
This is something special that will get used often and make your child smile, and takes a medium amount of skill.
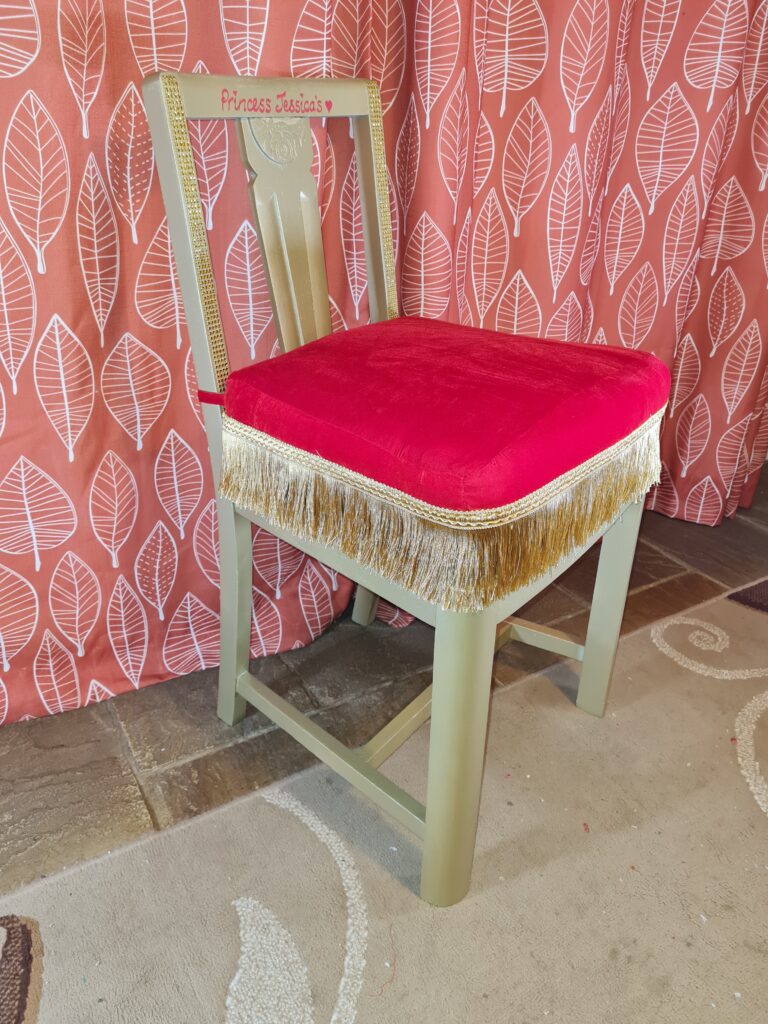
Equipment needed:
- The dining chair
For taking apart and putting together:
- Hammer
- Screwdriver
- Paint and varnish remover
- Paint brush
- Scraper
- Chisel
- Face mask and gloves
- Drill
- Extra dowels if required
- Wood glue
- Soapy water and scourer
- Sandpaper
- Damp cloth
- Clamps
For the painting of the chair and the booster cushion:
- Wood primer (I use a spray, but a pot and brush work well too (cheaper, but more time consuming and more difficult to get a smooth finish)
- Top coat
- Sandpaper
- Gold coloured bead strip
- Superglue
- Red graffiti pen
- 2” foam in seat pad
- Bread knife (or equivalent for cutting the foam)
- Cotton wadding
- Top fabric, (minimum for light upholstery)
- Edging trim
Step by step guide for the dining chair recovery
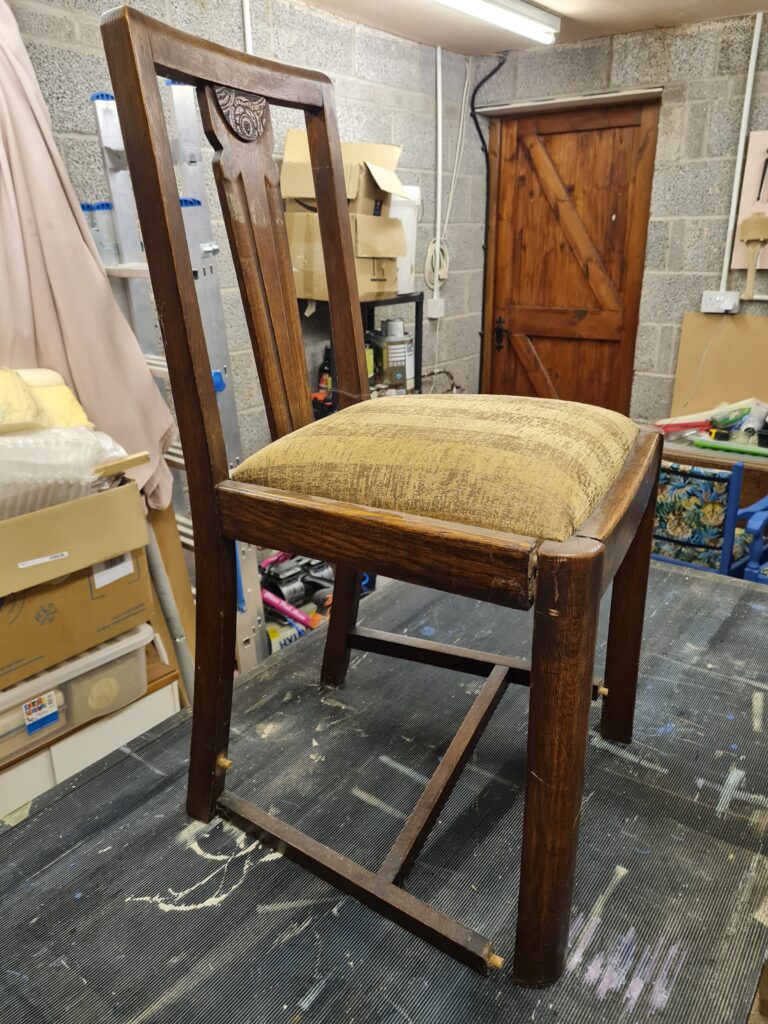
Step 1: Unscrew the seat edgings and pry apart all the parts of the chair that are loose. This can be a tricky balance between brute force and careful manoeuvring of parts!
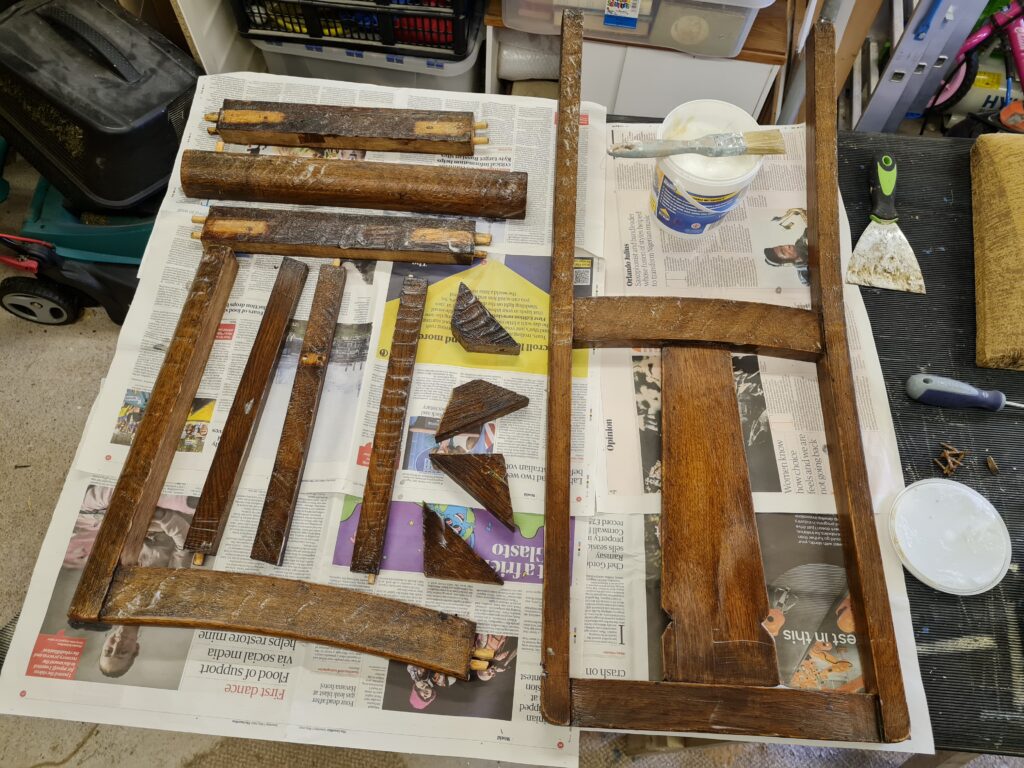
Step 2: Using the instructions on the paint and varnish remover, remove as much as possible. Then clean down with soapy water and a scourer to take as much muck off as possible. When you come to sand, you will realise why a good scrub is so important!
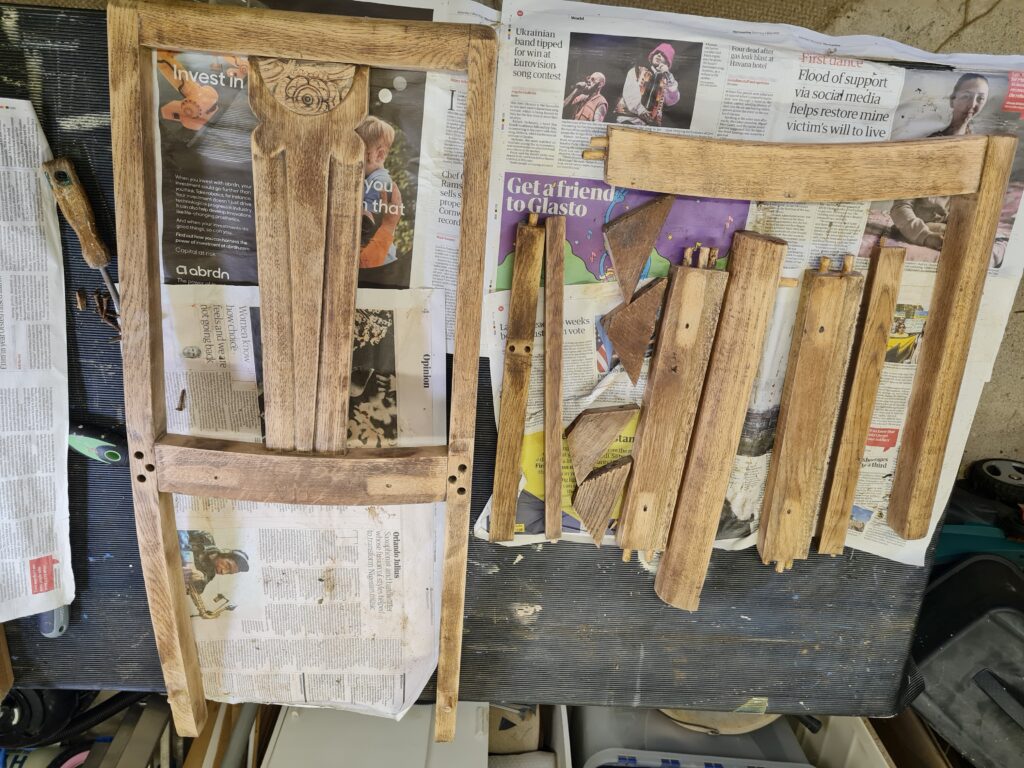
Step 3: Remove the excess glue from the joins. The dowels and ends will be covered in dry glue which all needs to be removed. I would recommend a chisel, but ensure it’s sharp and be very careful.
Step 4: Sand down all over and wipe clean.
Step 5: reassemble the chair without any glue, a trial run. This is to check that the holes are cleaned out well, that the dowels fit and you have all the equipment around you. Once you start to put the glue on, you’ll only have a certain amount of time to do this, so a trial run is really very valuable!
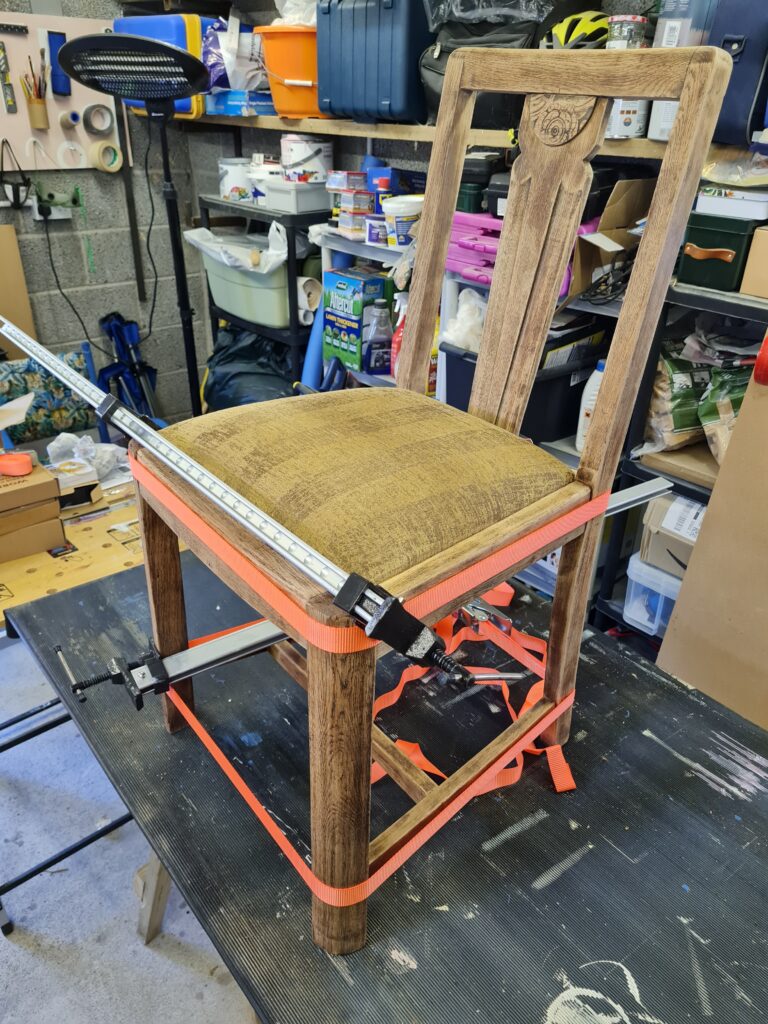
Step 6: Once your trial run is successful and you have everything, glue it all back up and clamp it in place. Ensure there is plenty of glue around the joints and inside the dowel holes etc. Any excess will squeeze out and you can wipe it off with a damp cloth. I also put the seat back in before it’s dry as this helps keep it all square, and ensures that once it’s dry it will fit!
Step 7: Leave to dry for a day and then remove the clamps.
Now to the decorating!
Step 8: Sand down fully (if you have done steps 1-7, this will be lighter work than if you are starting at this point)
Step 9: Primer following the manufacturers instructions. Ensure you are in a well ventilated area (especially if you are using stray) and a face mask.
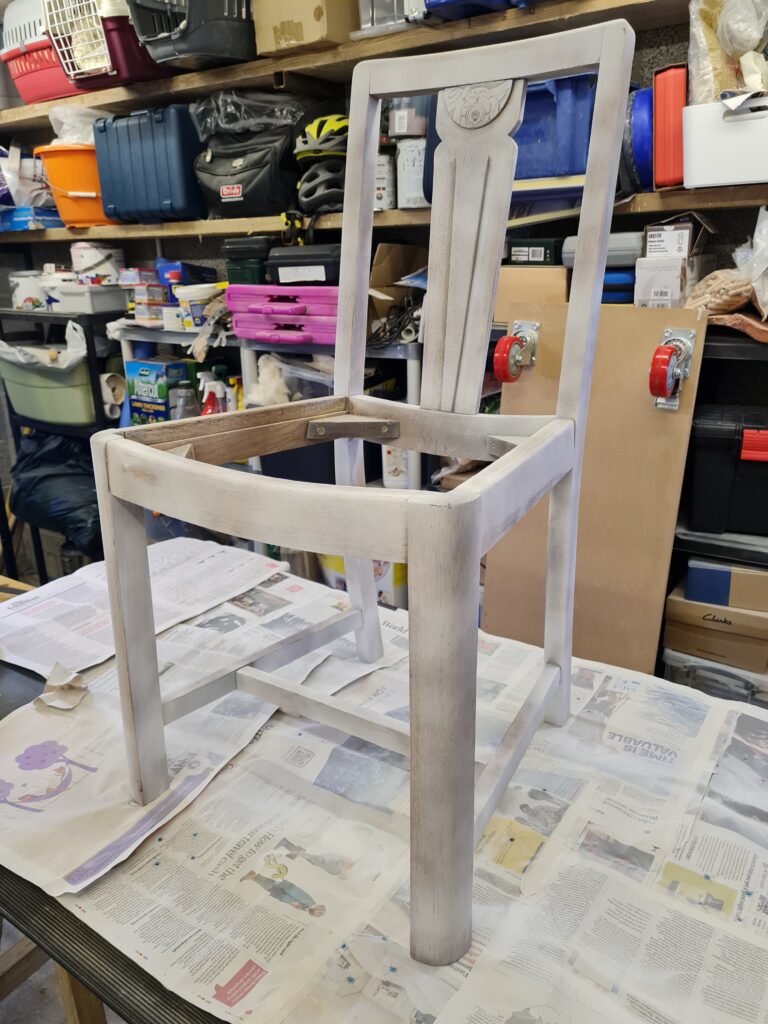
Step 10: Top coat following the manufacturers instructions. Ensure you are in a well ventilated area (especially if you are using stray) and a face mask. I didn’t wear a facemask when I did some spraying today, and 2 hours later my daughter noted green paint under my nose… I wasn’t wearing a mask… so I don’t like thinking about how much I actually inhaled ☹
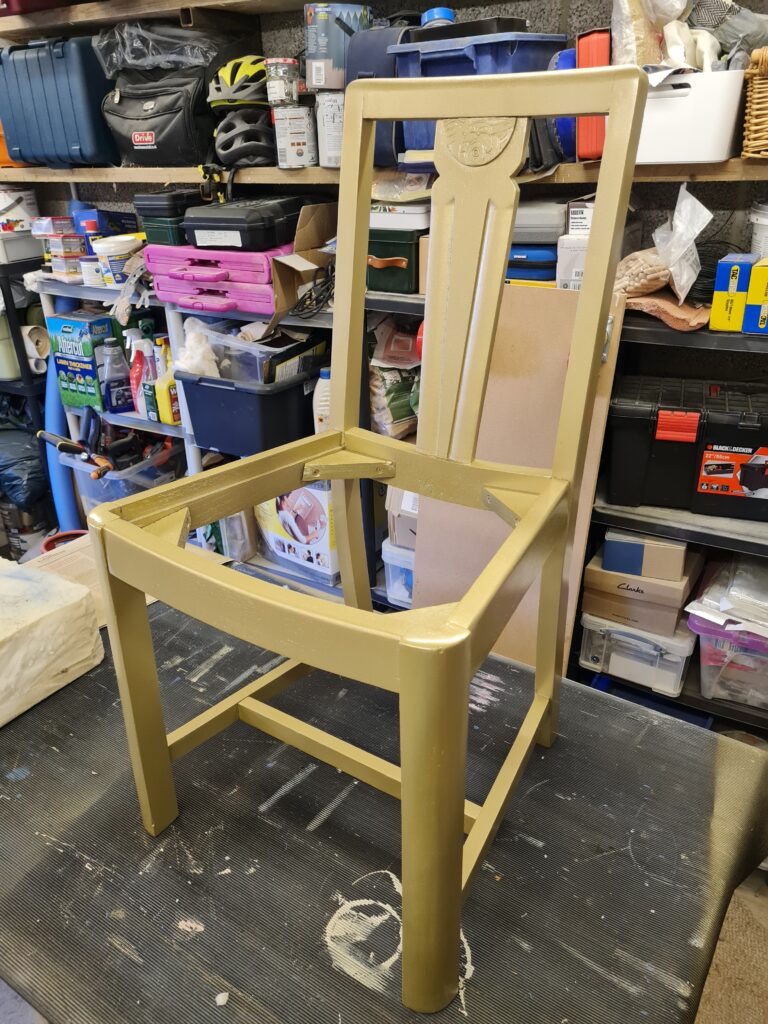
Step 11: Once dry turn the chair onto it’s back and glue on the bead strip from the seat to the top. I used superglue, but use what you think is suitable.
Step 12: Write a title or message on the top with a graffiti pen… this is completely up to you on what you would like to do! It’s an awkward place, so stencils or glue on letters would be a great idea.
Now to focus on the seat cushion. I didn’t use a zip, just a foldover (like a pillow case) design which made it much easier. If you have the skill, then a zipped cushion would look lovely! Go for it!
Step 13: Cut out the foam to the size of the outer part of the chair. To do this, place the foam on the chair and draw around. Cut with a bread knife if, like me, you don’t have a foam cutter. Cover in cotton wadding and put to one side.
Step 14: To make the cushion cover, draw around the foam cushion to make the top section. Cut this out of the fabric. For the bottom section, you’ll need 2 pieces that have quite a big overlap. Ensure the overlap is nearer the widest part of the cushion for ease of getting the cushion inside it later. Cut out a long strip 3” wide (assuming the cushion is 2” think) and long enough to go around the whole cushion.
Step 15: Make the ties by cutting 4 strips of fabric 1” thick by 18” long (use your judgement here, enough to get half way around the chair and tie. Fold each piece in half lengthways, top side together, then sew along the long edge. Once sown, turn the right way around – this is a bit fiddly, and more fiddly the narrower the strip!
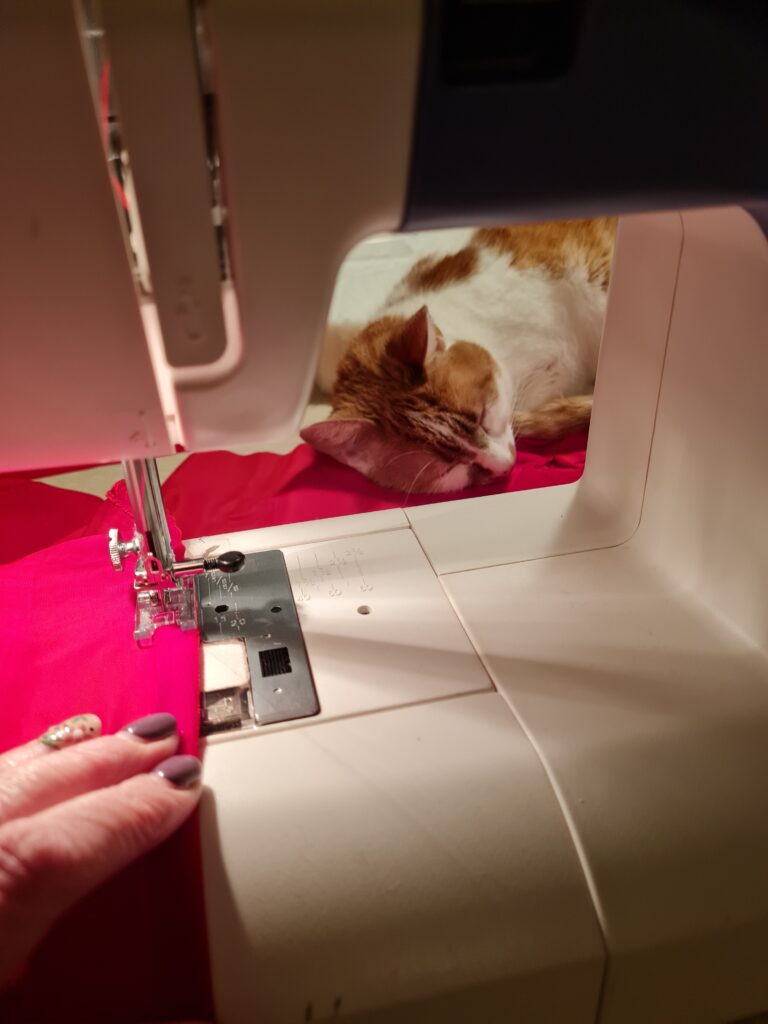
Step 16: Pin it all together on the foam, inside out. You might need to leave once of the back pieces off, so that you can remove it for sewing! Sew it step by step, checking regularly by putting it on your cushion inside out. Check that you are sewing in your ties that the right places, so that they will go around the back of the chair, and underneath (just like most booster cushions). They will need tight securing, so have enough length inside the cushion and do at least 2 or 3 lines of stitching. Once sown, put the right way around and ta-dah!
Step 17: Put the cushion on the chair and pin the edging strip around. Once in the right place, hand stitch it on. You could use fabric glue for this too, but leave the pins in until the glue is dry.
This took some time, patience and skill. And I could have done with a bit more of all of those to be honest! But I was pleased with the result, and it really put a big grin on my daughter’s face! Worth every minute!

