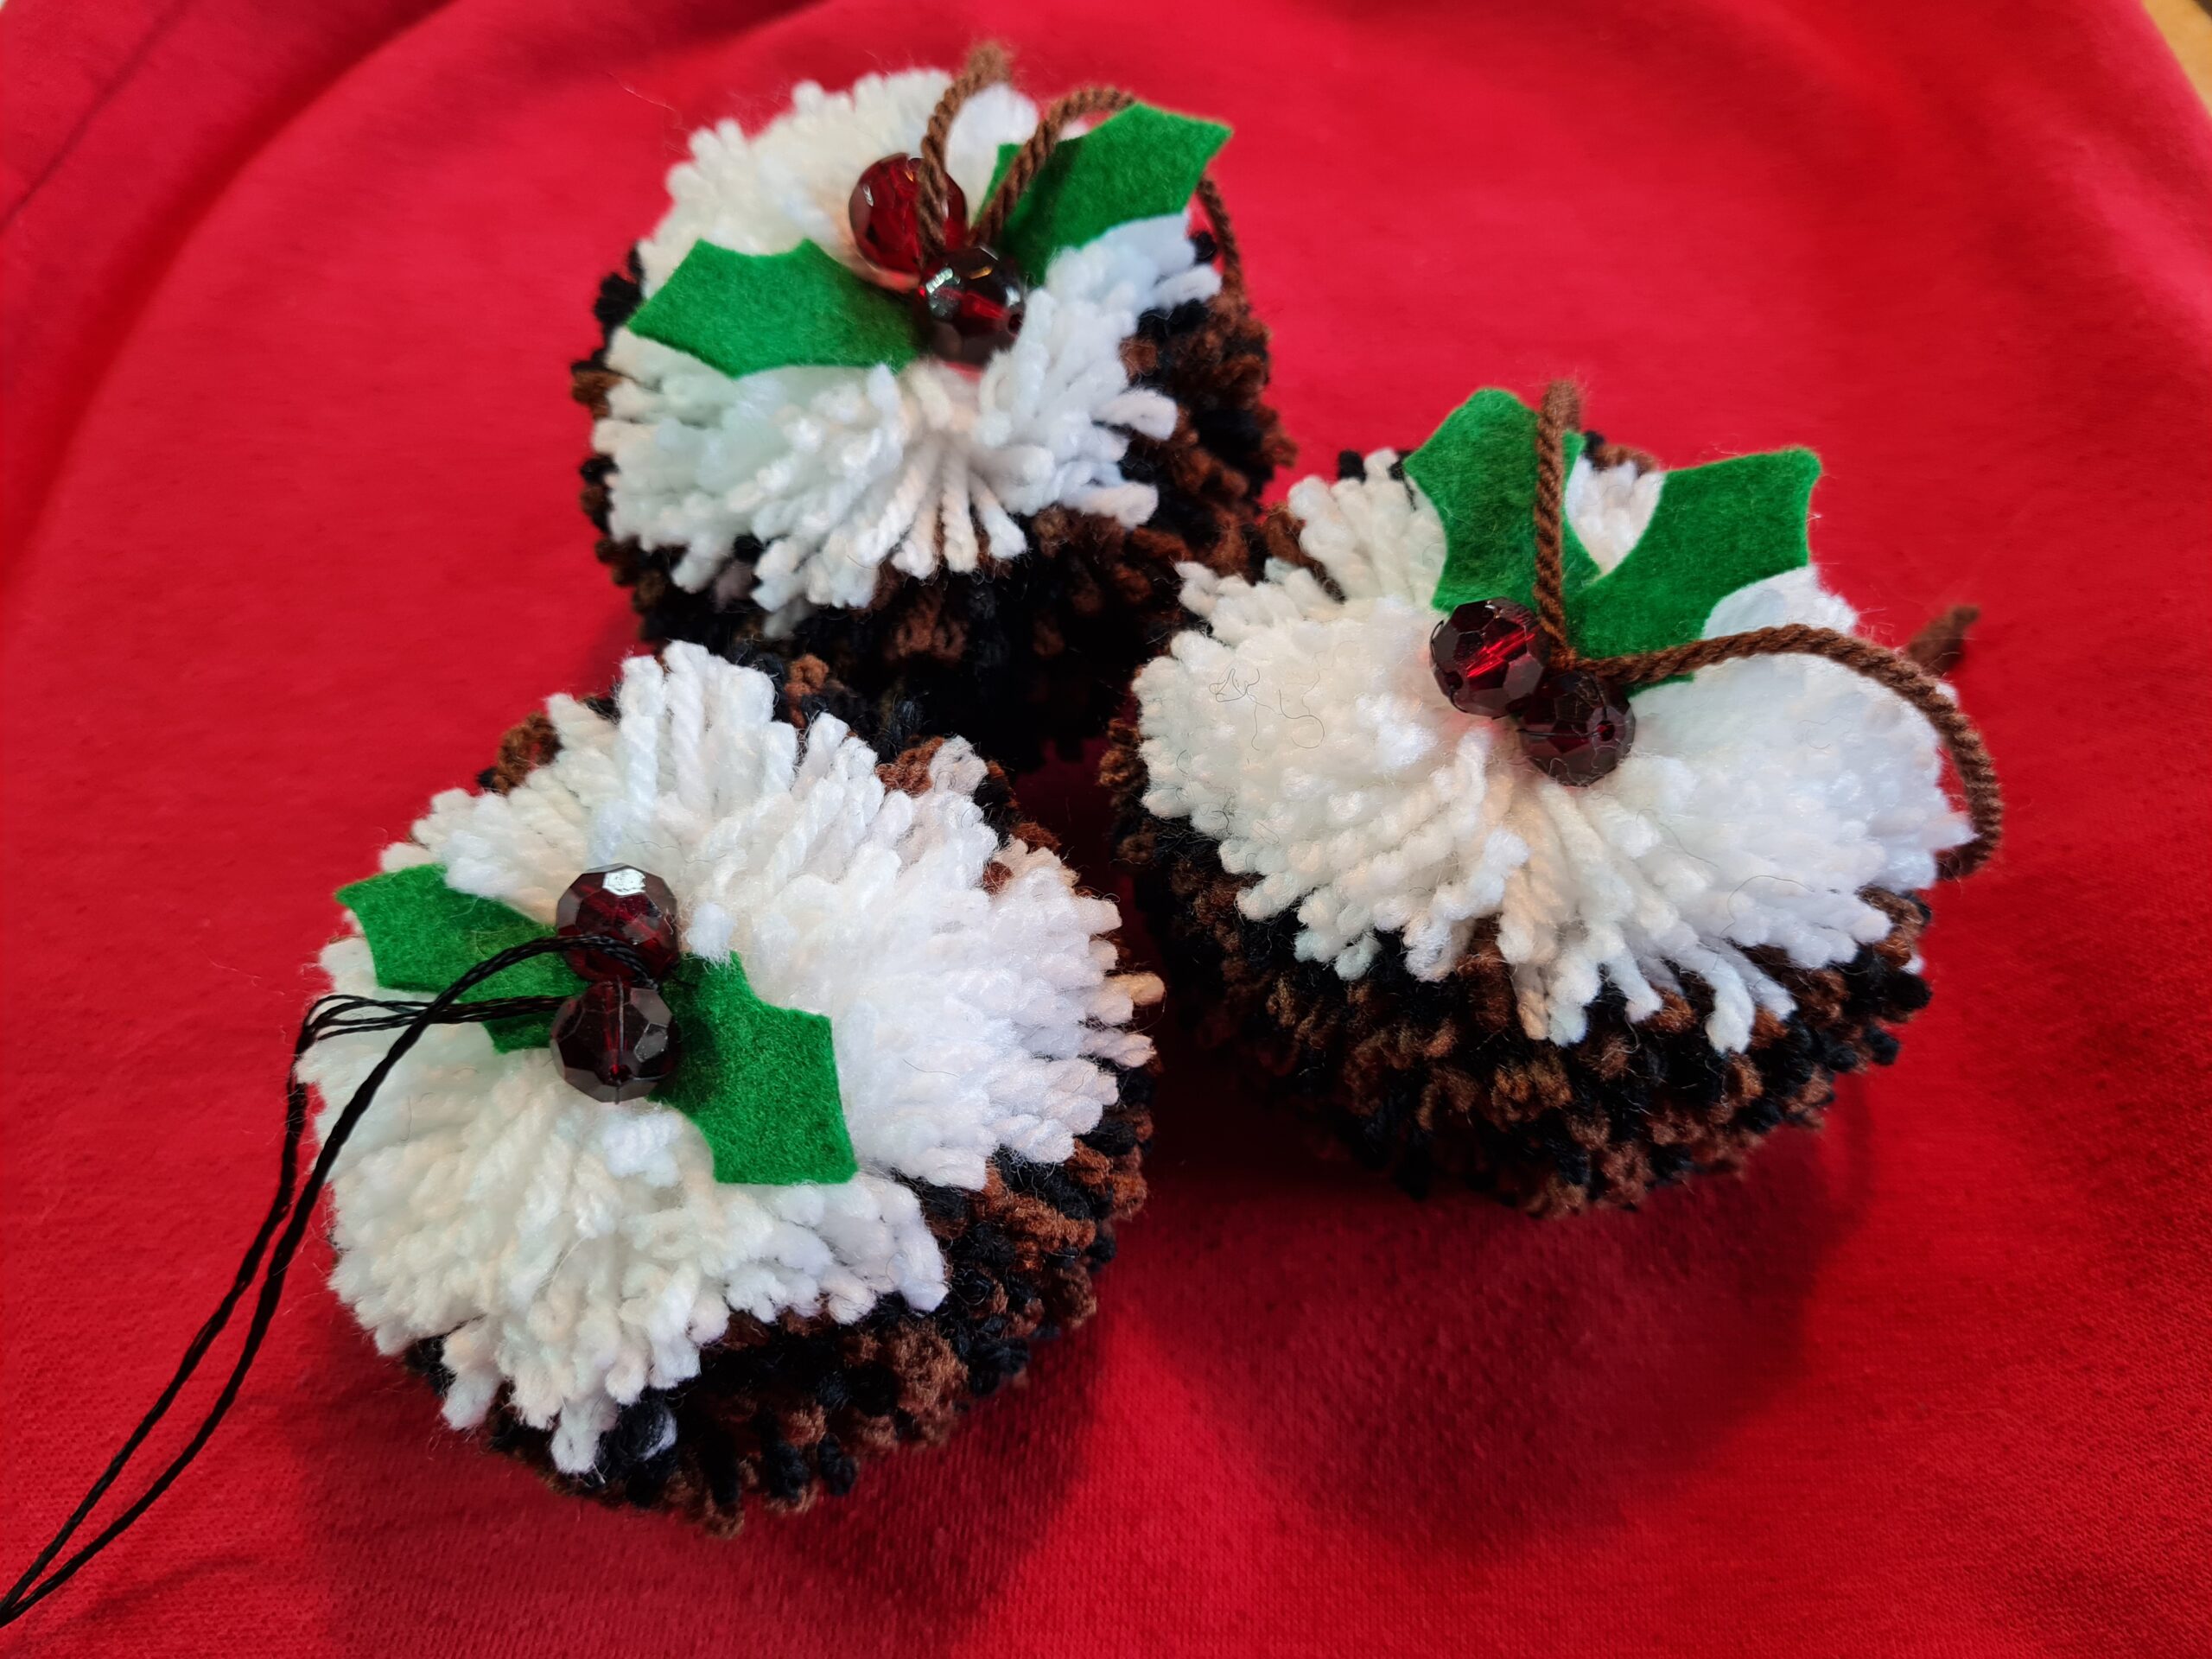
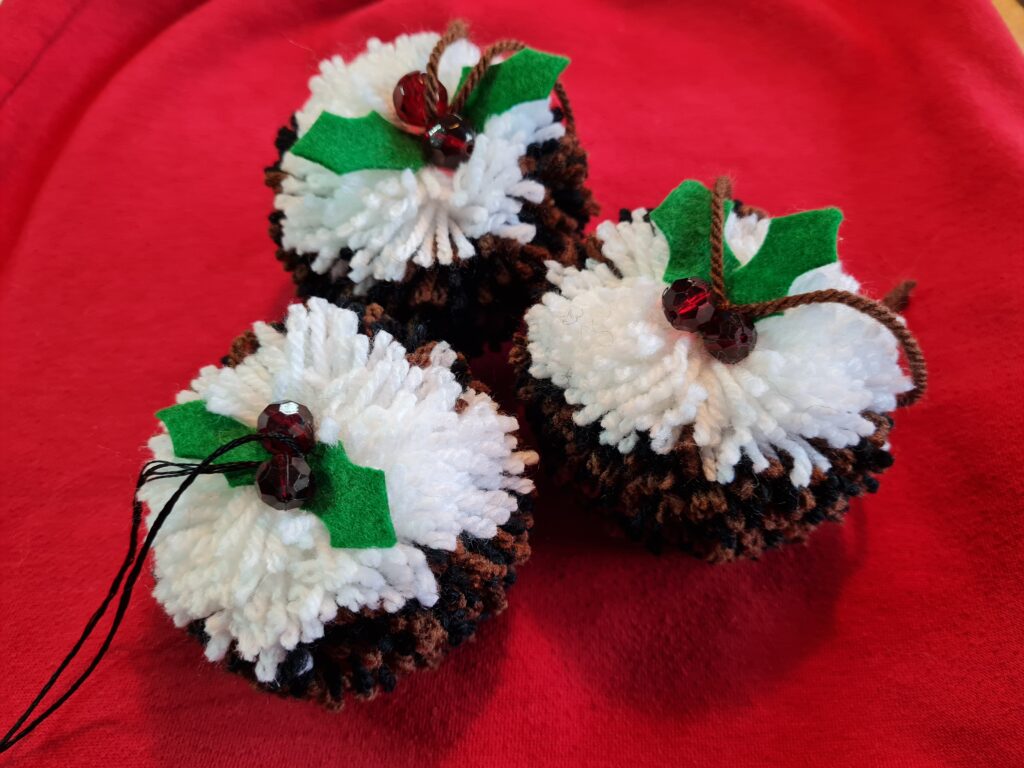
Make a Christmas pudding pompom for your Christmas tree!
These are really cute, and I kinda got addicted to making them as they were so easy! They just take 20 minutes to make and need very little skill really! There’s a good chance that all my friends and family will be getting one this year… though I may not reveal to them how easy they are 😊
WHO?
The pompoms are simple to make when you have the gadget (purchased from Hobbycraft and well worth it!) and can be done with the kids or sat on the sofa. My 5 year old loves making pompoms and helped. Though adding the holly and berries is very fiddly and uses needles, so older children or adults for that section please. Safety first!
WHY?
Who doesn’t love a handmade gift for their tree, especially if the kids are involved!
SAFETY NOTICES
Once made, it would be worth adding a little glue on the berries/holly/cord so that they don’t come off. Be careful with kids when using needles, I recommend doing the sections with needles away from young children, and maybe not on the sofa in case they are dropped!
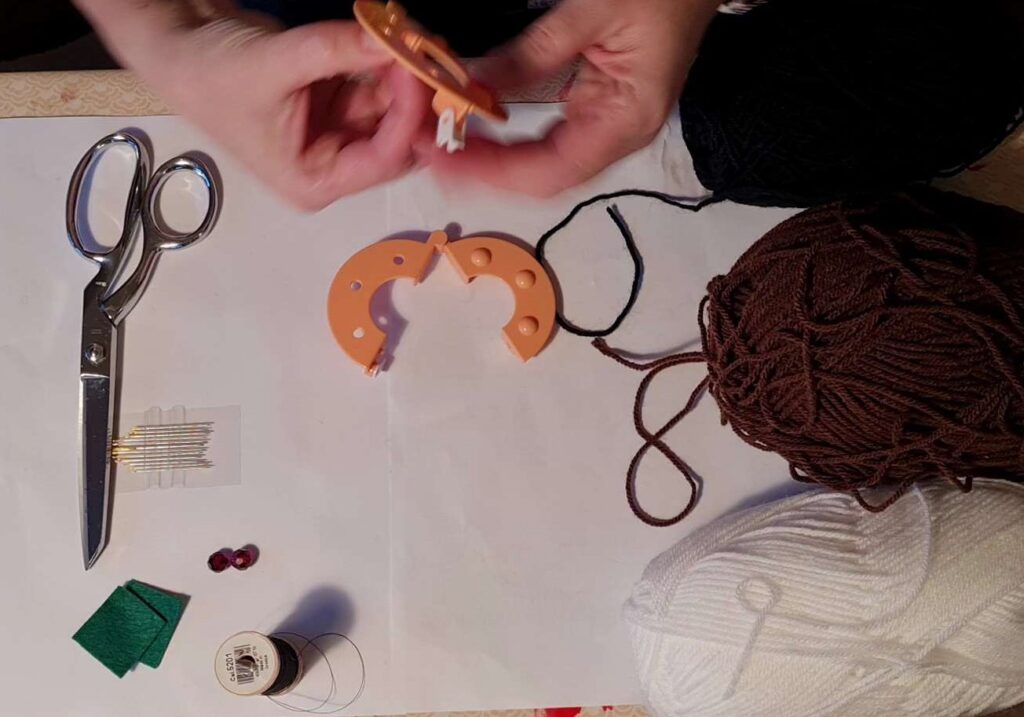
EQUIPMENT NEEDED
- Pompom maker – 7cm / 2.8 inch
- Brown wool
- Black wool
- White wool
- Scissors
- Green felt (for the holly)
- 2 red beads (for the berries)
- Embroidery thread (your choice of colour, I used black)
- Black thread
- Needles (large that embroidery thread can be threaded through, and small for the black thread and beads)
STEP BY STEP GUIDE
Preparation: Put everything out so it’s all to hand. Though if you’re doing this with kids, maybe just get the wool and pompom maker out first!
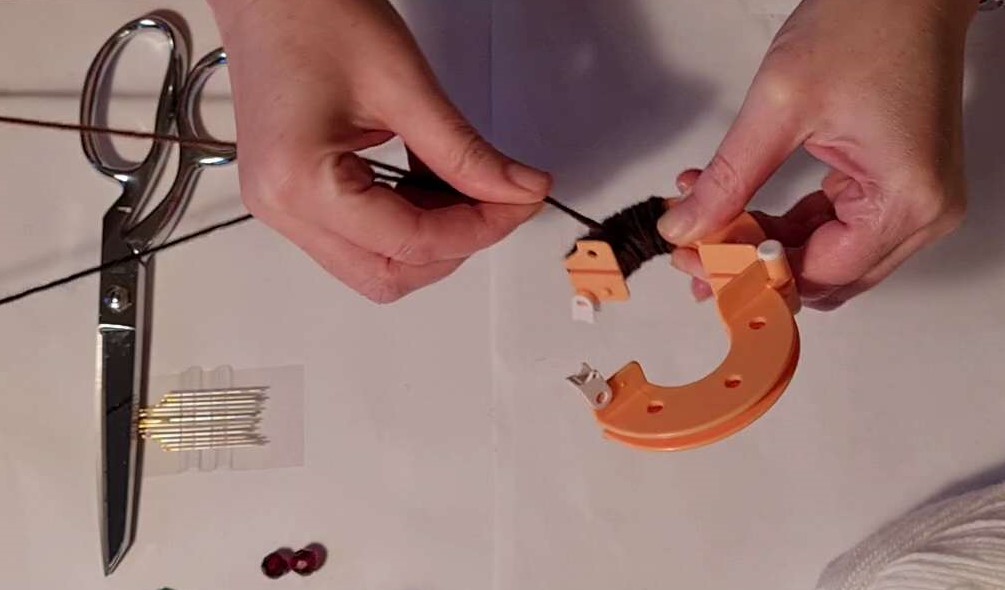
STEP 1: Holding the brown and black wool together, wind them both around the pompom maker together. Cover ¾ of the frame with the black and brown wool.
STEP 2: Cover the remaining ¼ with white wool. Ensure these are really thickly covered to make a rich pompom!
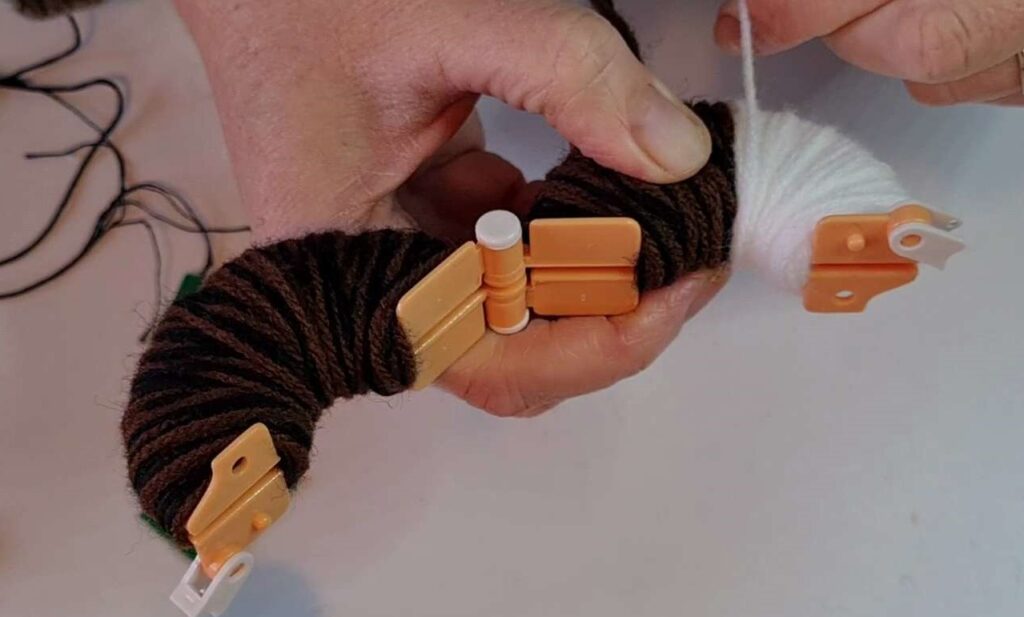
STEP 3: Cut the wool ends off and cut around the edges of the maker. Be careful doing this so that the ends don’t come out.
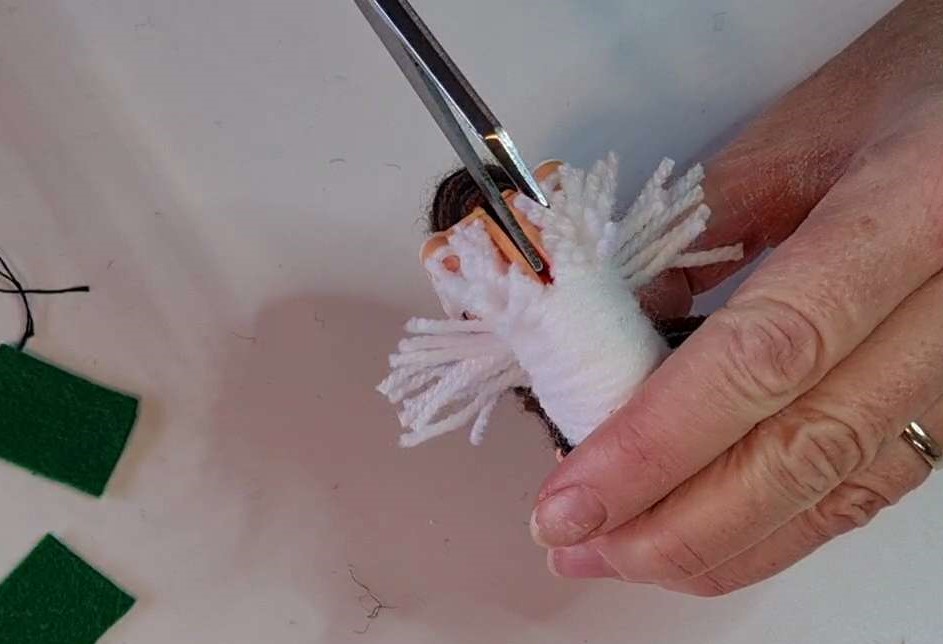
STEP 4: Tie around the middle with a piece of the embroidery thread (you can use the same wool, but the embroidery thread is stronger and will look nice on the tree) tying it in the middle of the white section, so that these ends form the cord for the tree branch. Make sure you pull tightly (the embroidery thread is much better for this) so that the wool doesn’t come out too easily.
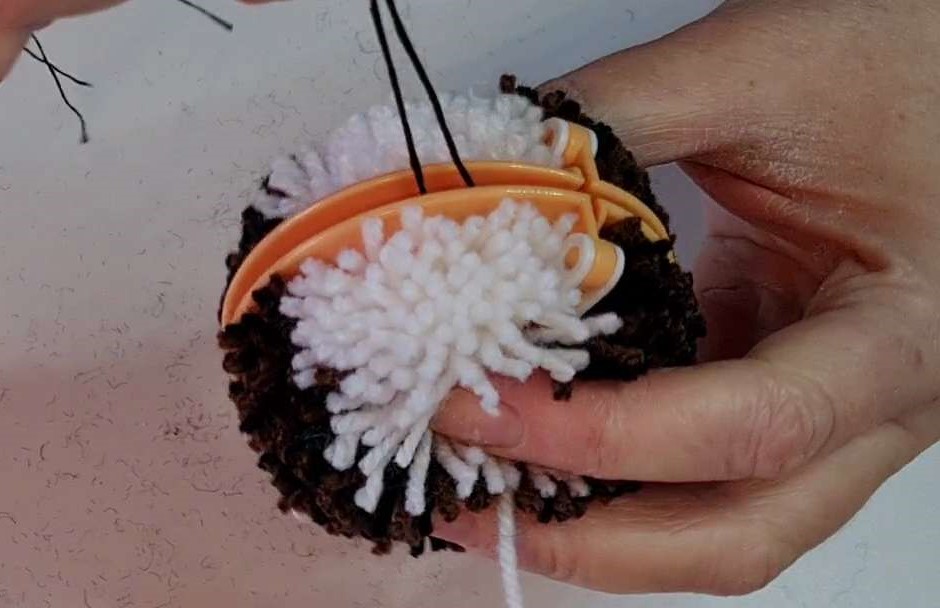
STEP 5: Remove the discs used the make the pompom and trim around your new pompom to tidy it up.
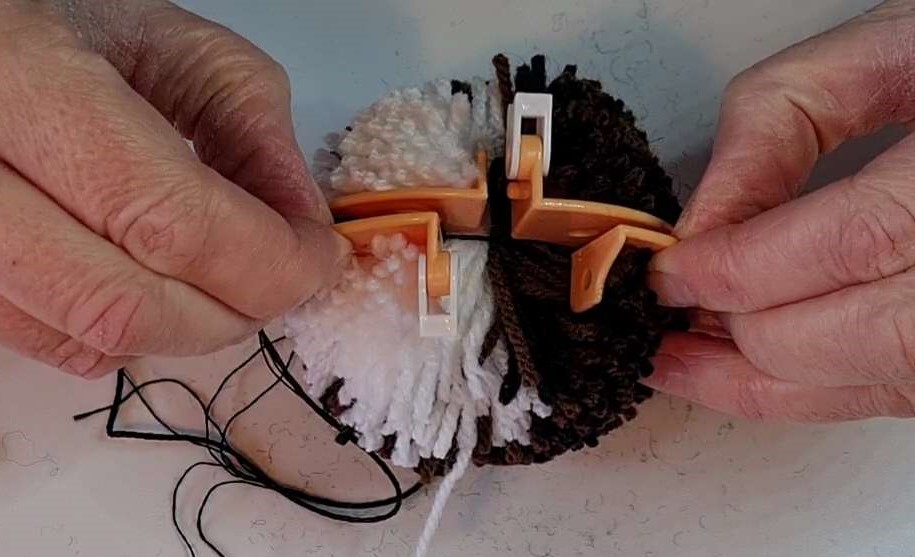
STEP 6: Make the 2 holly leaves by cutting the shape out of felt. Ensure one end is a bit longer and square so that it can be used for attaching it. Thread the embroidery thread used for the tie from step 3 through the larger needle, and through the end of the first holly leaf. Then thread the other end of the embroidery thread through the needle and attach the other holly leaf. So you should have one leaf on each cord of thread.
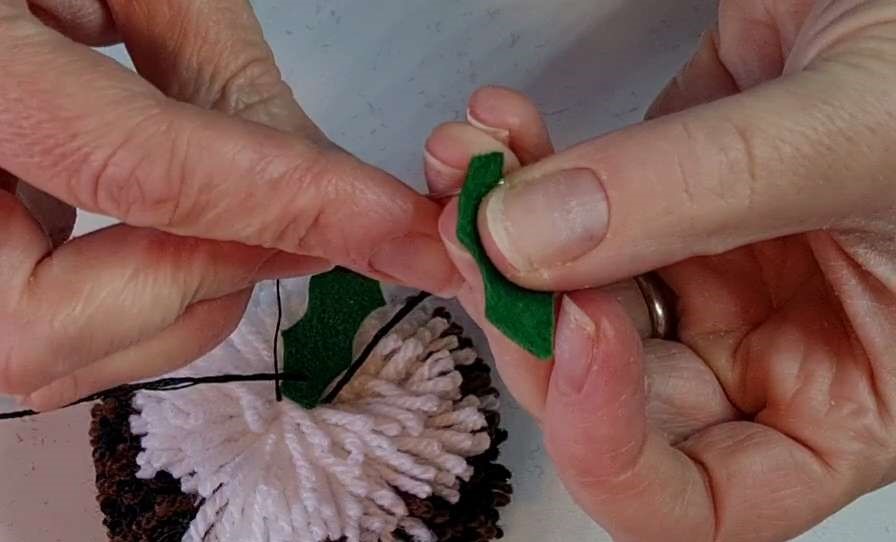
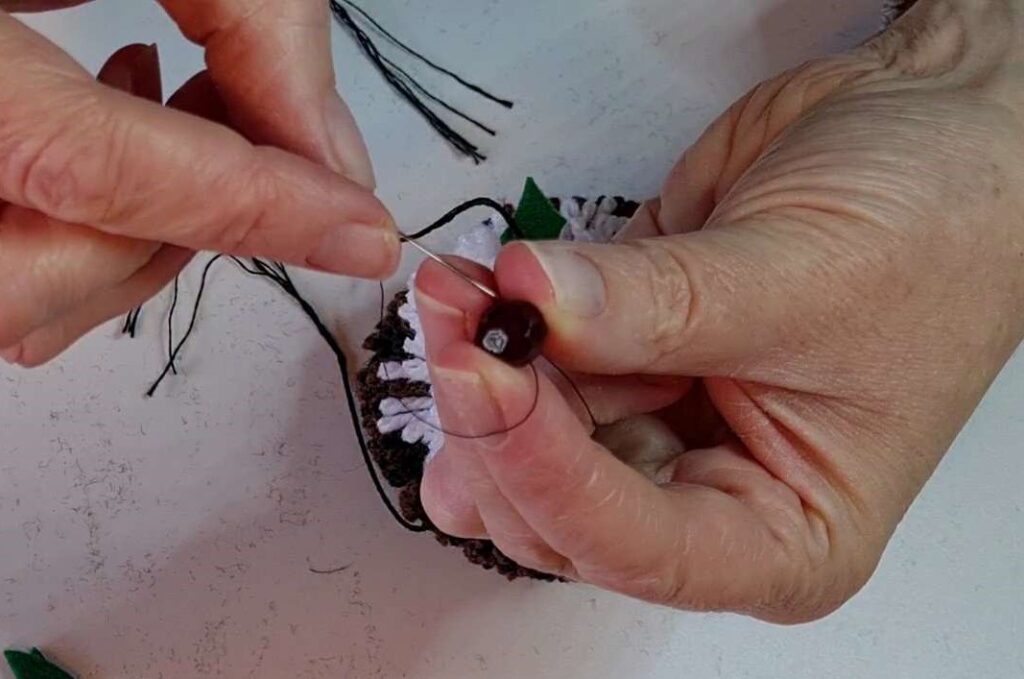
STEP 7: Make the 2 berries by taking a 6 inch piece of black thread and looping it twice through the first bead. Tie in a double knot and then using the smaller needle sow it onto the base of the first holly leaf. Tie again in a double knot and cut the ends off. Do the same with the 2nd bead onto the other holly leaf.
STEP 8: Tie the 2 pieces of embroidery thread together to pull the leaves and beads together neatly. Then make the thread into the hoop by tying a knot in the ends.
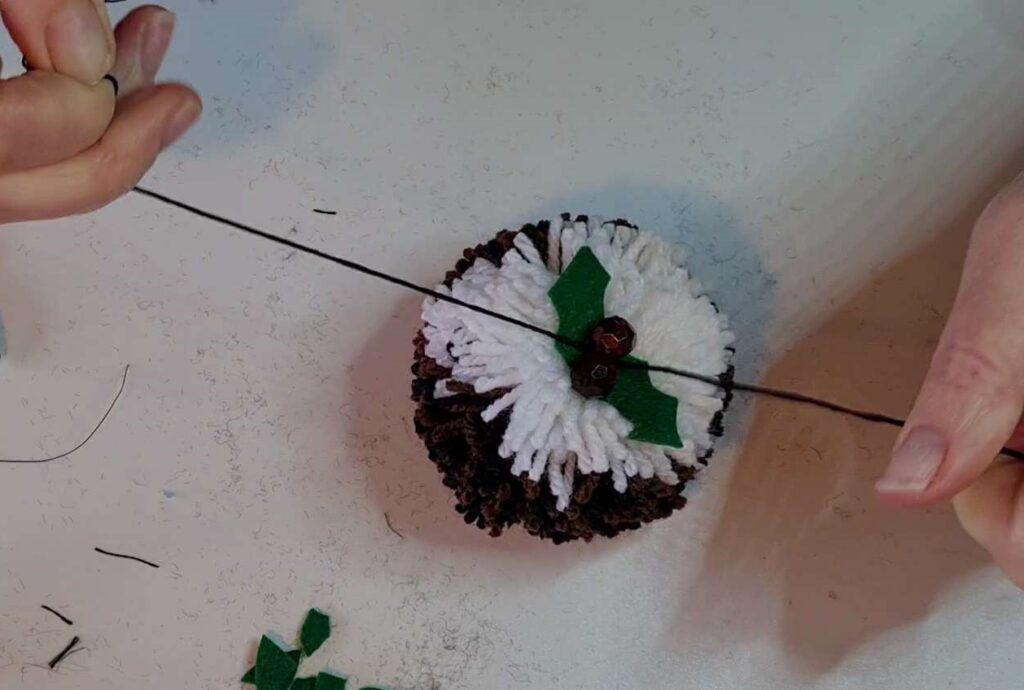
OPTIONAL STEP: Option to add a spot of glue on the beads and holly to make a little more secure.
TA DA!!! I hope you enjoy making these as much as I did. Cute and fairly unbreakable!

