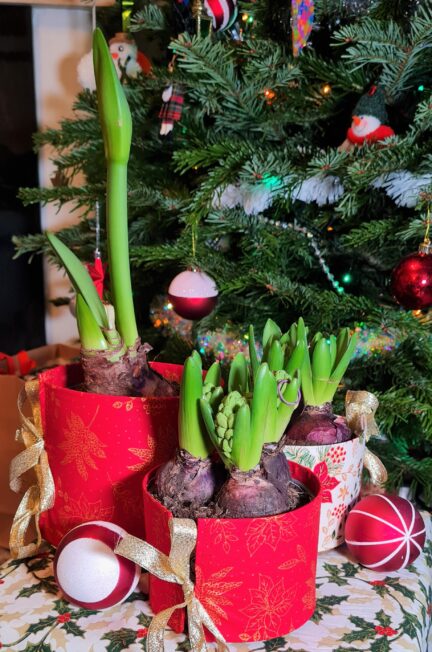
Different pots are quite expensive and take up space, so this is a great idea for having themed or colour matching pots with little cost, little time (about 20 minutes) and which can be stored flat. I was pleased with the end result of these and they made great, personal presents for family and friends too.
These are straight forward to make and need little skill to be honest. For the Christmas themed pot covers, I purchased fat quarters from my local fabric shop and could have made quite a few. I had purchased some Christmas gold ribbon to use for wrapping presents, so used this too.
I have also made some (not pictured) from off-cuts from some curtains that I took up, so they match the room. For those I also used ribbon that was recycled from something else. So, all I needed to buy was the acetate sheet for the inside. I had some suitable thread anyway, but that might be something else you’d need to purchase.
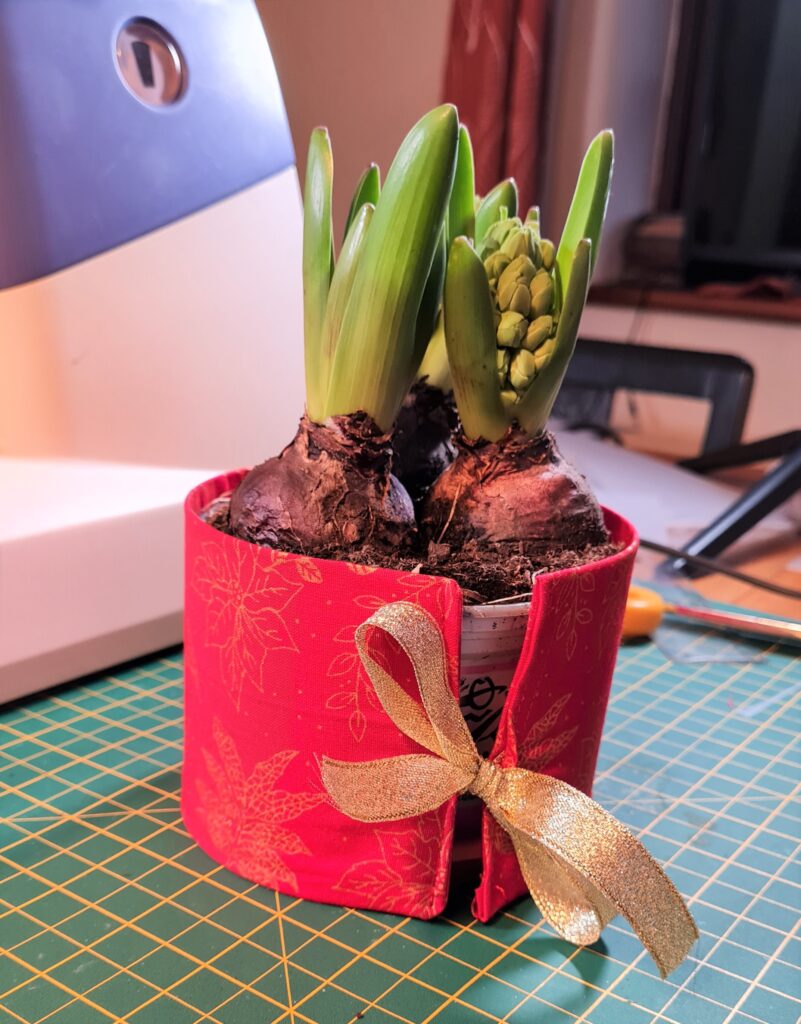
- Fabric!
- 30cm of ribbon
- Thread
- Acetate sheet. I used : Essential Arts A3 Frosted Acetate 300 Micron Pack of 10 Sheets. Extra Thick Recyclable Polypropylene Binding Cover for Craft, Stencils and Gifts (297x420mm) https://amzn.eu/d/aWPs4pZ
Step by step guide
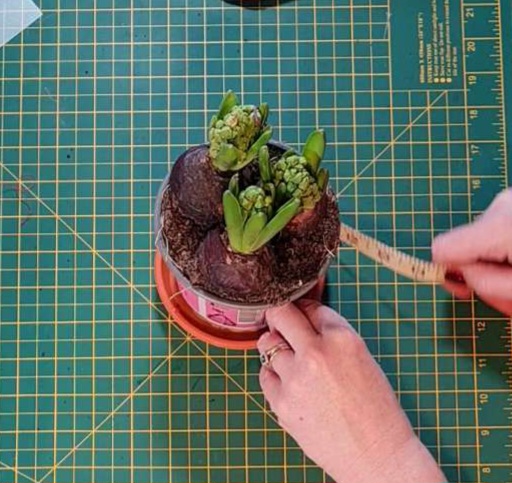
Step 1. Measure the circumference of the pot you want to wrap this around. Add 2 cm (1cm for each edge) to give your fabric width. Measure the height of the pot. Times by 2 as the fabric will be folded over and add 3 cm (1 cm for each edge, and 1 cm to ensure the cover goes just over the top of the pot by 0.5cm) to give your fabric height. For example if your pot circumference was 25 cm, and the height was 9cm, your fabric would measure 27 cm wide x 21cm high. At this point, double check that your acetate sheet is big enough to go around the pot. I made an error with an early make, where the pot was much wider, and my acetate sheet didn’t go all the way around – it didn’t look nearly as good!
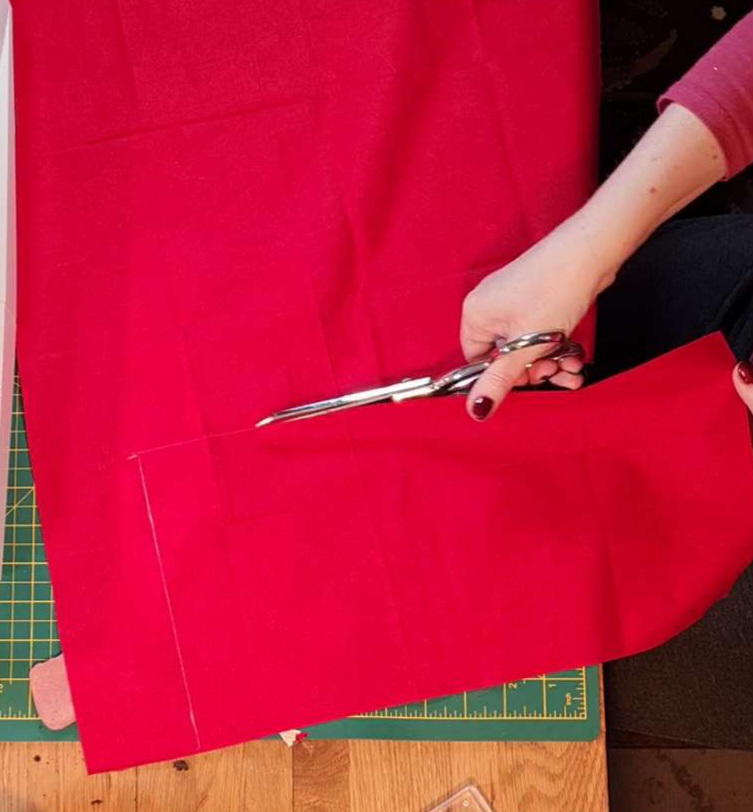
Step 2. Cut your piece of fabric to those measurements. Cut 2 lengths of ribbon 15 cm long each.
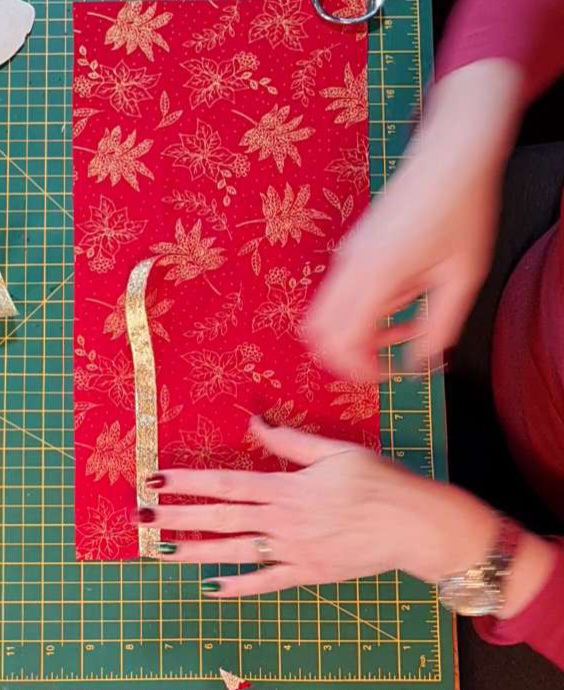
Step 3. Lay out the fabric with the pattern side up. A 6th of the way down the fabric pin a piece of ribbon, match the outside edge of the fabric to the end of the ribbon, so the ribbon runs inside the fabric (see image below).
Step 4. Turn over the fabric so the top side is down. Pin a 1cm hem along the opposite edge to the one use in step 3. Then, 5/6s of the way down, also pin the other piece of ribbon, with the end at the fabric edge, so that this time the ribbon goes outside the fabric (see image below)
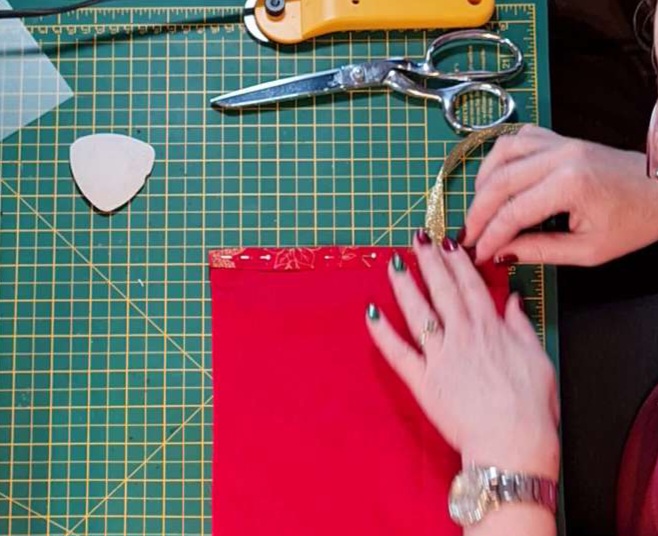
Step 5. Using a sewing machine, stich the hem and ribbon that you pinned in step 4. Go over the area with the ribbon a couple of times so it’s secured well.
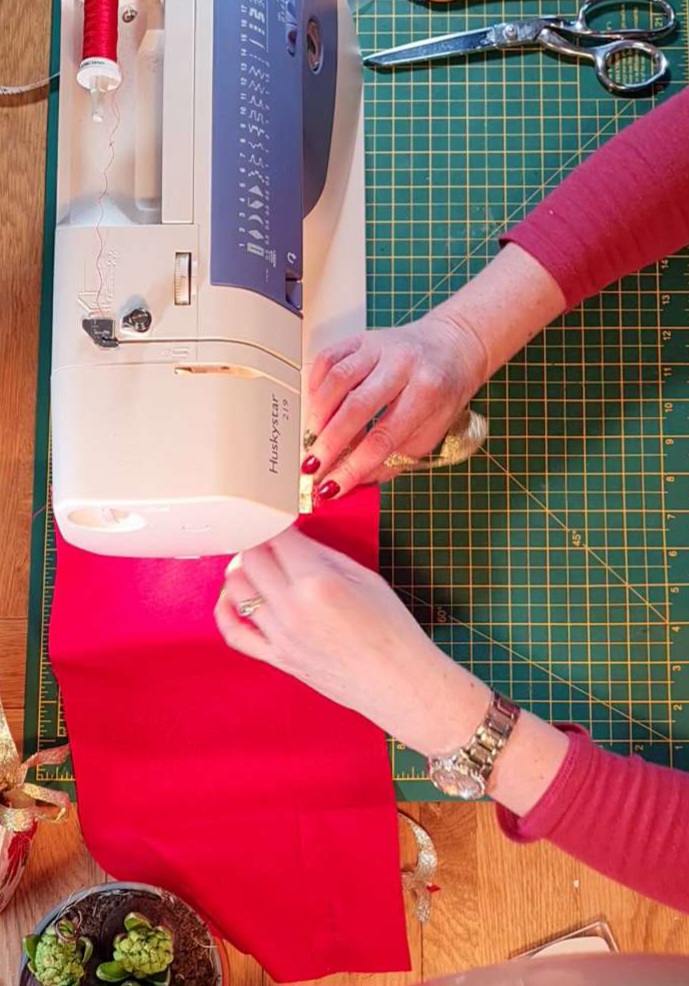
Step 6. Take the fabric out of the machine and fold over in half, with the top fabric inside (along with the first piece of ribbon from step 3). Pin the edges that have yet been sewed: the long edge and the first end with the ribbon from step 3. Sew these edges in the sewing machine.
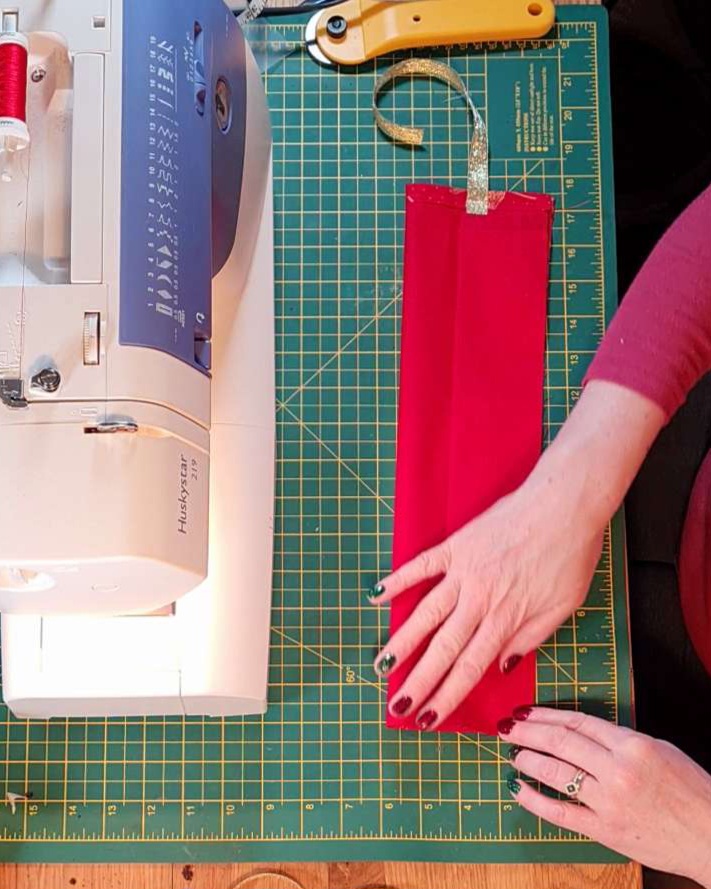
Step 7. You should now have a rectangular large pocket. Snip the corners at what would be the bottom of the pocket which will make it smoother when turned the right way around. Then turn the right way around!
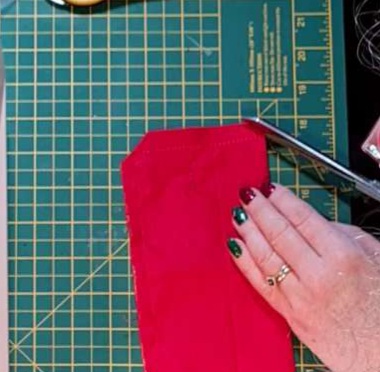
Step 8. Put a line of stitching along the edge that is attached, which will give it a nice clean edge. Iron the rectangle, so lovely and flat.
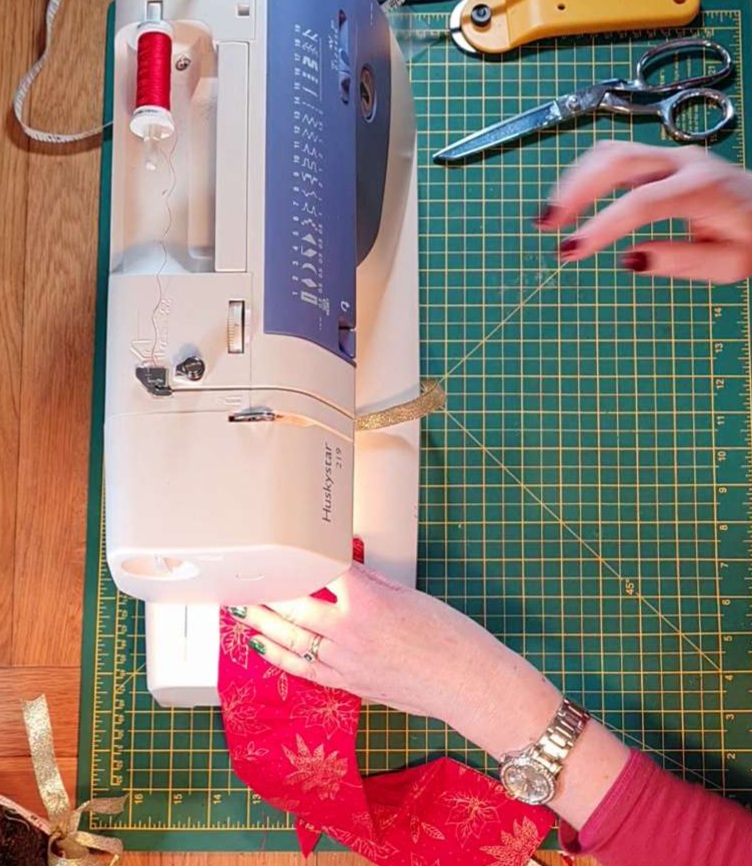
Step 9. Measure the final width. This should be the height of the pot, as measured in step 1. In the example it would be 9cm. Cut a length of acetate sheet to this width and curve the corners so that it slides into the fabric pocket.
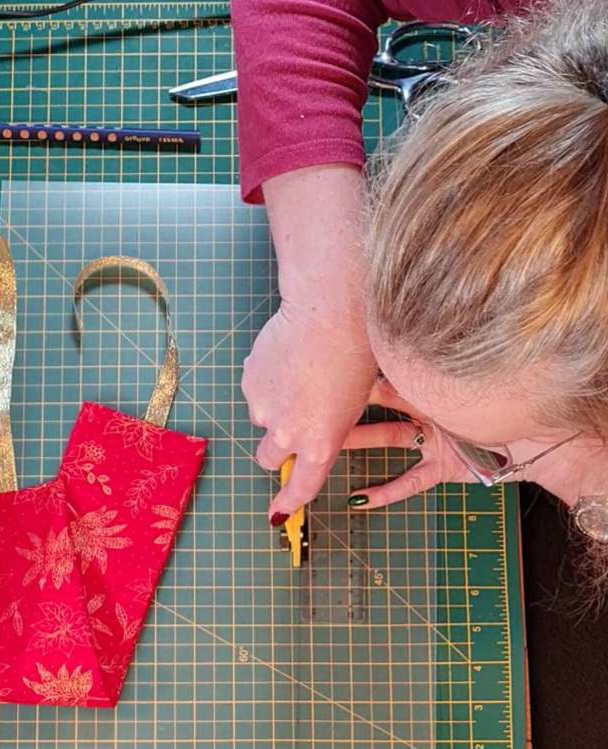
Step 10. Once the acetate piece is inside the pocket, mark the sheet approximately 3mm inside the edge of the pocket, pull out the acetate again, and cut the length that you have marked. Put the acetate back in, and it should now tuck nicely inside the pocket.
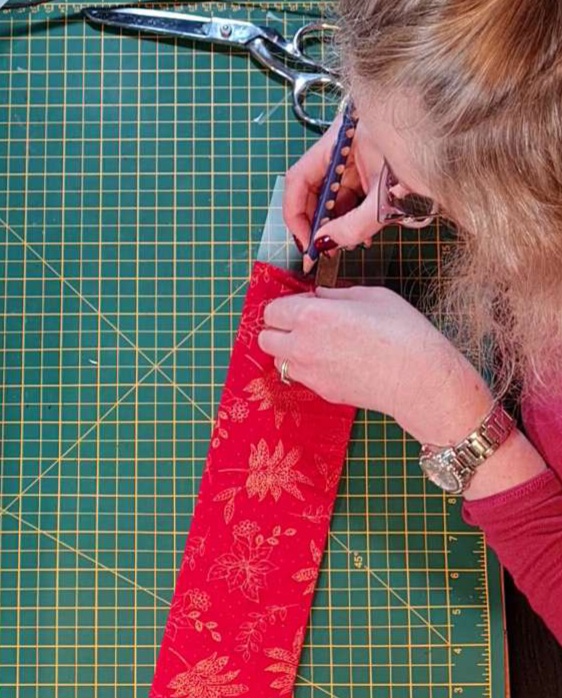
Step 11. Sew the open end together, 2mm from the edge (so avoiding the acetate sheet).
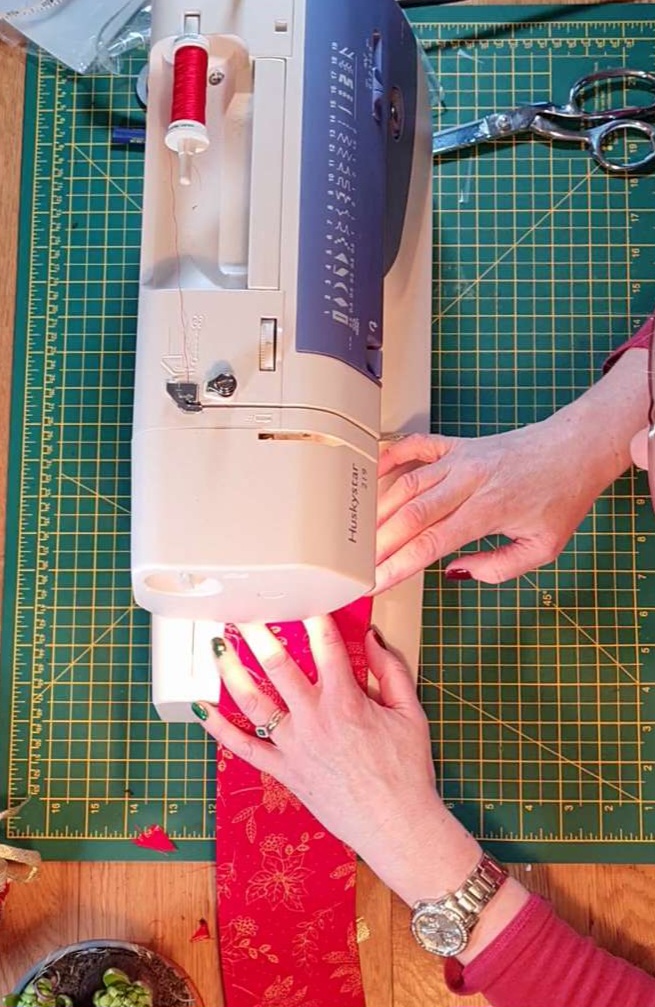
Step 12. Place around the pot and tie the ribbons into a bow!
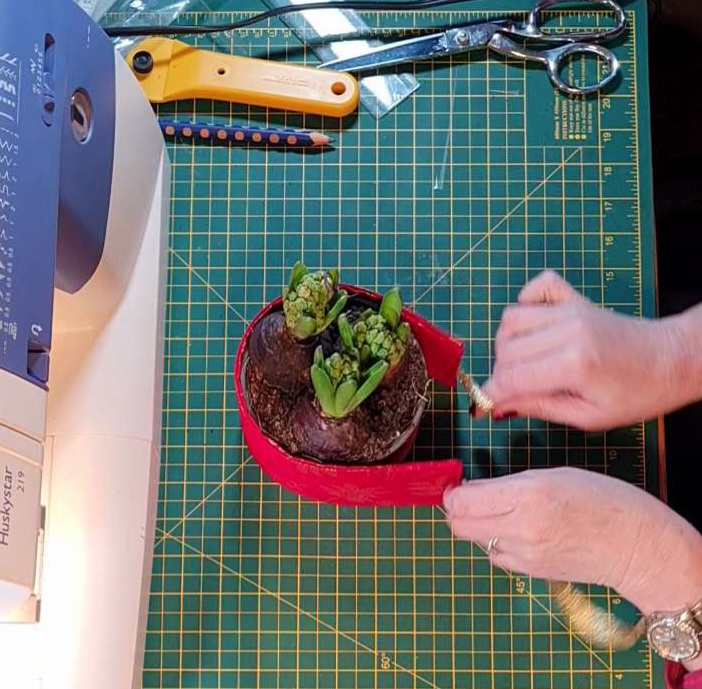
As an extra option, for more detail, or if the pot is tall, you can have 2 sets of ribbon. In this case cut 4 ribbons and double up steps 3 and 4 with a suitable space for where you want the bows to be.
I made a set of 3 of these in an hour (to be honest, on Christmas Eve, for a Christmas present!! Cutting it a bit fine!), and I loved the end result. I like having Christmas things around in December, especially if they are useful (I’m not a fan of things on every surface), but my loft is so full of stuff already that I don’t want to cram it with more stuff that I only use once a year. Though if I’m honest that’s probably more frequent than most of the stuff up there, but that’s another matter entirely!
Good luck with making these, be as creative with the basic idea as you would like! You could applique an image on them, use fabric paint, take old bits of fabric, collage, anything goes really! As they have the acetate in them, you’d need to remove it (unpick the final line of stitching) and then they can go in the washing machine too.
