Why would you do this?
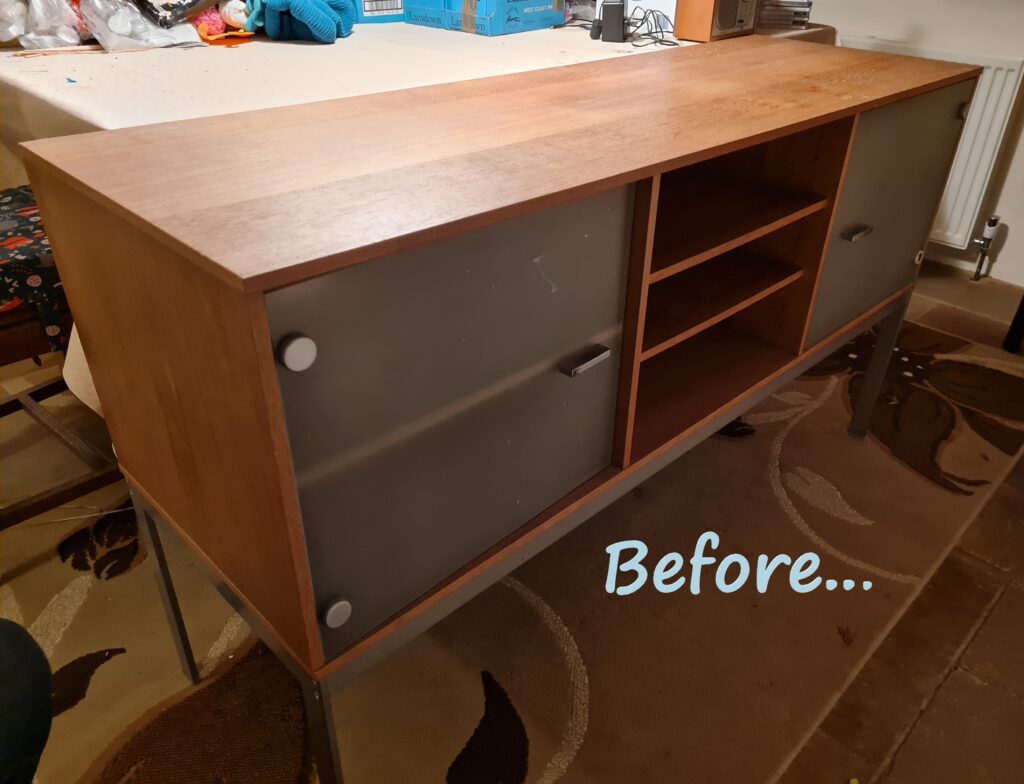
Do you have a piece of furniture, which is ok but the colours don’t work for the room, or it’s a bit past it’s prime and needs a spruce up? To do a full makeover seems like it would be hard work, and let’s face it, you need to be using the piece, not letting it sit in the garage while you wait for a day to focus on it, which may never come…yes… I’ve been there…
Who would do it?
This little makeover is for anyone and you don’t need many tools to do it. I’ve put this together in 5 steps, each of which you could do in one hour… or a lunch break! I’m not the greatest at stepping away from my desk at lunchtime, but having achievable targets to do encourages me to take the break that I need. I will warn you though, a couple of the steps are tight for an hour, so I’ve added a couple of things you can do to prep it earlier in the day (or the evening before, if you get 10 minutes) to help. And be prepared that you may just get a quick sarnie for lunch!
Why would you do it?
Being creative is good for stress levels! Get up, move somewhere else and give the mind and body something different to focus on. And see the results of your labours 😊
Any safety notices
When sanding, ensure you have a mask and good ventilation. Follow the instructions on any paint and again ensure there is good ventilation! If the item is heavy, make sure you have some help in moving it, so think about this in advance of your ‘Craft a life’ session.
What equipment do I need:
- Kitchen scourer (new one!)
- Washing up bowl,
- Wet & dry paper at 240 grit,
- Sandpaper at 120 and 240 grit,
- Sanding block/small piece of wood to wrap the sandpaper around, or a power sander!
- Lint free clothe x 2,
- 1”paint brush,
- White Spirit or brush cleaner,
- Detergent,
- Solvent such as Krud Butter,
- Hammerite metal paint or equivalent,
- Wood primer (if needed, read the instructions on your furniture paint),
- Furniture paint,
- Clear dixie belle top coat or equivalent
- Frog tape
- Ruler and pencil
Can I really do these steps in an hour!? I did, so yes you can too! However, please read the steps in advance and ensure you have the tools and paint etc on hand before you start.
Step by step guide by hour
HOUR 1!
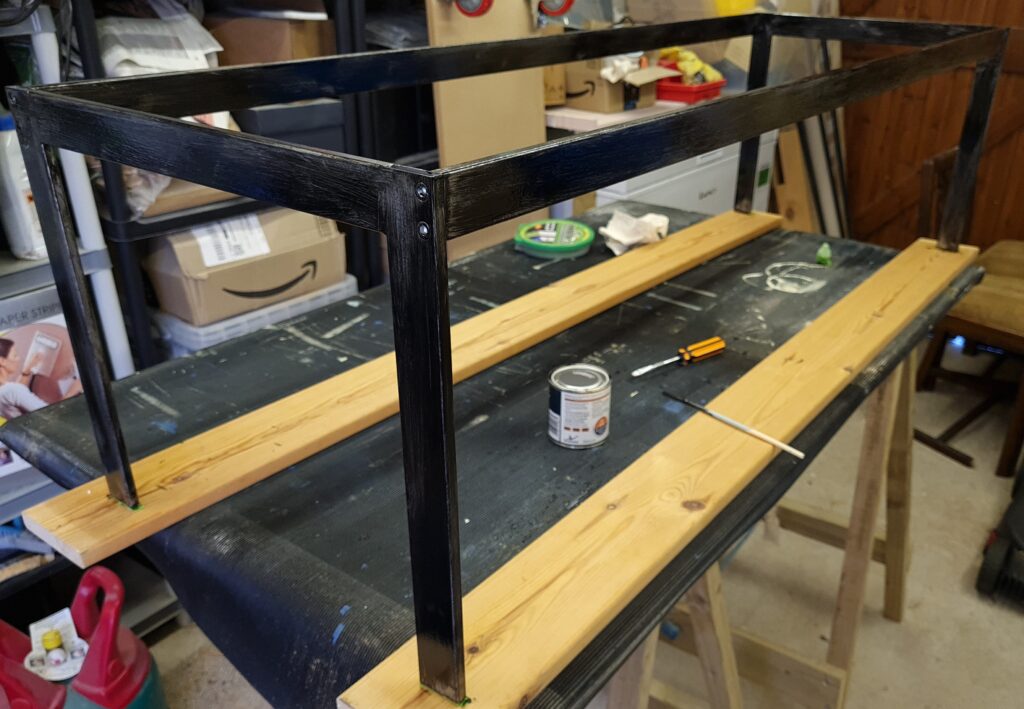
This piece of furniture has a metal base. If you have one, you can do this step too!
Preparation: take the metal frame off the piece and take it to where you will work!
Step 1: Wash down with detergent to take off the main dirt, give it a good scrub!
Step 2: Give it a light sand with some wet and dry (dip in water and scrub!)
Step 3: Wipe down with cloth to remove the main dirt
Step 4: Follow instructions on the solvent you have chosen to remove grease. Rinse it really well and dry.
Step 5: First coat of paint. I used Hammerite satin finish in black as it goes with many of the fixings in the house, but your choice! Don’t worry about good coverage at this point, thinner coats without runs is better. Note that if your metal is galvanised, it will need a paint that says it works for that.
HOUR 2!
Preparation: Take the main wooden carcass of the piece to where you will work! Have your face mask at the ready for sanding.
Step 1: Wash down with detergent to take off the main dirt, give it a good scrub!
Step 2: Wipe down with a cloth and solvent to remove any debris and grease. I like to use Krud Kutter as it’s water based and safer. But ensure it’s fully rinsed off before applying any paint.
Step 3: Sand down all areas, making sure you get into the corners. You can do this by hand, or with a power tool, it is up to you and how much work the piece needs! In my example, I just cleaned the inside as that was fine, and then sanded the outside – being careful as it had a veneer which I didn’t want to sand through. Be careful of this, veneer is often very thin and if you go through it then it’s very difficult to fix!
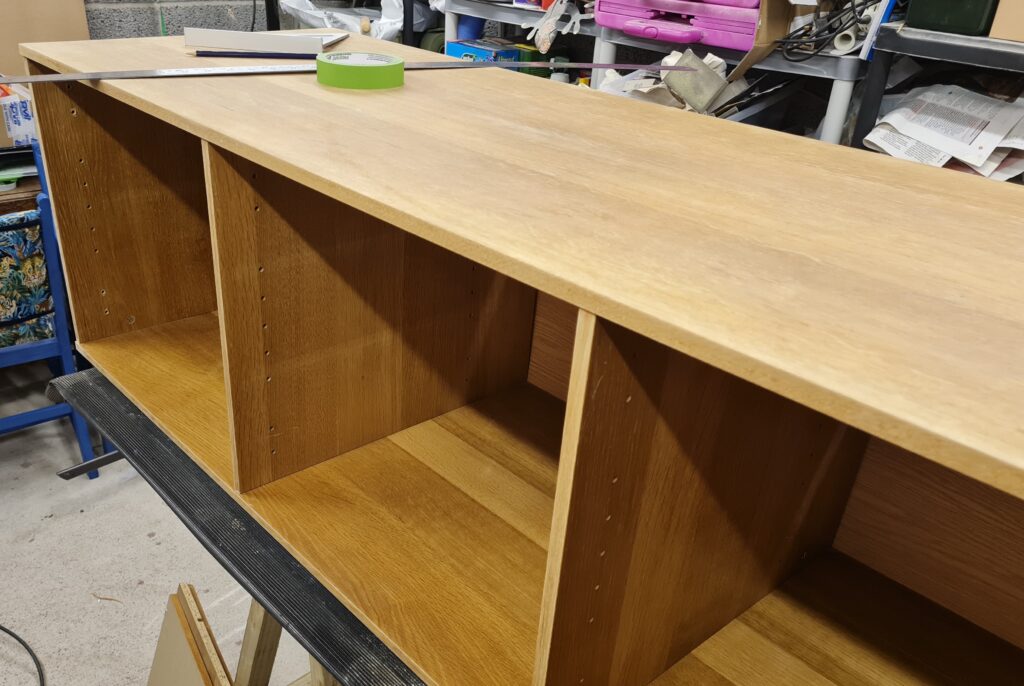
HOUR 3!
Preparation: Ensure you have the equipment around you for the painting so you’re ready to go!
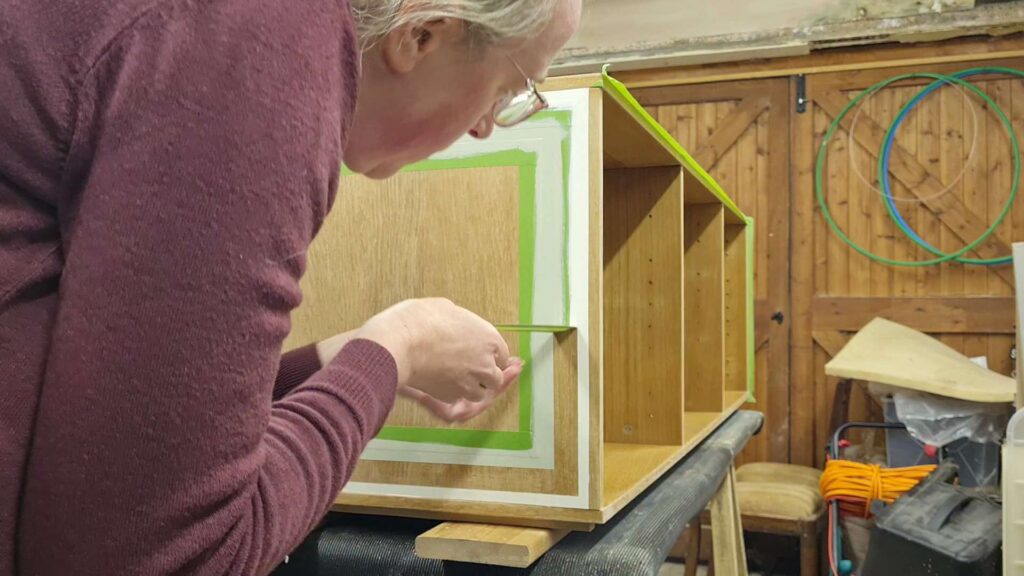
Step 1: On the main wooden carcass mask off any areas that you don’t want to paint. In this example I am painting 2 lines around the sides and top so it was a lot of masking! If you are doing less masking then this step will take less time. With the design I chose this took a full hour.
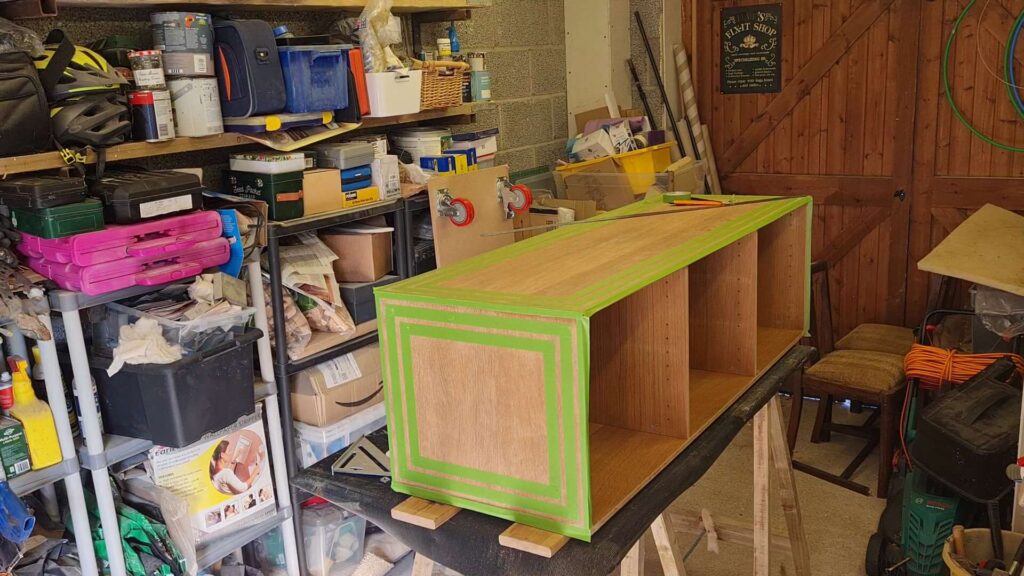
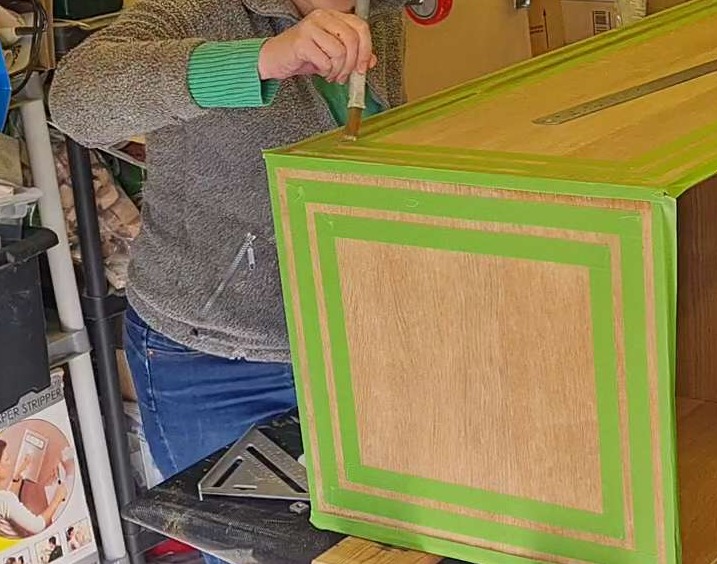
Step 2: Use the top coat to cover the edges of the tape and onto the area you are going to paint. This will help stop any bleeding of paint where you don’t want it. This is particularly important if the wood has a rough or wide grain. Leave to dry.
HOUR 4!
Preparation: Ensure you have the equipment around you for painting so you’re ready to go!
Step 1: On the wooden carcass paint the areas you wish with one thin coat.
Step 2: Put a second coat of paint on the metal frame.
Step 3: After at least 30 minutes from step 1, on the wooden carcass paint the areas again with one thin coat.
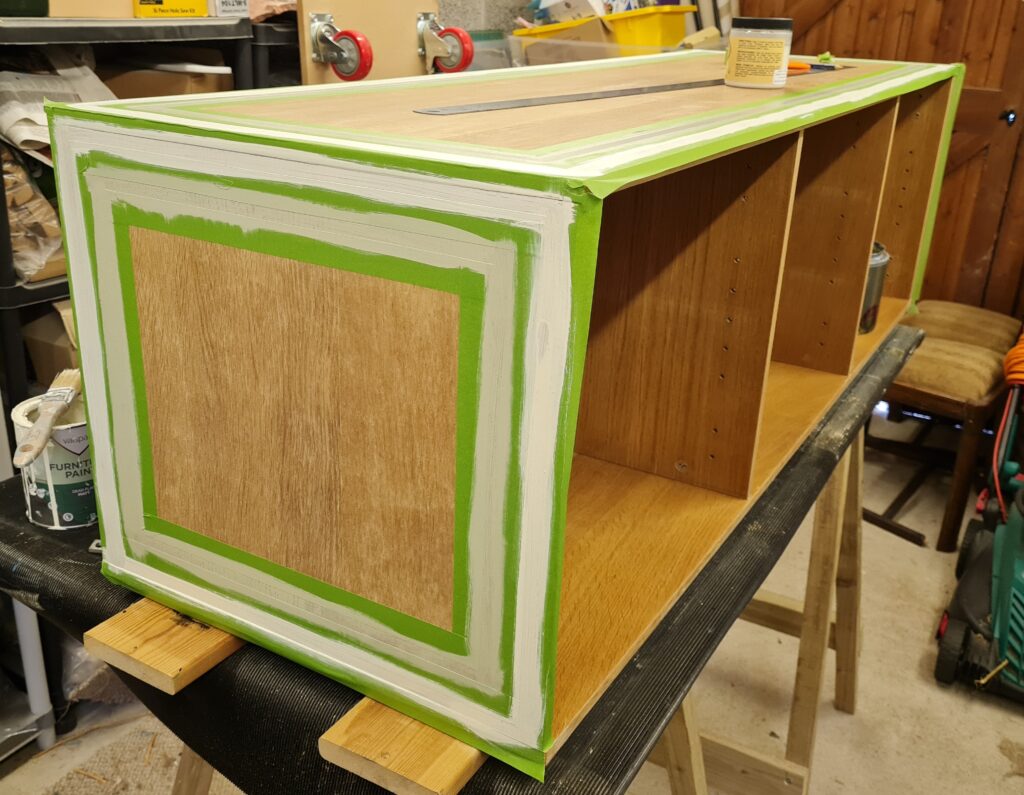
Step 4. Then remove the tape straight away, while the top coat of paint is still wet.
HOUR 5!
Preparation: Ensure you have the equipment around you for the painting so you’re ready to go!
Step 1: Third coat on the metal frame.
Step 2: Give the wooden carcass a light sand with 240 grit, or the highest you have, and wipe down to remove any debris
Step 3: Clear top coat on the wooden carcass. I used Dixie Belle clear top coat as it really is clear, no yellow tint!
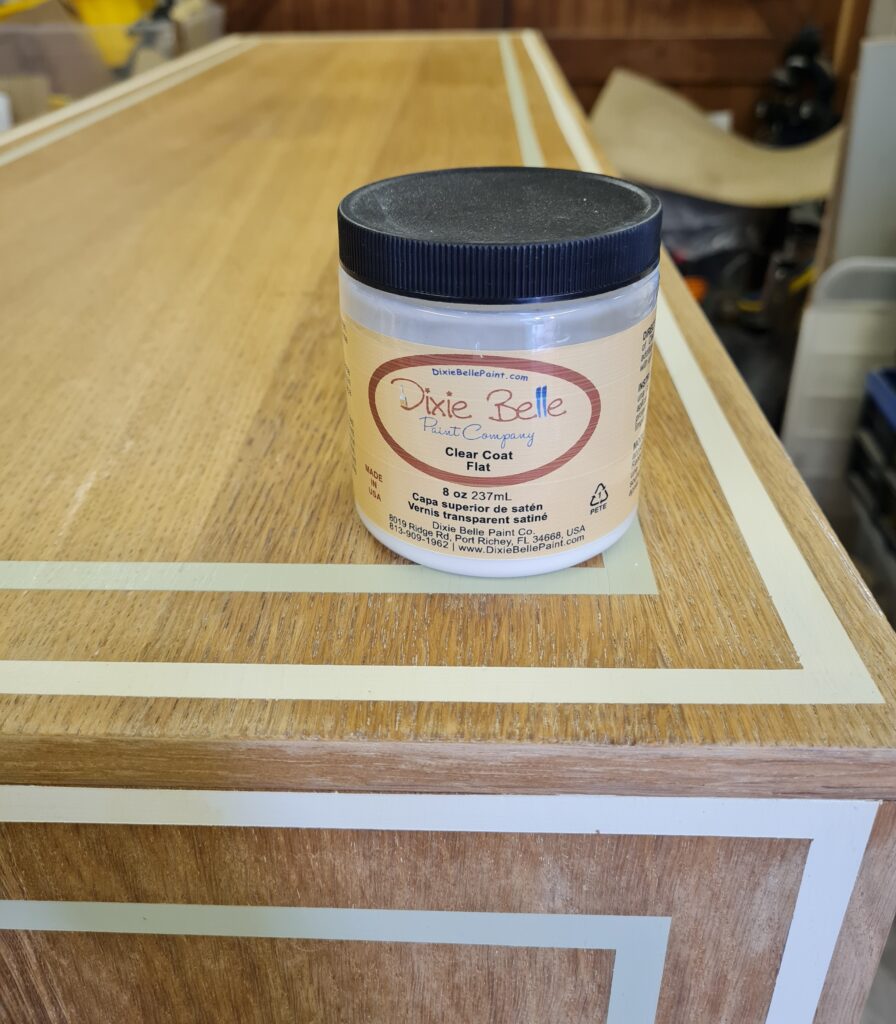
Then you can put the pieces back together!
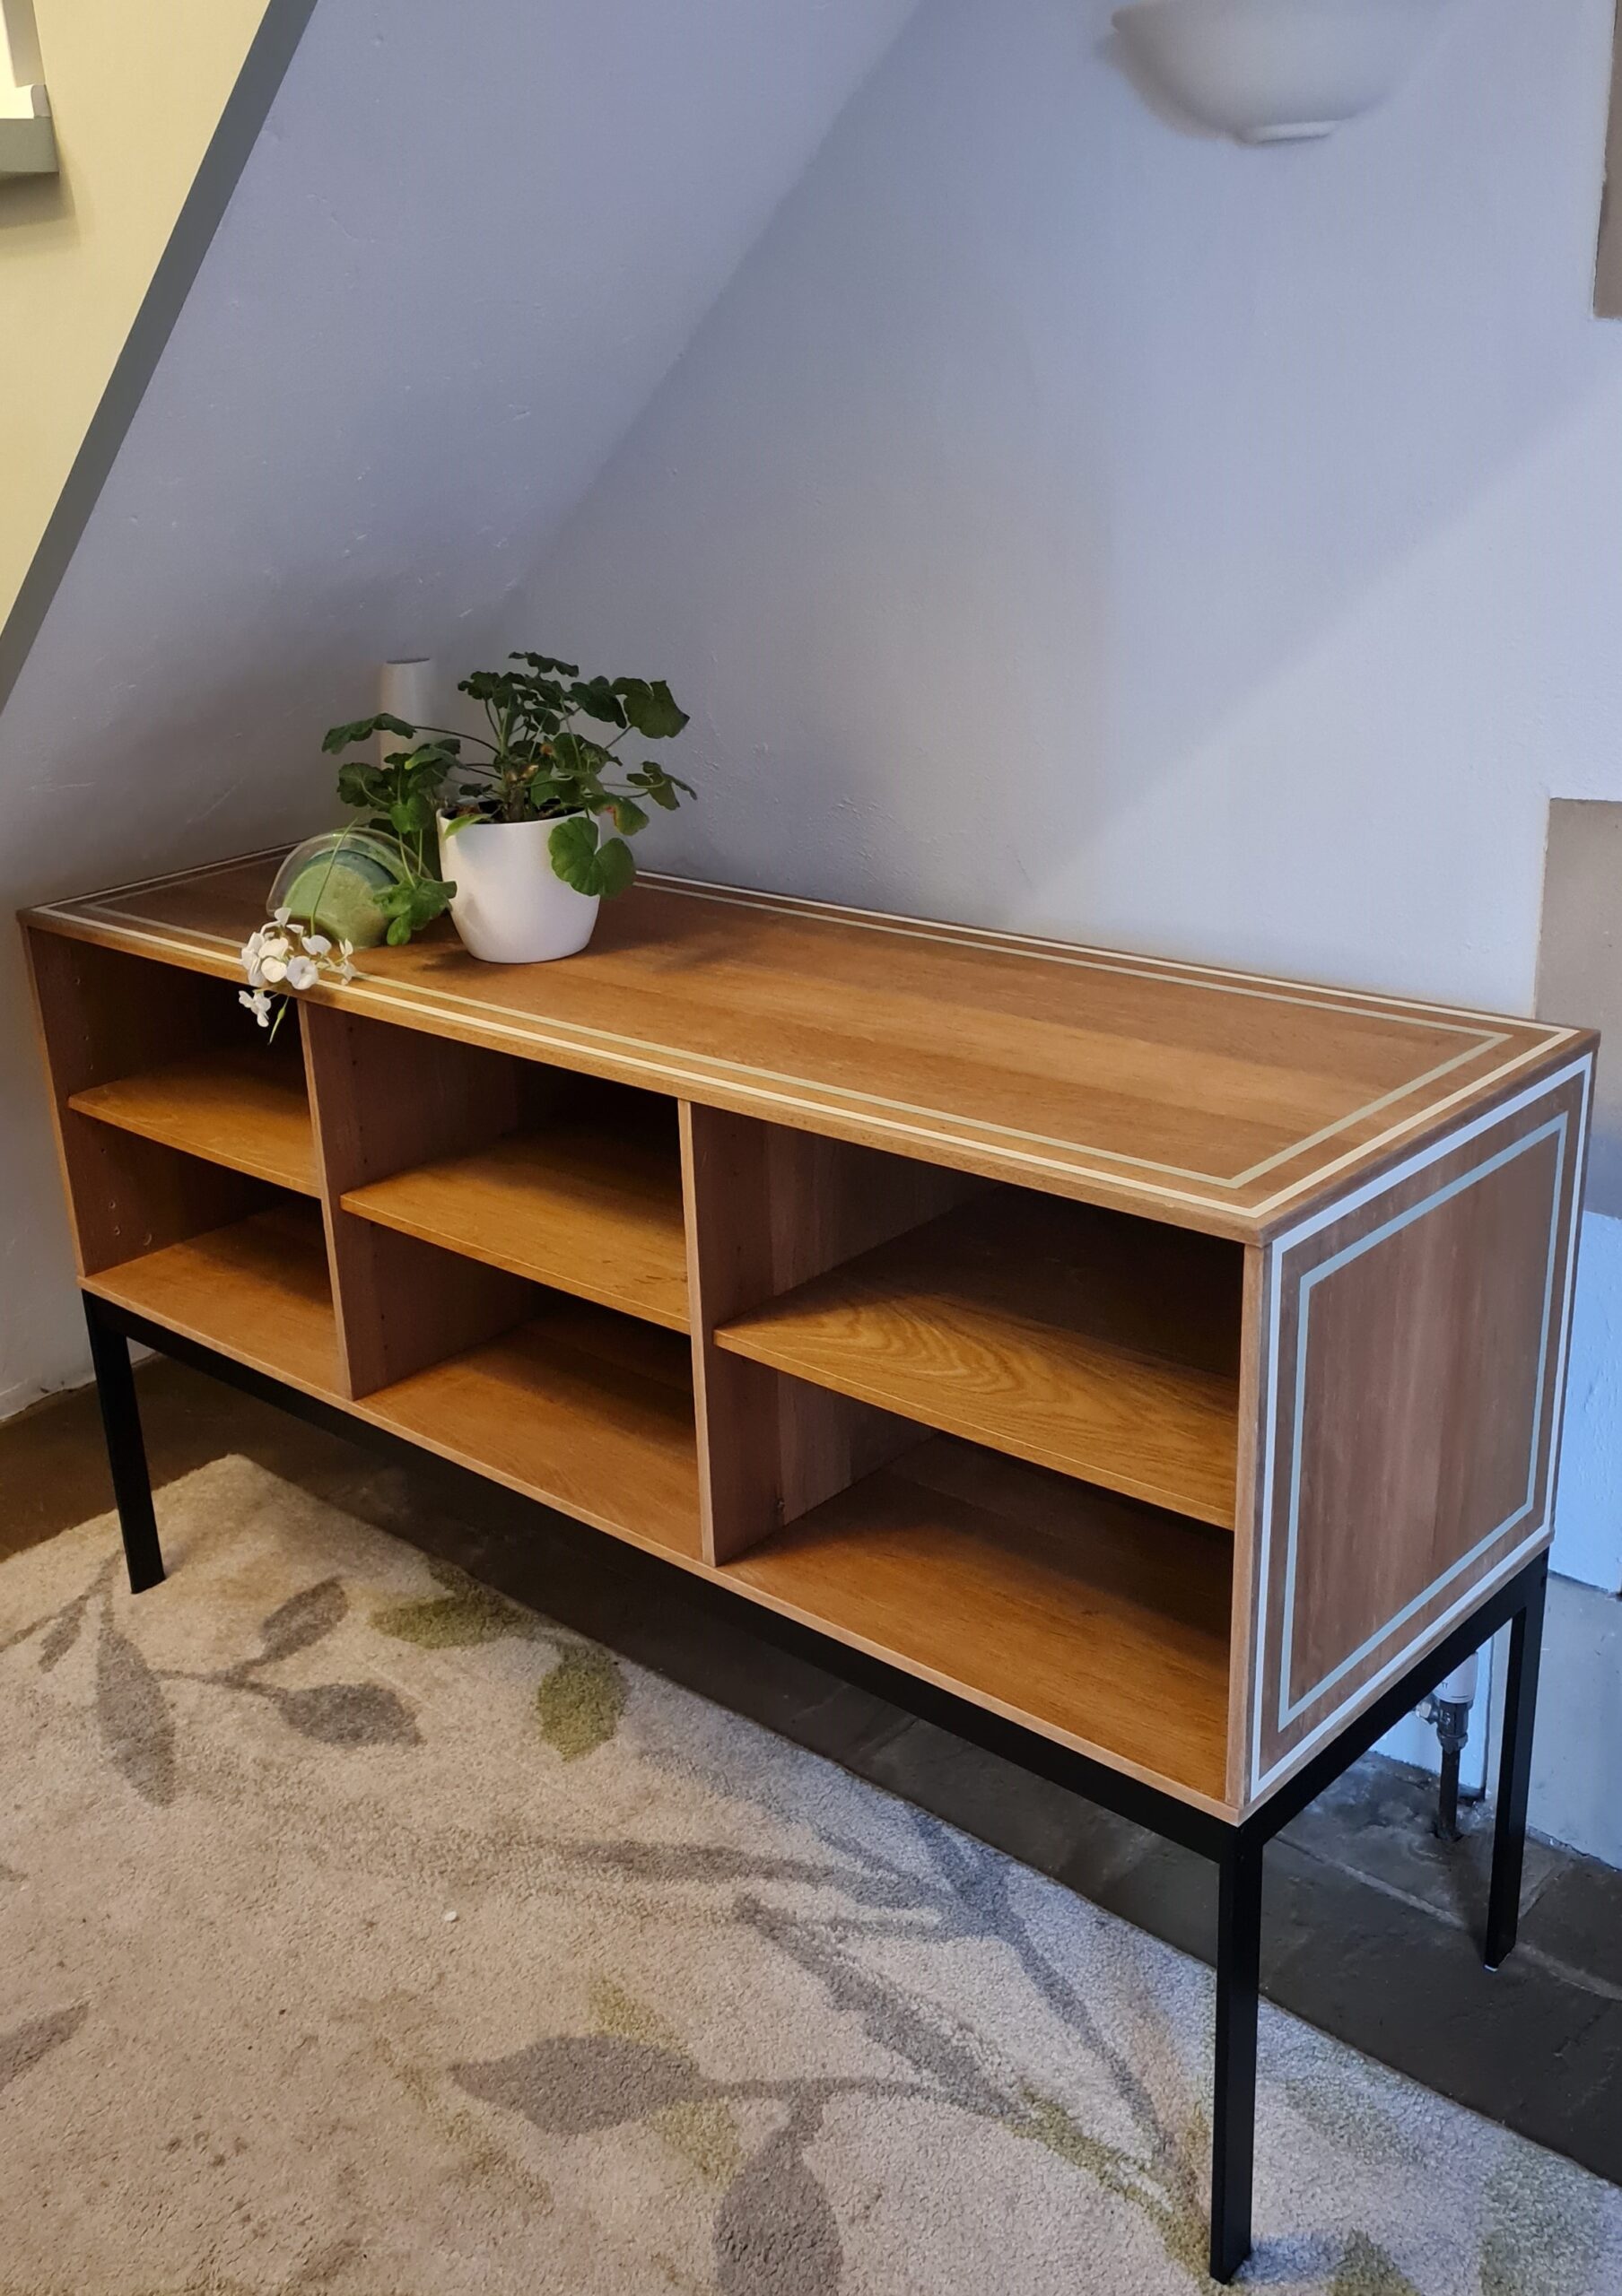
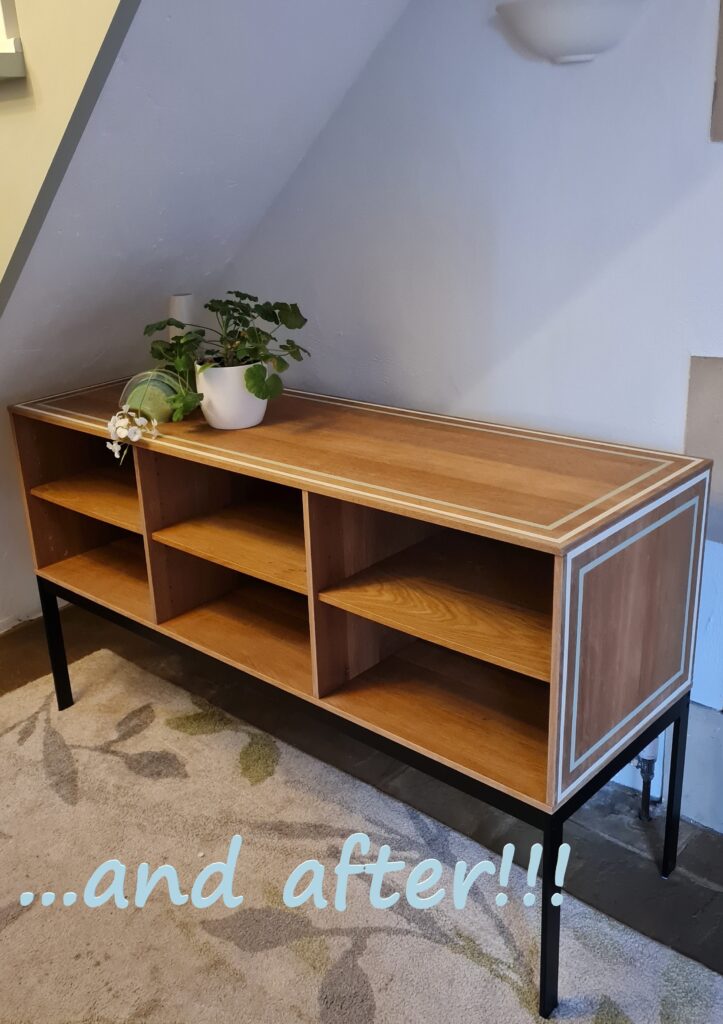
Overall I’m really pleased with the result! It fits in with the room, matching the other black fixings in the room and the woodwork around it. It doesn’t have a lot of detailed decoration, but that is beyond my capability! The piece has been in my home for about 15 years and now it will stay for longer!

