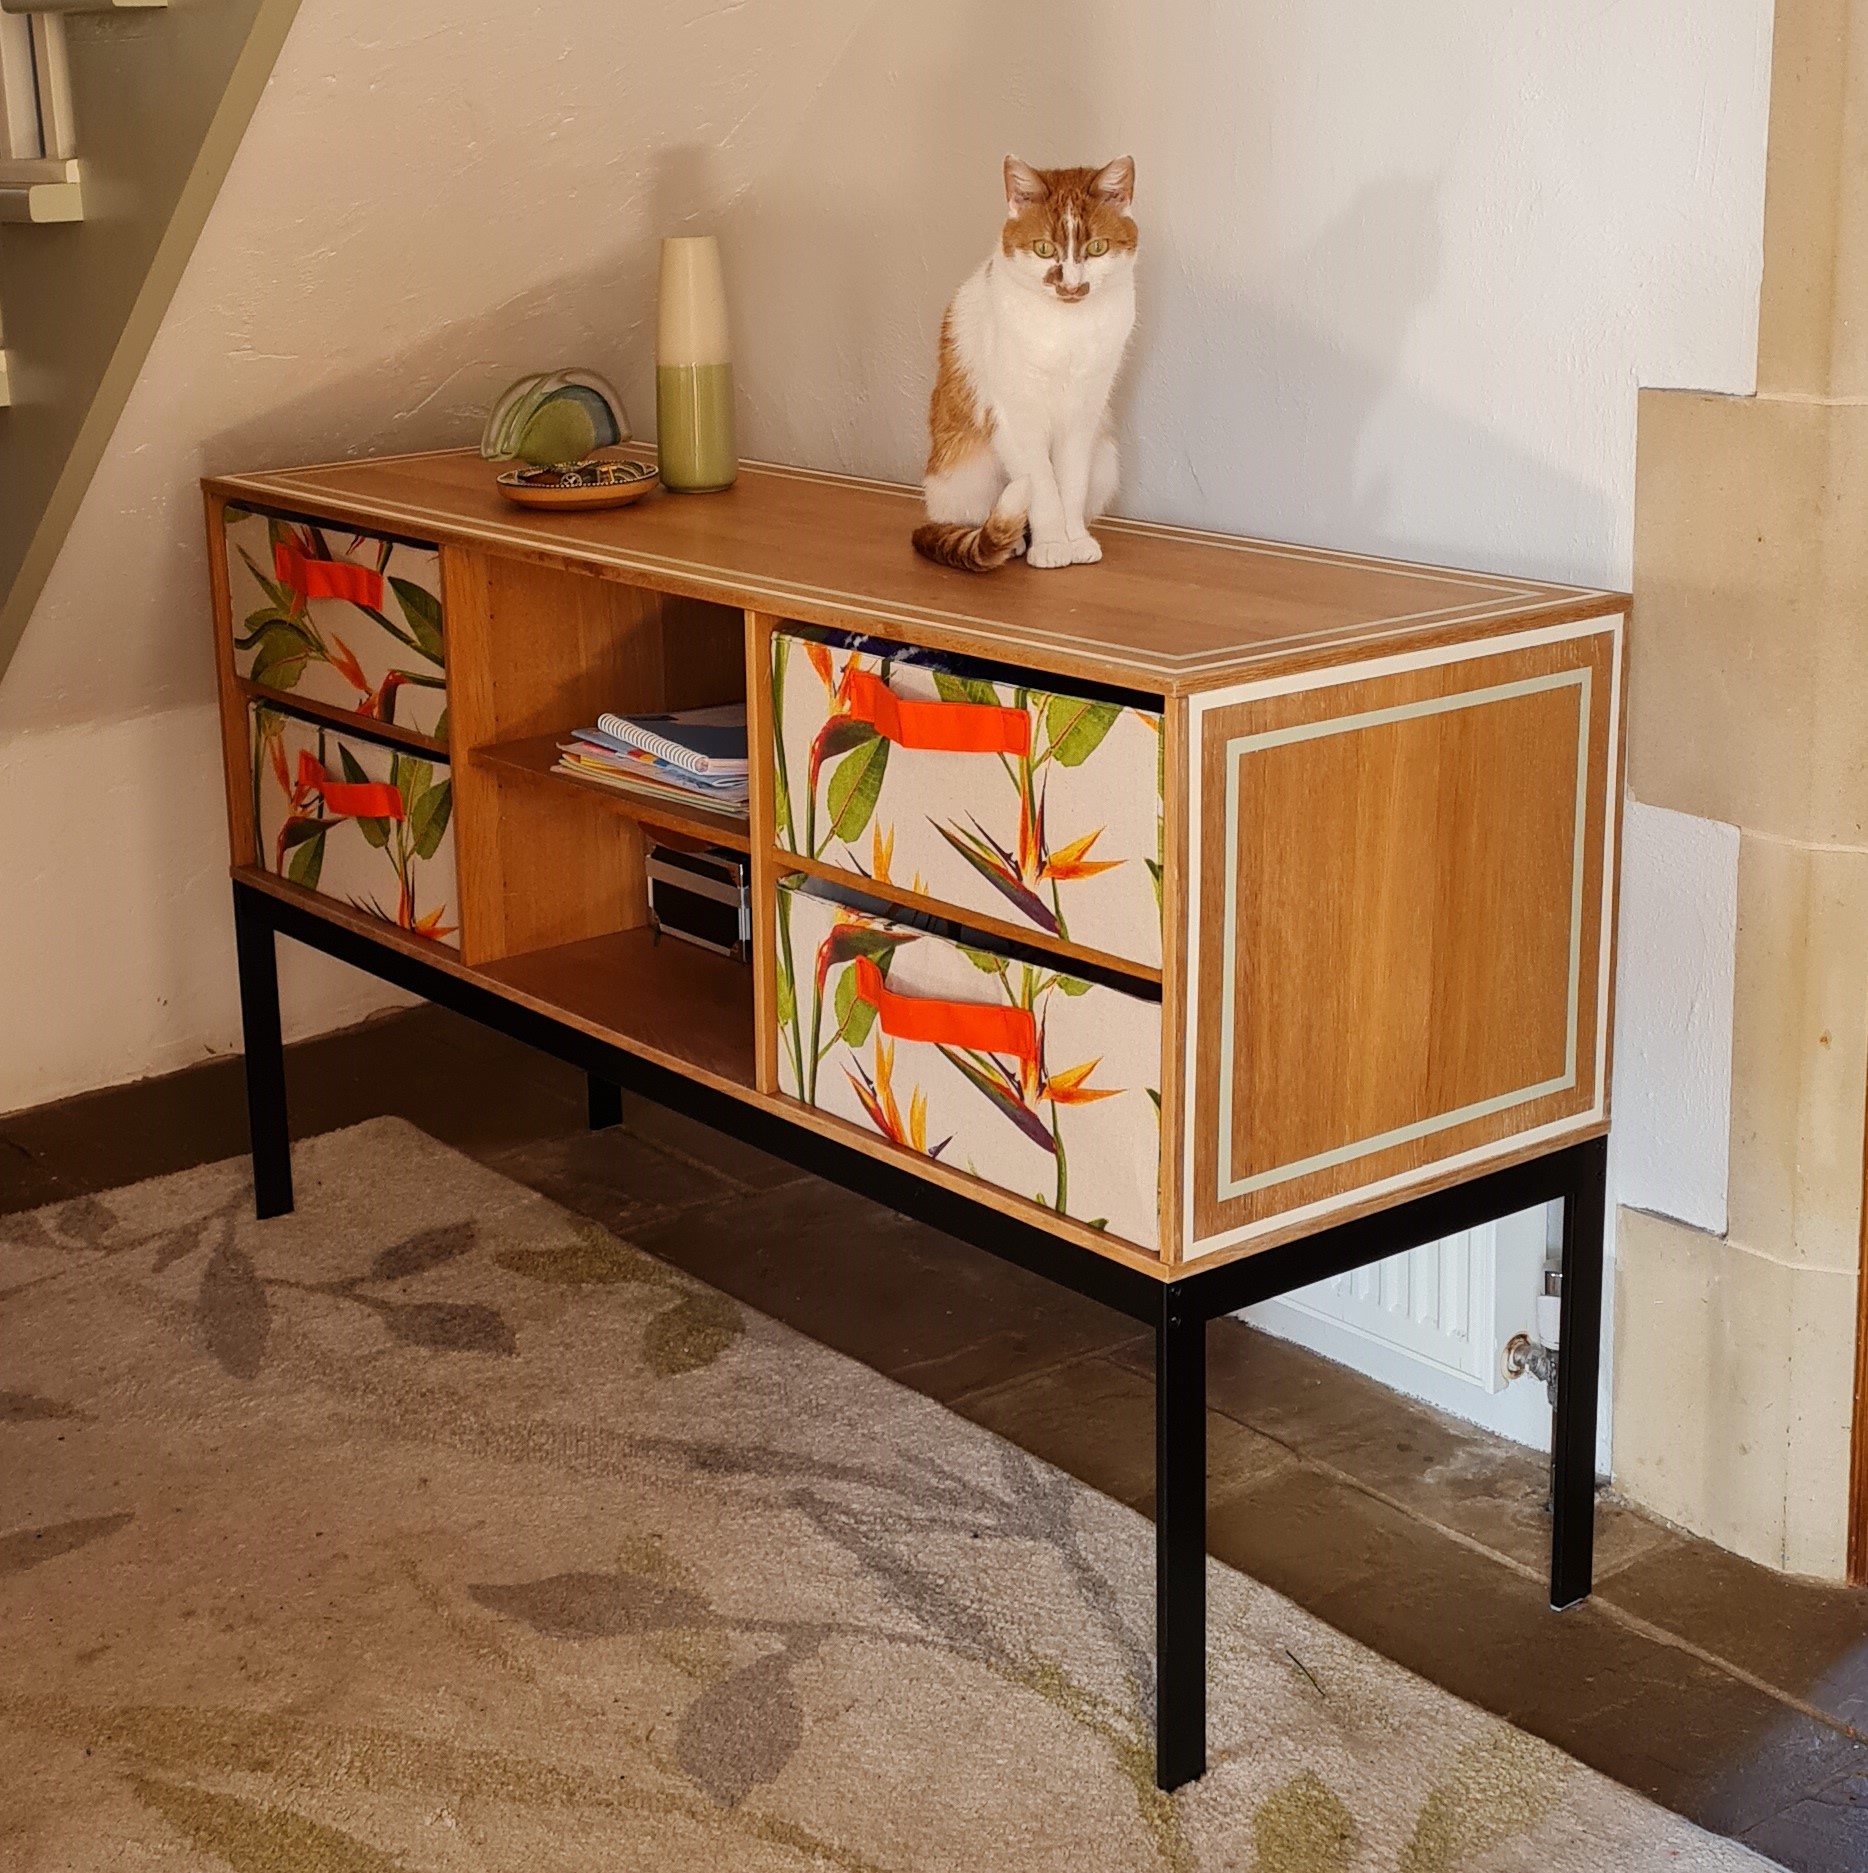
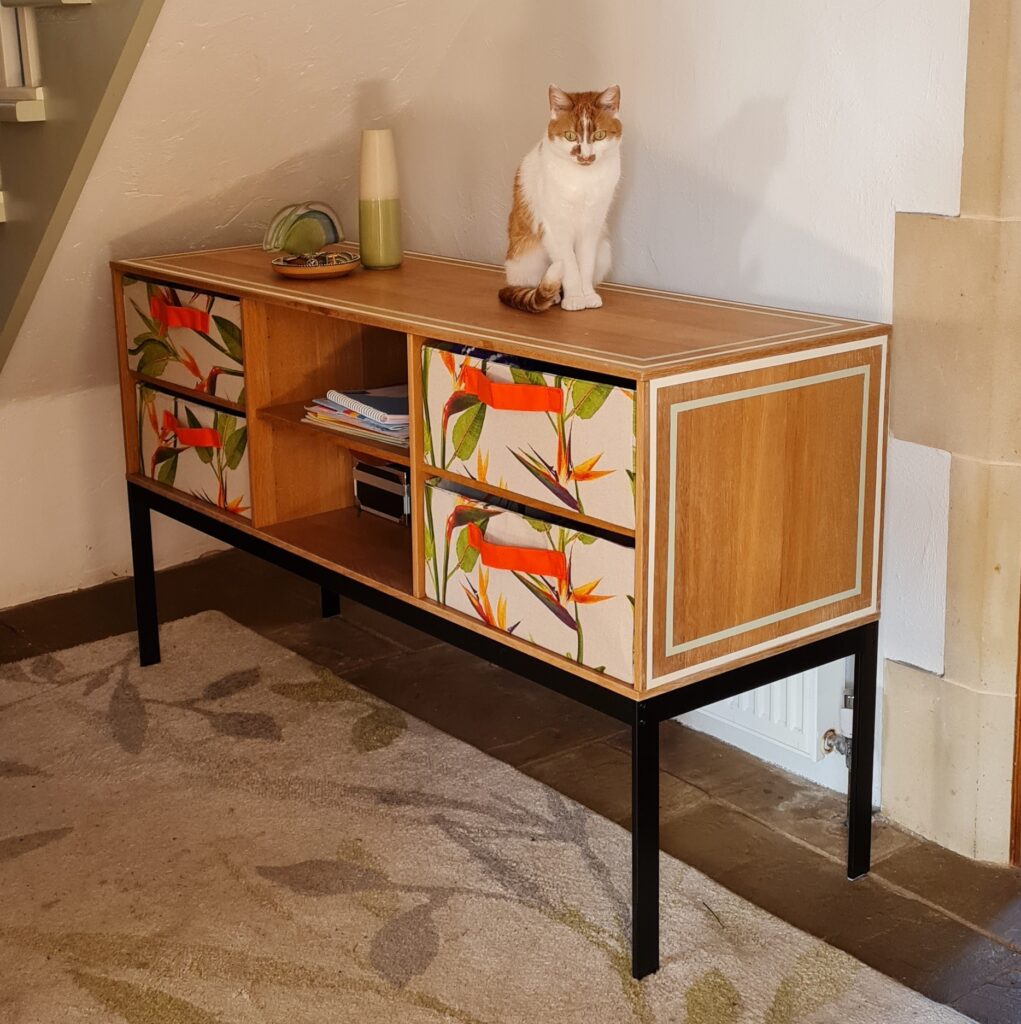
Each piece of furniture needs different size drawers, and different colours/patterns in a room. So, these are simple drawers in your choice of fabric, made to measure! I loved the idea that I could inject colour and pattern as well as have units that fit – and not for much cost either! They took about an hour to make each, so even achievable in a lunch break! I have a video on my instagram account too, if that is helpful.
Some skills are needed with the sewing machine, but not many! If I can do it, anyone can 😊 It’s just a bit tricky so move around, pin etc, so ensure you have a good table space and some patience. It’s a ‘more haste less speed’ type project.
Personalise your furniture – fabric brings thousands of possibilities!
Be careful to choose a thick enough cardboard – too thin and they wont hold their shape!
Equipment needed
- Your choice of fabric. Dimensions required per drawer:
- Width: (Draw width x 1) + (drawer height x 4) + 4cm for hems on each end
- Length: (Draw depth x 1) + (drawer height x 4) + 4cm for hems on each end
- Complimentary fabric for handles: 17cm x 7cm. This fabric needs to be quite thin as it gets doubled over and then sown onto the drawer front.
- Complimentary fabric for base: width+3cm x depth+3cm. I used a brushed cotton in orange!
- Cardboard. Enough for 2 sides (drawer height x depth), front (drawer height x width), back(drawer height x width), and bottom (drawer width x depth). I used this from Amazon: 5 x A1 Paper Size (594 x 841 mm) Sheets GREYBOARD (3000micron) https://amzn.eu/d/cI20EyX
- Fabric chalk
- Spray glue for attaching the fabric to the bottom.
- Pins
- Cotton thread suitable for your fabric colours. Use good quality thread as it will go through quite a few layers.
Step by step guide
Step 1
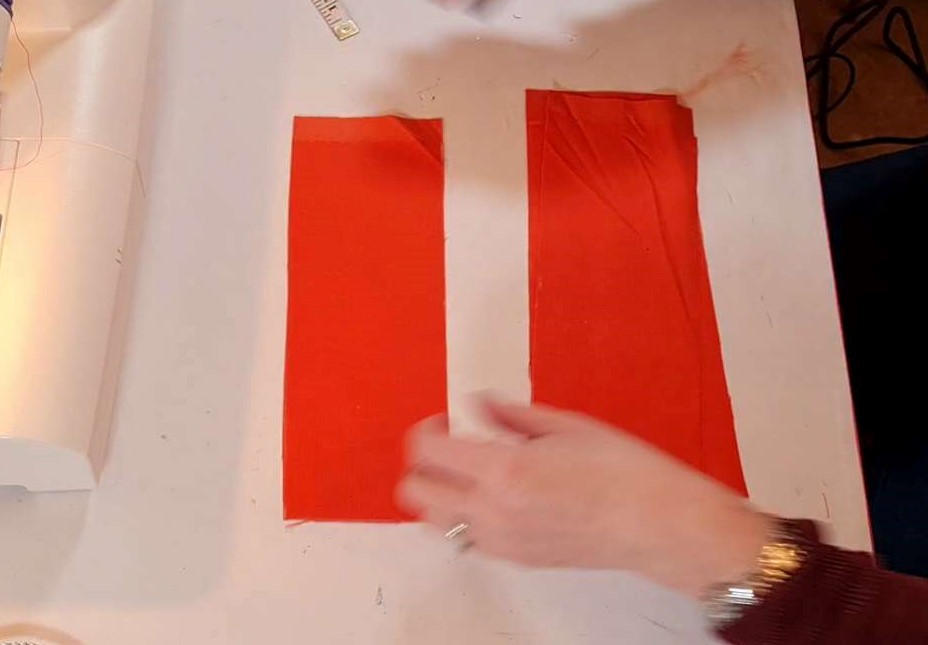
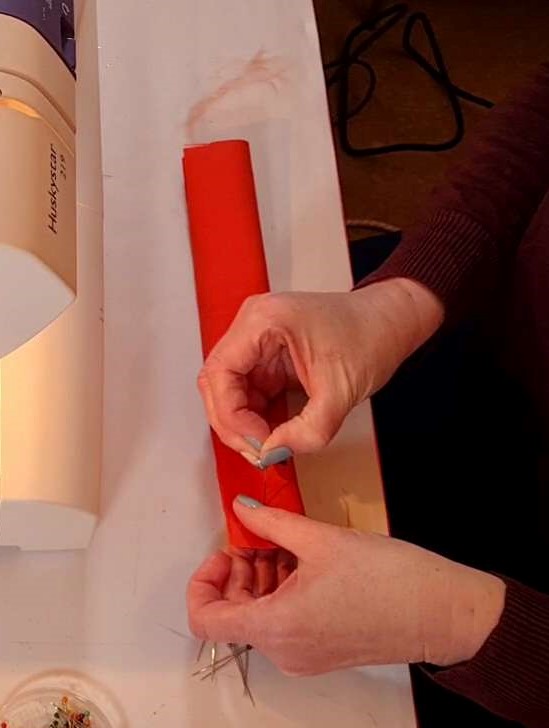
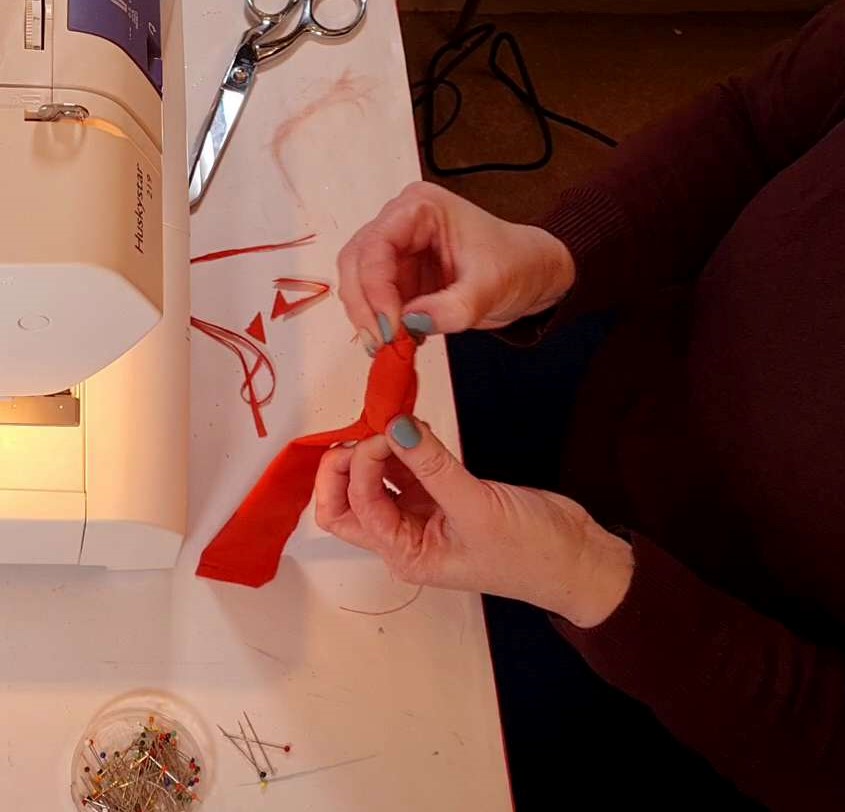
Cut the fabric for your handles to size. Mine measured 15cm x 3 cm in the end, so the fabric started at 17cm x 8cm (enough for 1cm hem at each edge). Fold in half longways with the top surface inside and pin. Sew around 2 sides, 1 cm in from the edge. Trim the corner and turn inside-out! So the top of the fabric is now on the outside!
Step 2
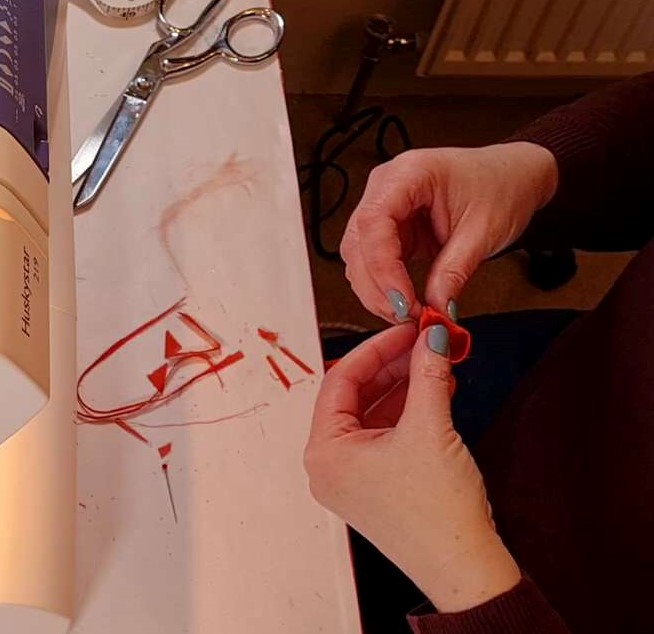
For the open edge, tuck 1cm inside and sew up! Iron flat.
Step 3
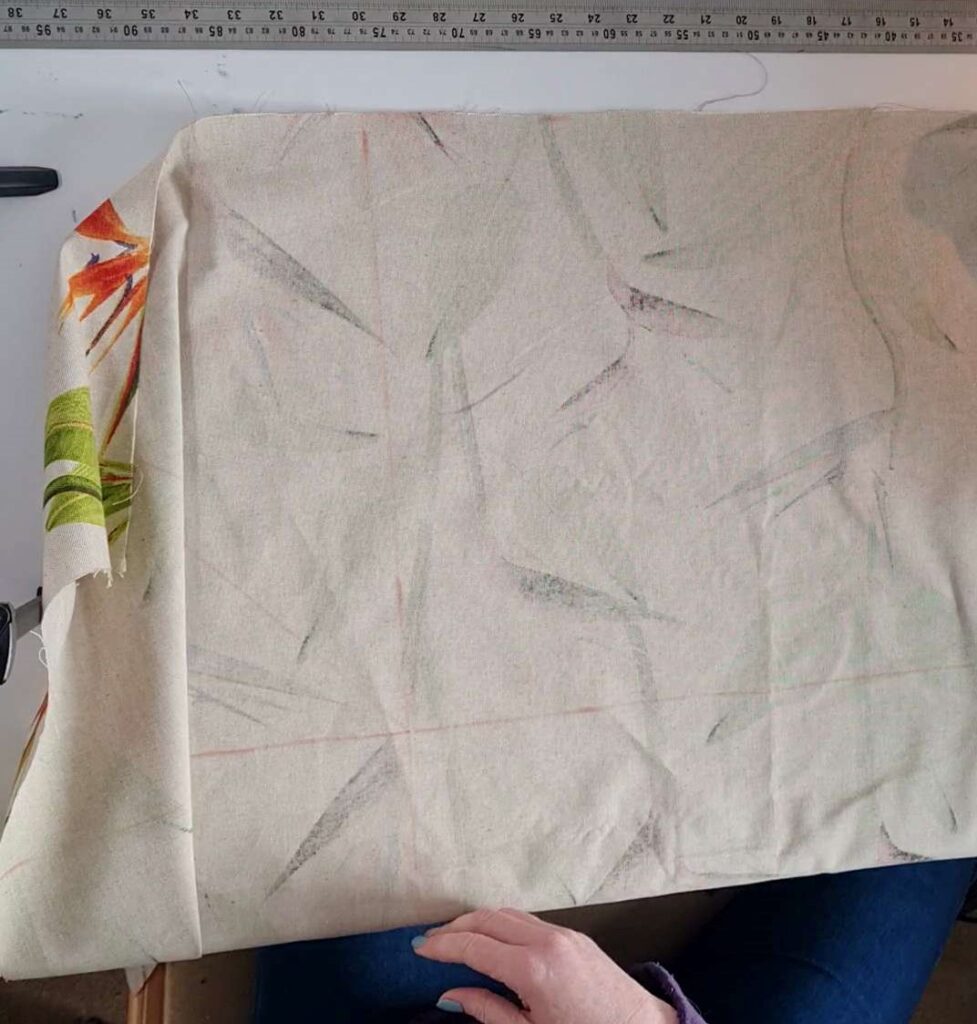
Cut your drawer fabric according to the measurements above. Mark out on the inside of the fabric with fabric chalk (or equivalent) the drawer bottom, sides and hem, like you would for a normal cardboard box or tray. You will need these marks and rely on them, so ensure nice and clear!
Step 4
Sew on the handle you made in steps 1&2. Doing at this stage makes it much easier, but carefully measure from the bottom of the drawer you measured out, pin and sew each edge. Ensure there is about 1cm loose fabric in the middle so that the handle is not tight against the drawer at the end.
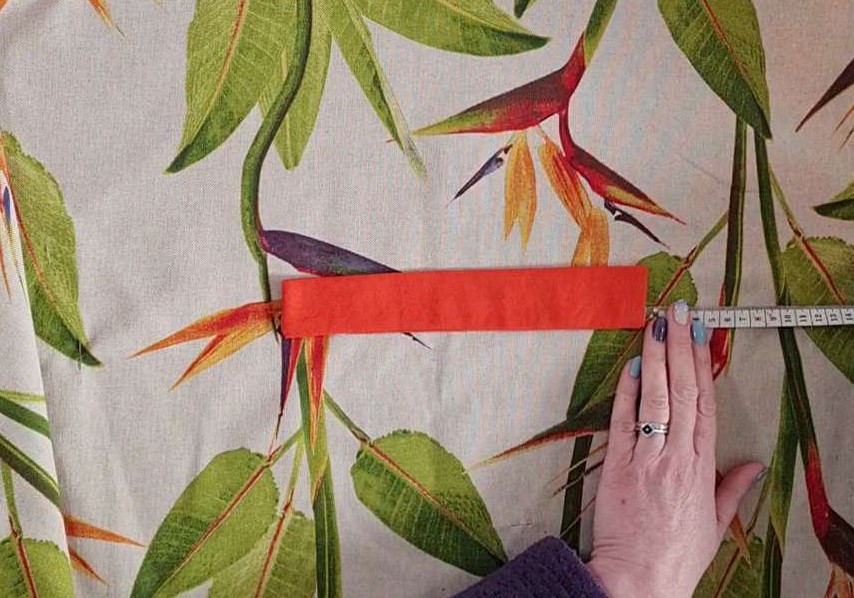
Step 5
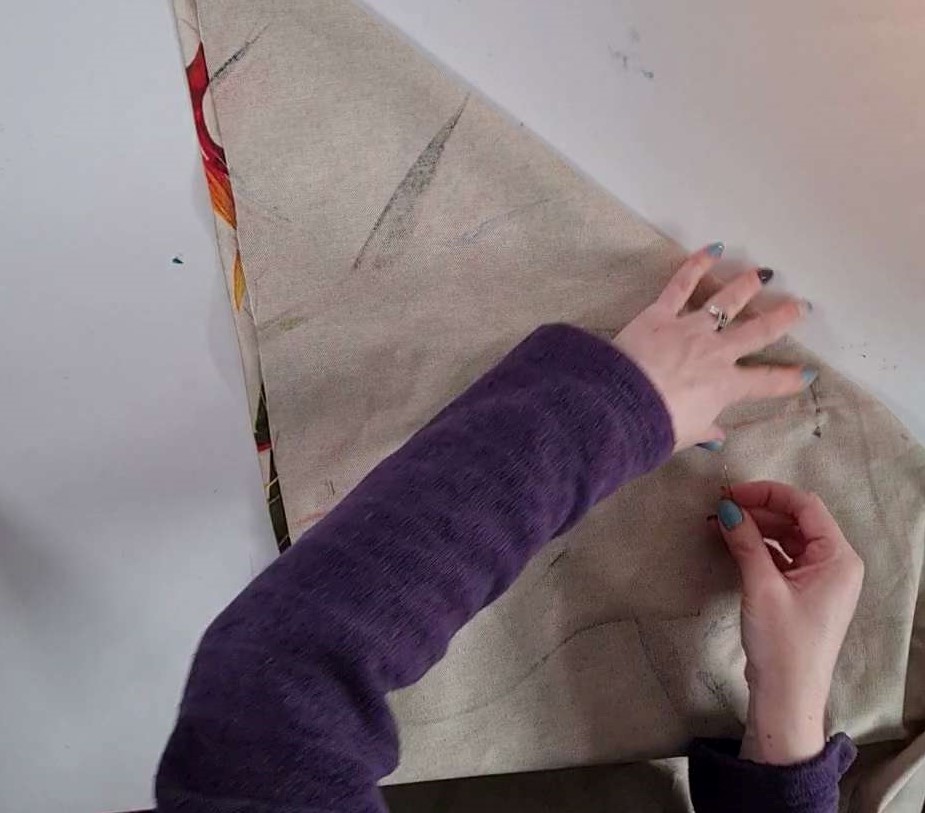
Get ready with the sewing machine and lots of pins! This step is to sew the corners of the drawer. Complete one corner at a time, before moving onto the next. With the inside out, fold the corners with a diagonal from the drawer bottom corner, to the corner of the fabric. The lines for the sides of the box you made in step 3 should line up. Pin well and sew from the bottom corner all the way to the edge. Take out the pins and repeat for each corner.
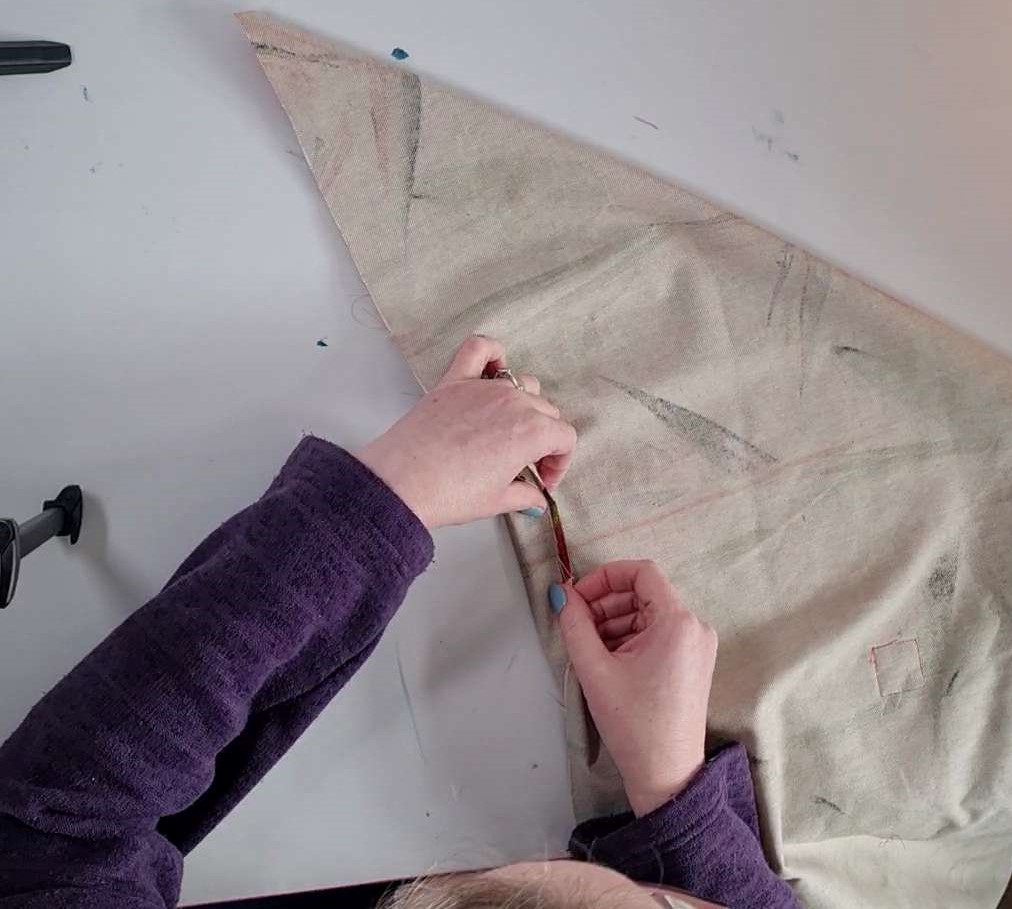
Step 6
Lay out the box with a side down on the table, outside edge against the table. You will have a big triangle of fabric on the inside that you don’t need. Don’t cut it off as it will help with the stiffness of the drawer sides. So flatten carefully against the inside of the drawer side and pin in place along the diagonal and the edges. This is tricky, so take your time to ensure as flat as possible, and as tight a corner as possible. Repeat this on each corner.
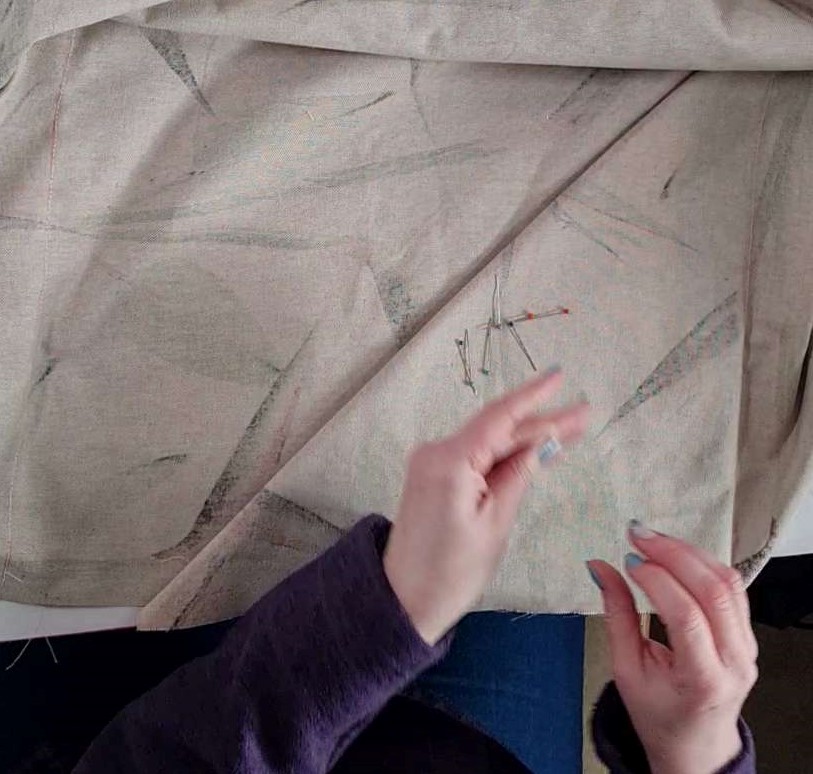
Step 7
I found this bit the most tricky! On the edges of the fabric (which is currently double height… that is correct!) turn a double hem which is total 1cm wide, turning over the fabric twice. This is the additional 4cm (2 x 2cm) calculated for the fabric dimensions. Pin.
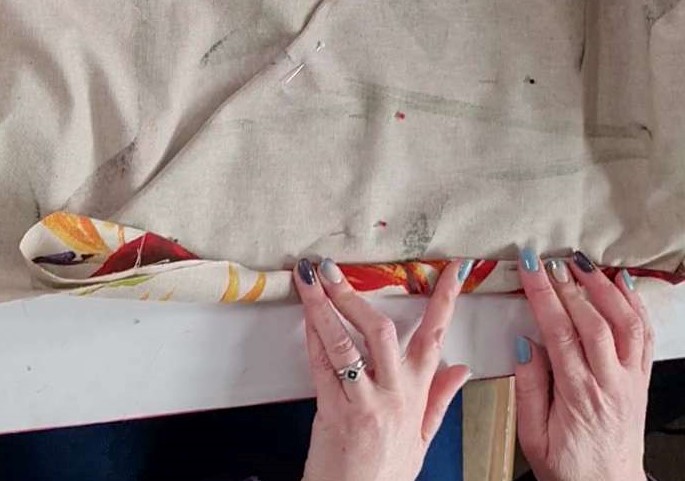
Step 8
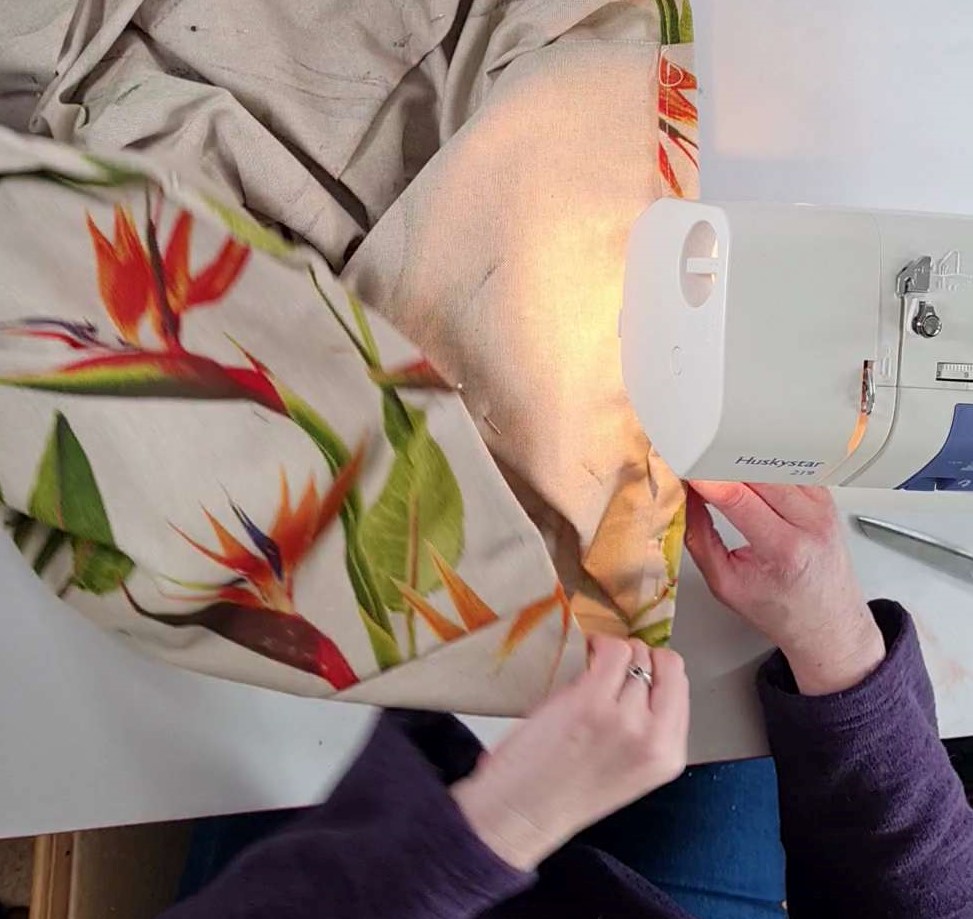
Sew around the edge you have just pinned. Remove the pins! You will now have a double height drawer cover.
Step 9
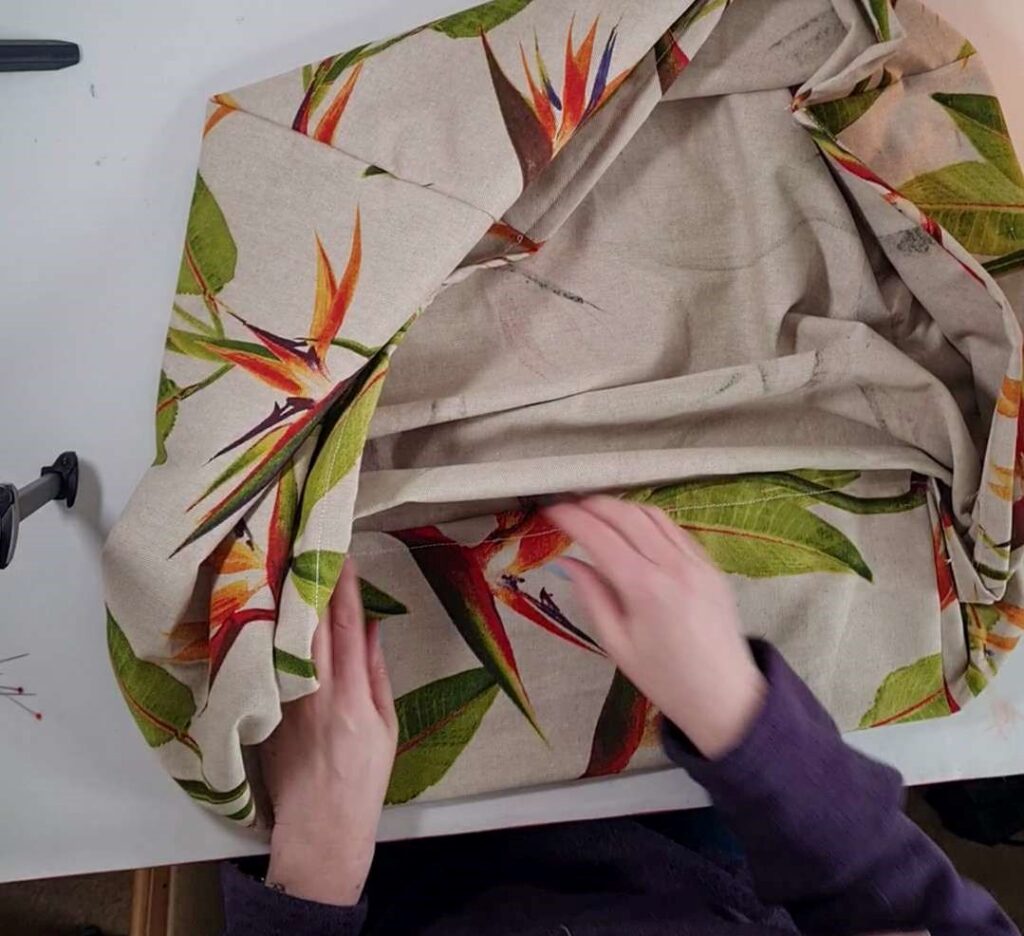
Fold over the sides, to make them the right height for the drawer. Double check that the measurements are right. Pin near the fold which will be the top of the drawer. Sew around the edge, very close in (1mm) to just make it a sharp top edge.
Step 10
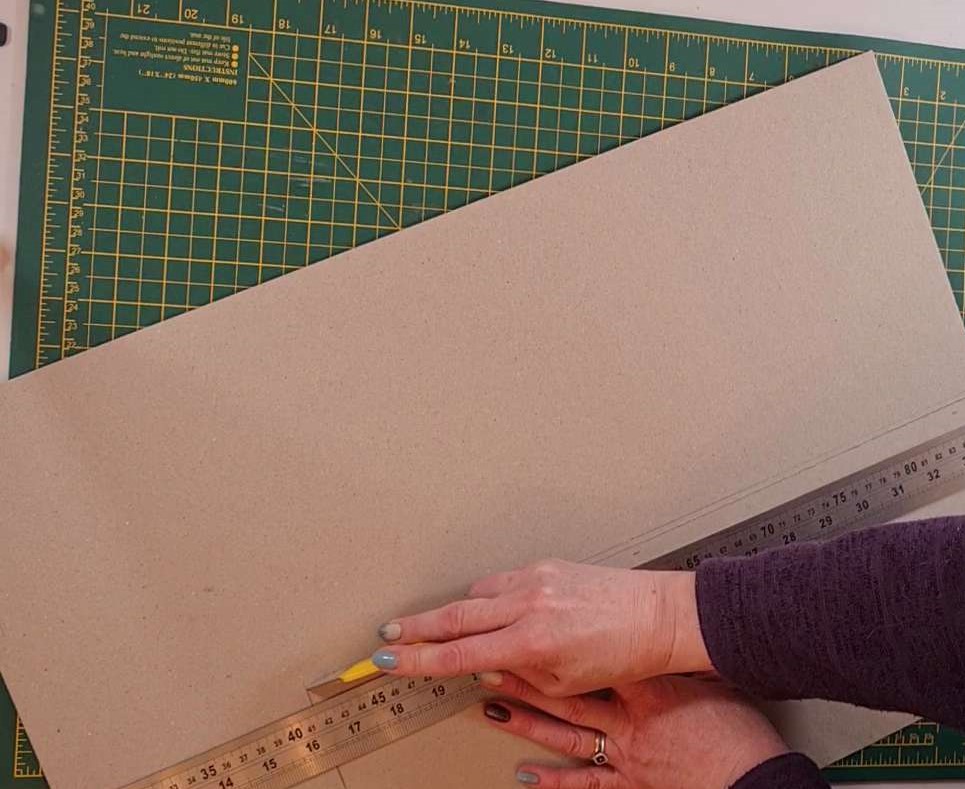
Cut out the cardboard shapes. The side and bottom will need to be the size of the final drawer minus about 1mm on each edge, so that the cardboard fits inside/but is going to stretched tight.
Step 11
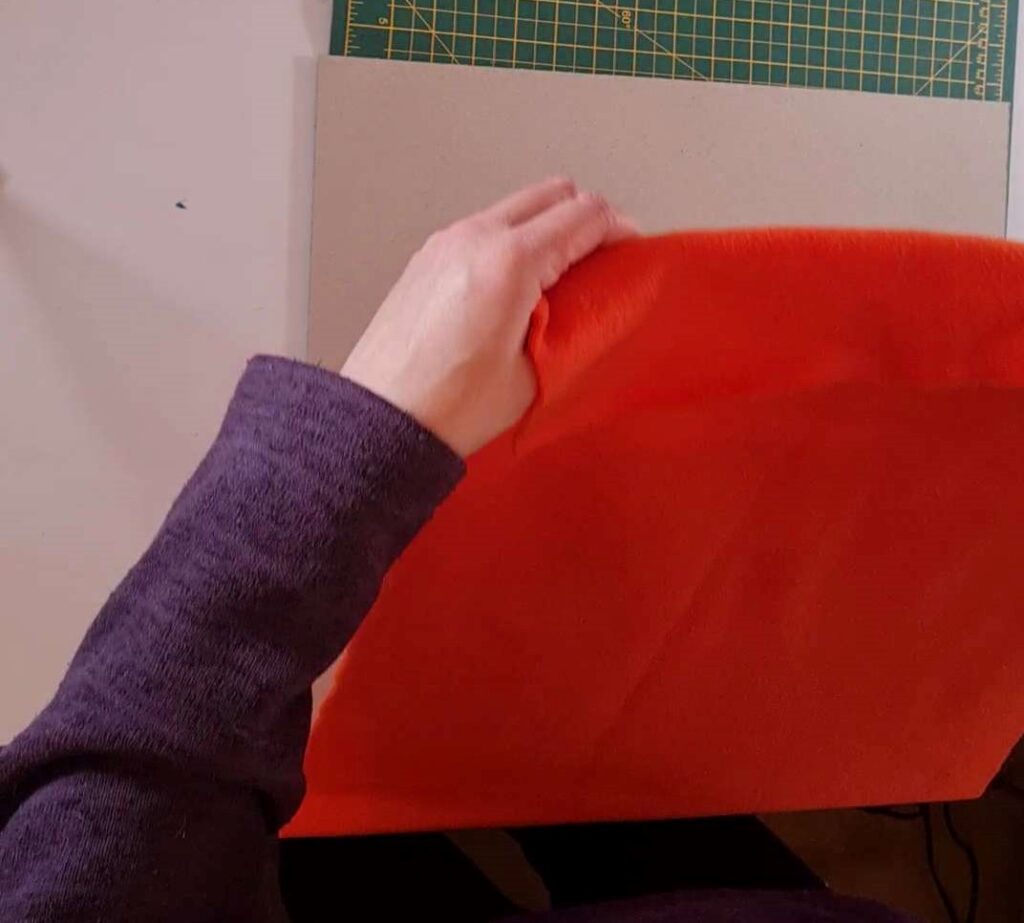
Cut out the fabric for the bottom – the width=3cm x depth+3cm. Glue with whatever you have chosen – I used a spray mounting glue. Cover, cut across the corners and fold / glue over the edge.
Step 12
Slot in the cardboard to the sides first (in the pocket you have made), then the lined base into the bottom.
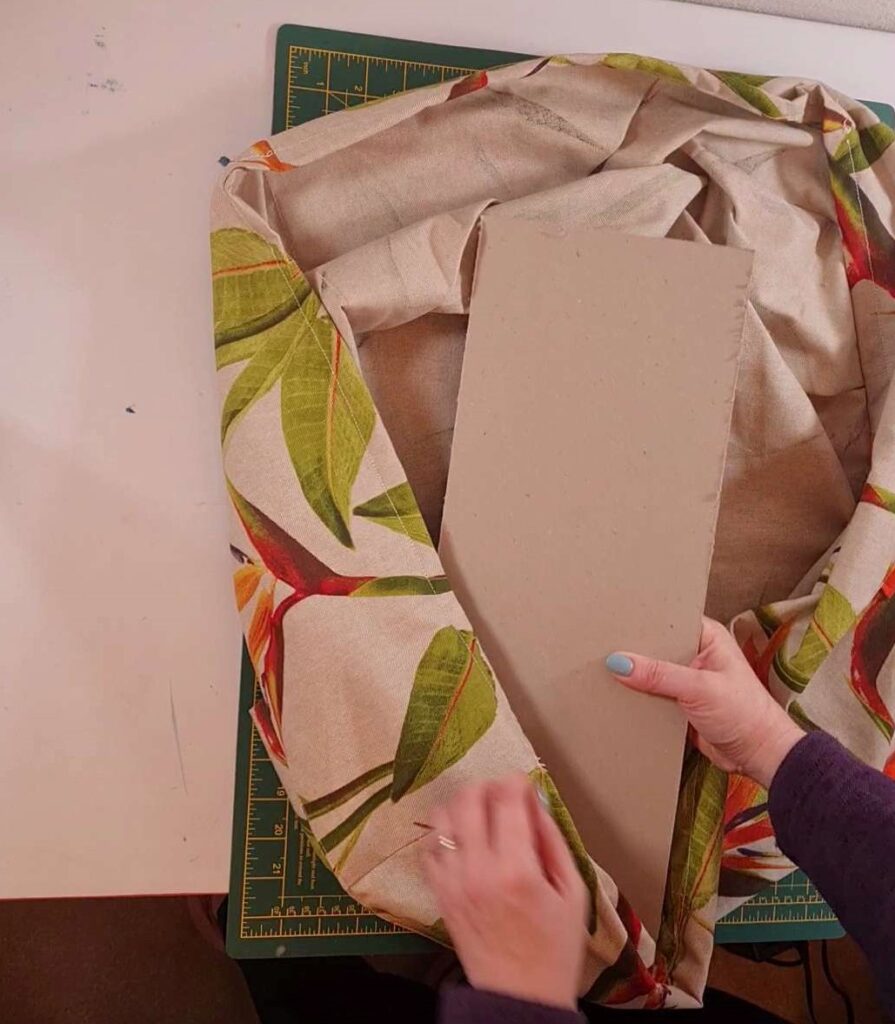
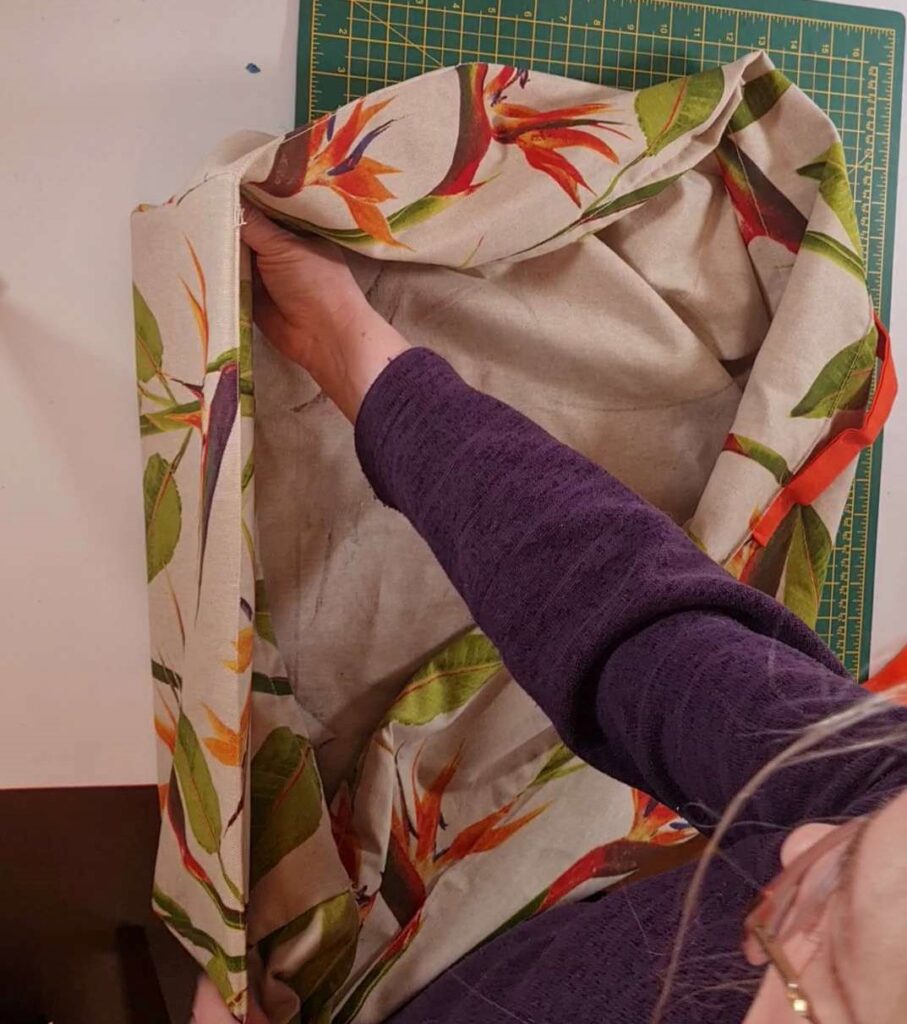
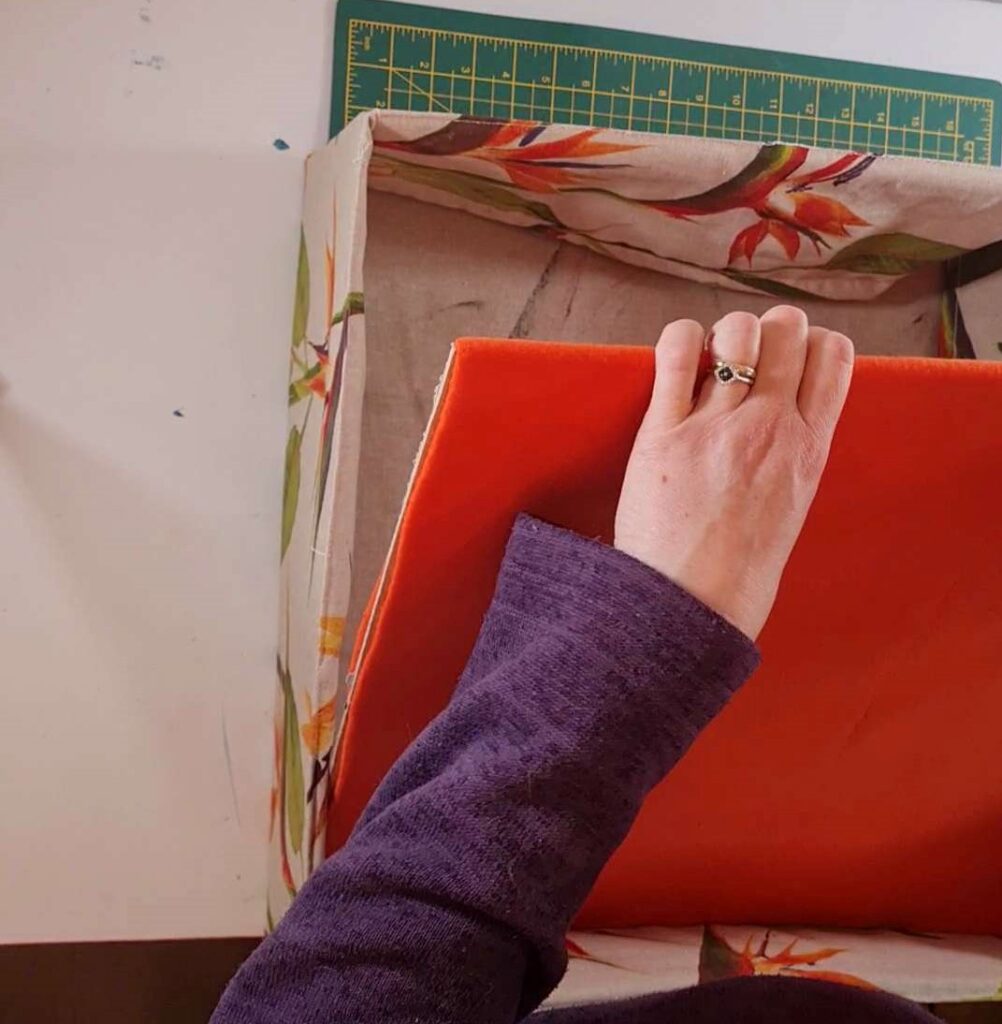
Ta da!!!
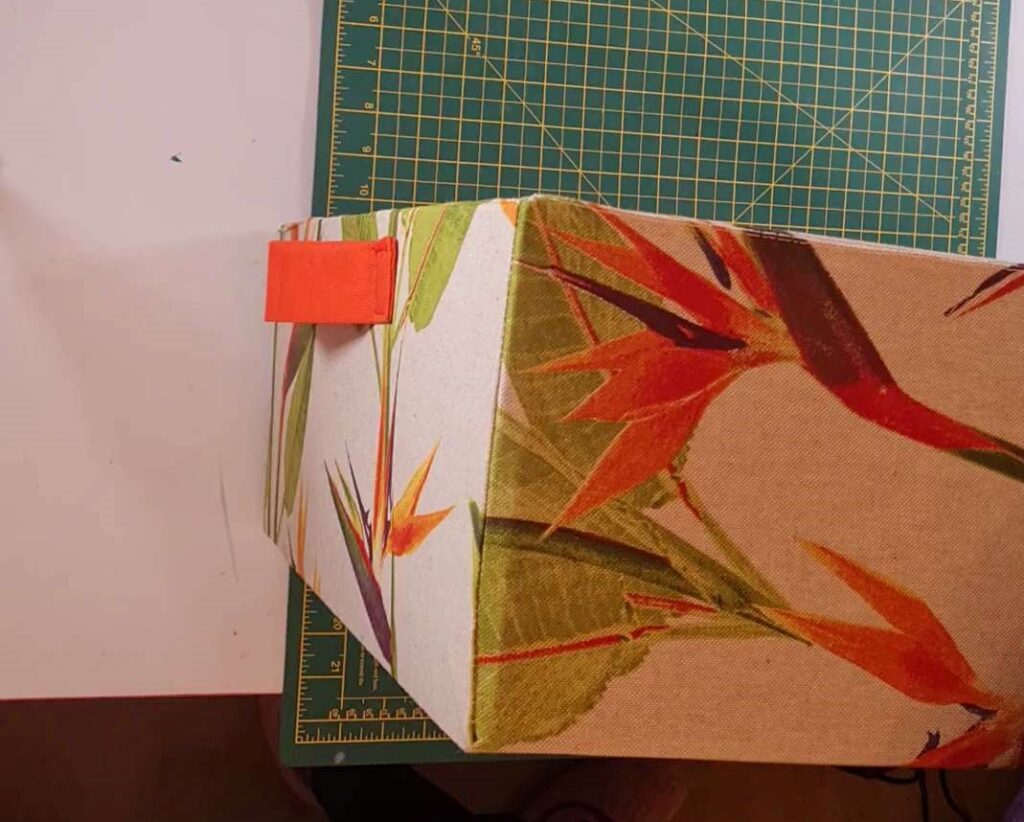
I was thinking about this little project for months and months before bringing it into reality! But having done them, I love the vibrancy of the fabric – and they used every day in our hallway for gloves, scarfs, hats, cycling stuff etc. I can also take the cardboard out and wash them when I need to!
