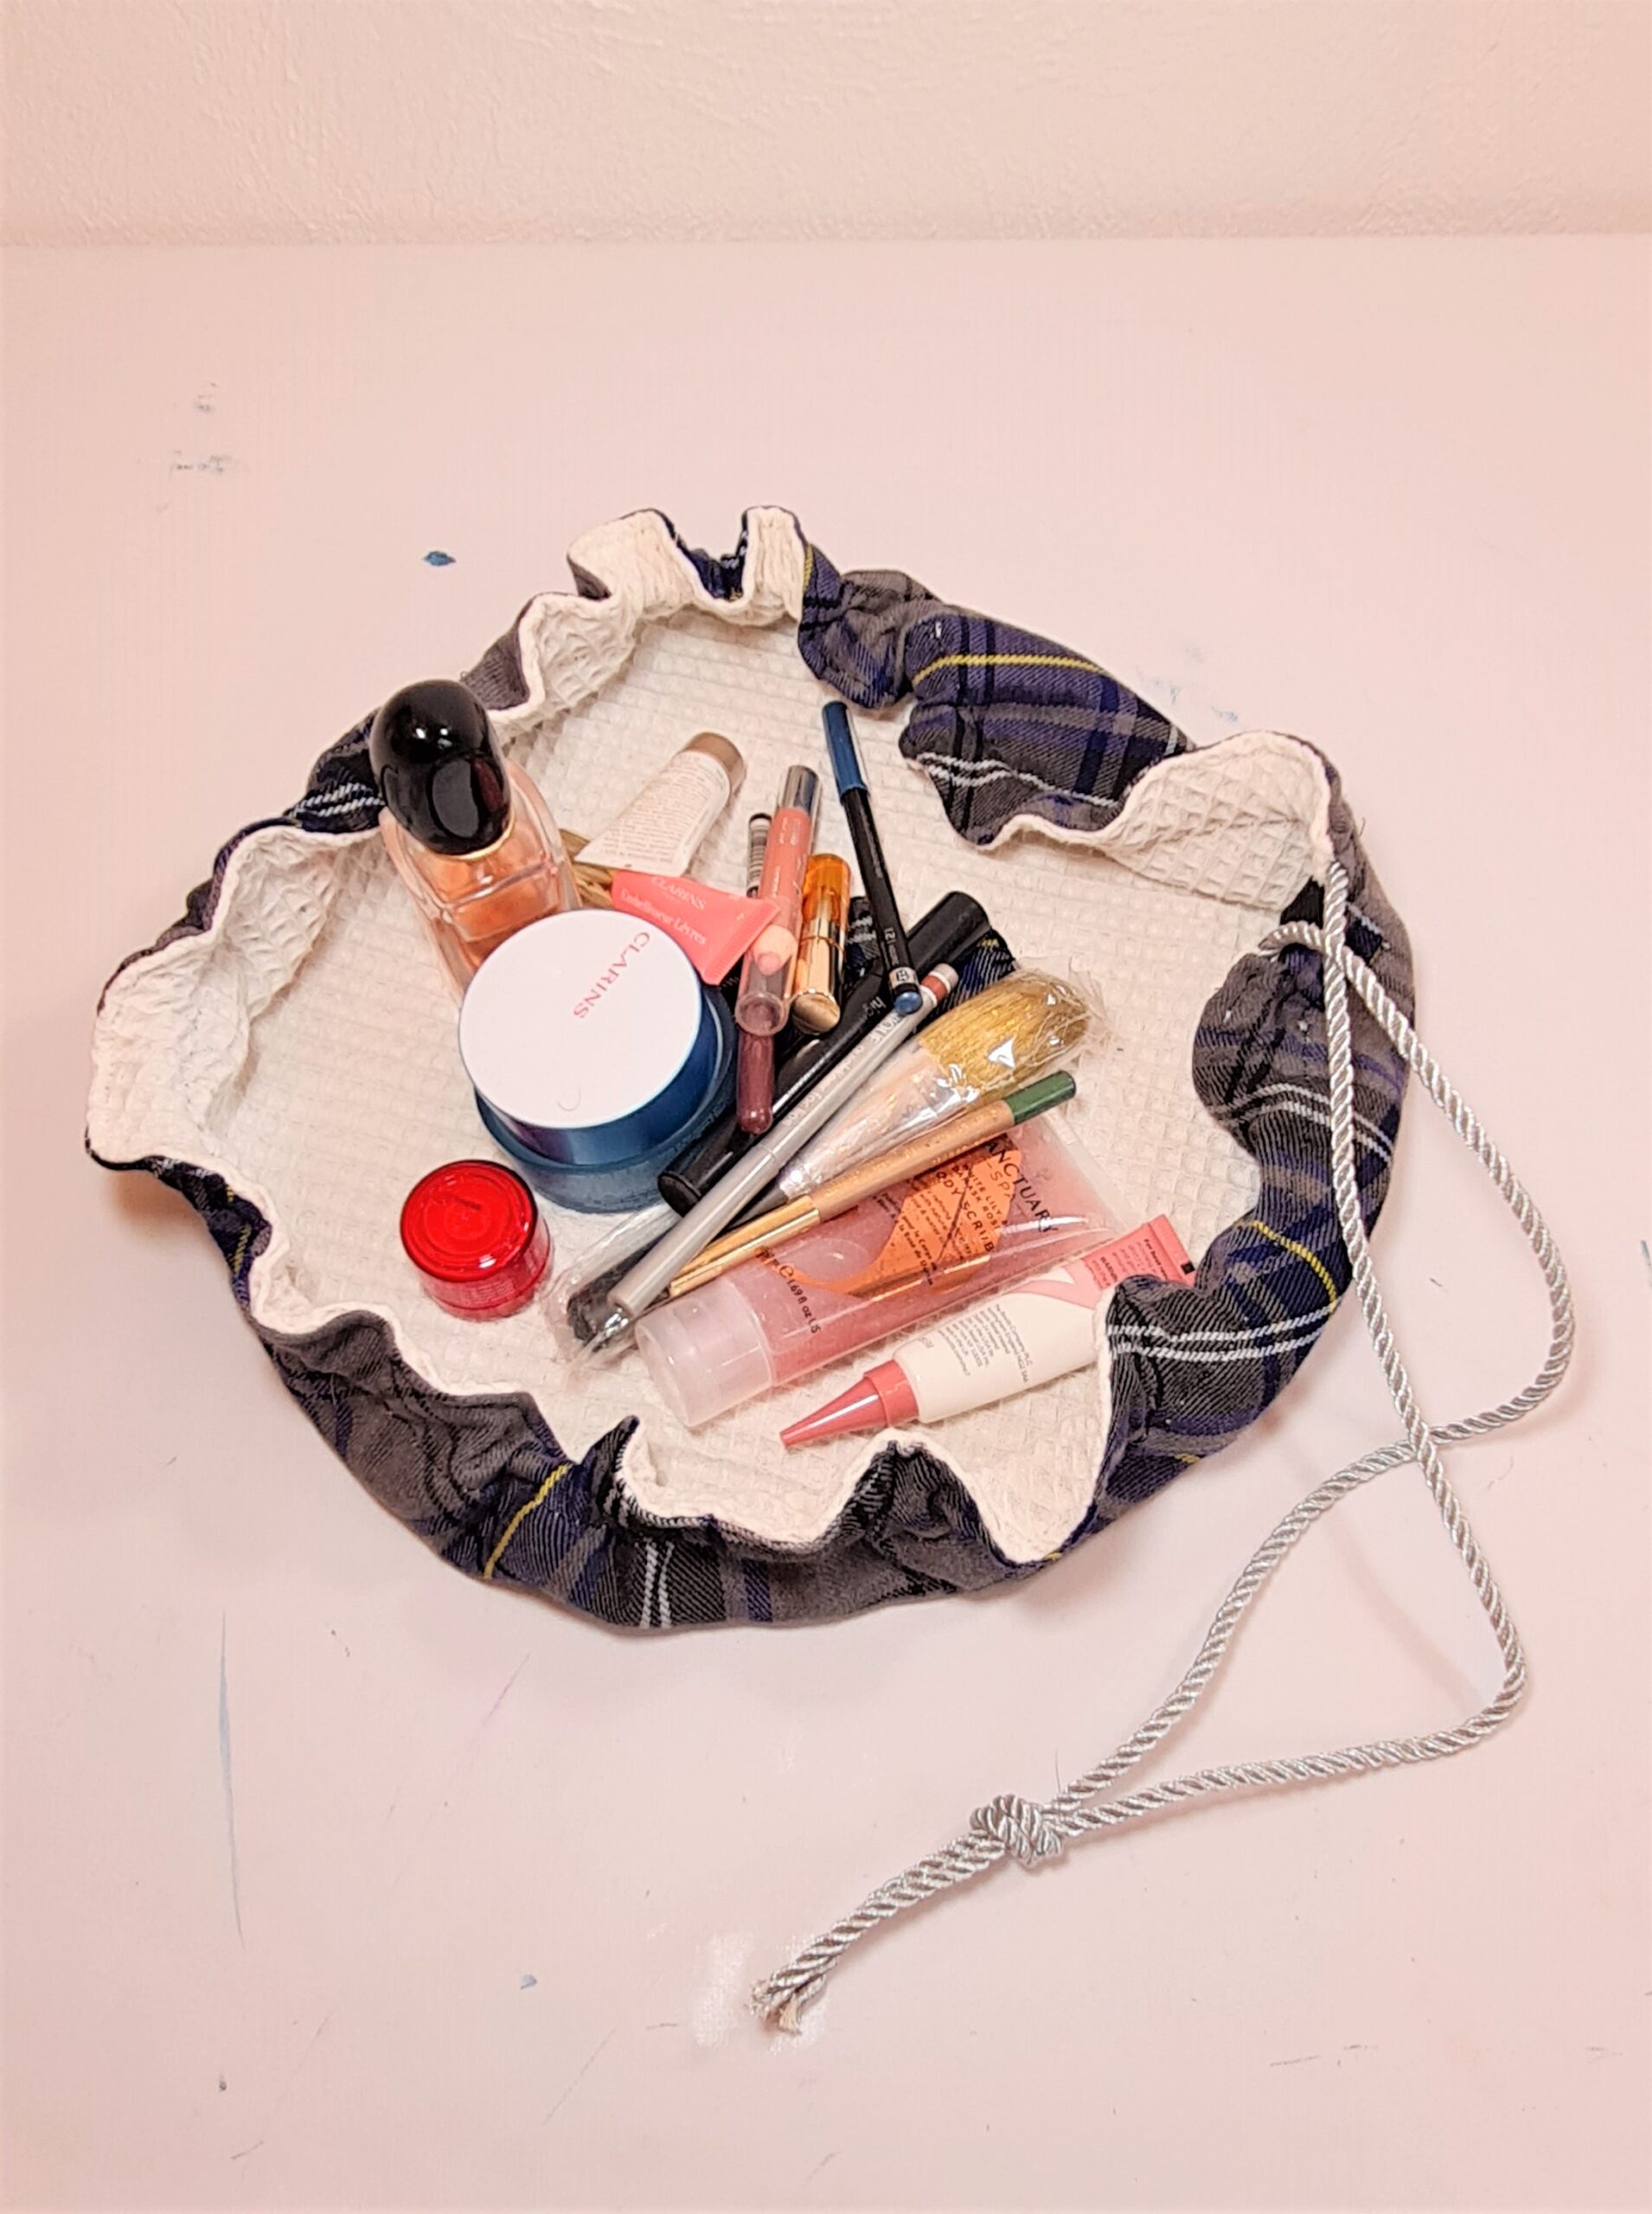
There are so many bags out there, so I’m sure you can find whatever size, shape, style, colour you like, but this is a little project to make one yourself. Having a drawstring rather than a zip makes it much easier to sew – and it also makes it much easier to open and see everything inside!
This is also a project that anyone can do, though you do need a sewing machine. Other than that, everything is quite simple. I have personalised this one with the initials on both sides (using the fabric of the opposite side), but you can skip this… or make it more complicated! Whatever you prefer and however much of a challenge you would like. I did applique, but again you can do whatever you like, like paint, embroidery, pens, anything.
Without the initials, this took less than an hour from beginning to end. So, give it a try and I’d love to know how you get on!
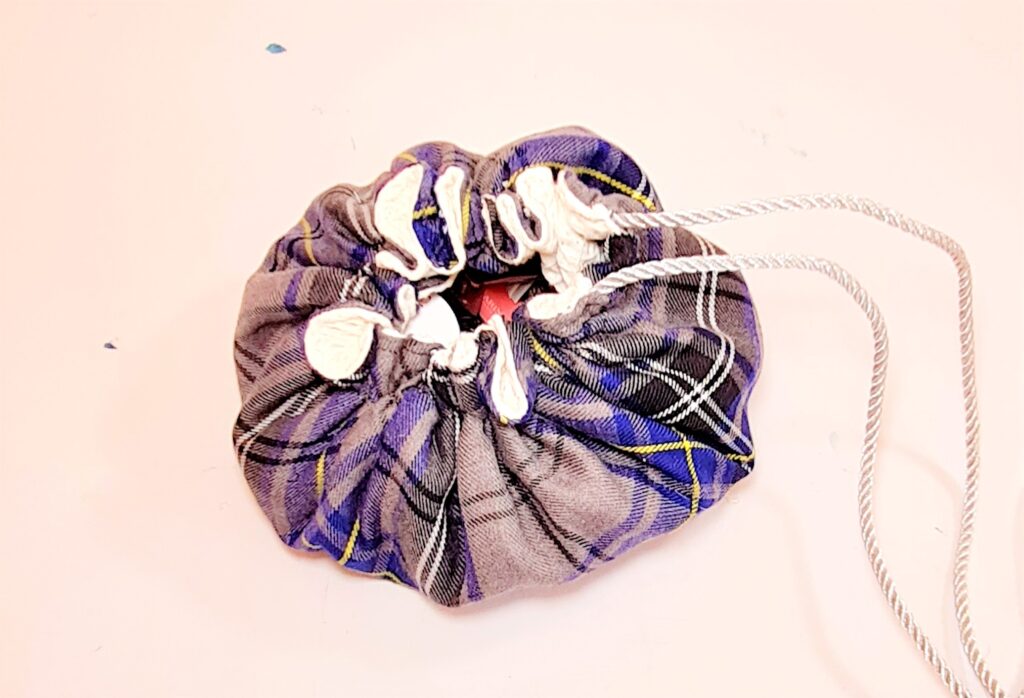
Equipment needed:
- Sewing machine with a standard foot, needle etc – nothing too special! 😊
- Fabric for 2 40cm diameter circles (or whatever size you choose)
- Cotton
- Cord for the drawstring.
- Scissors
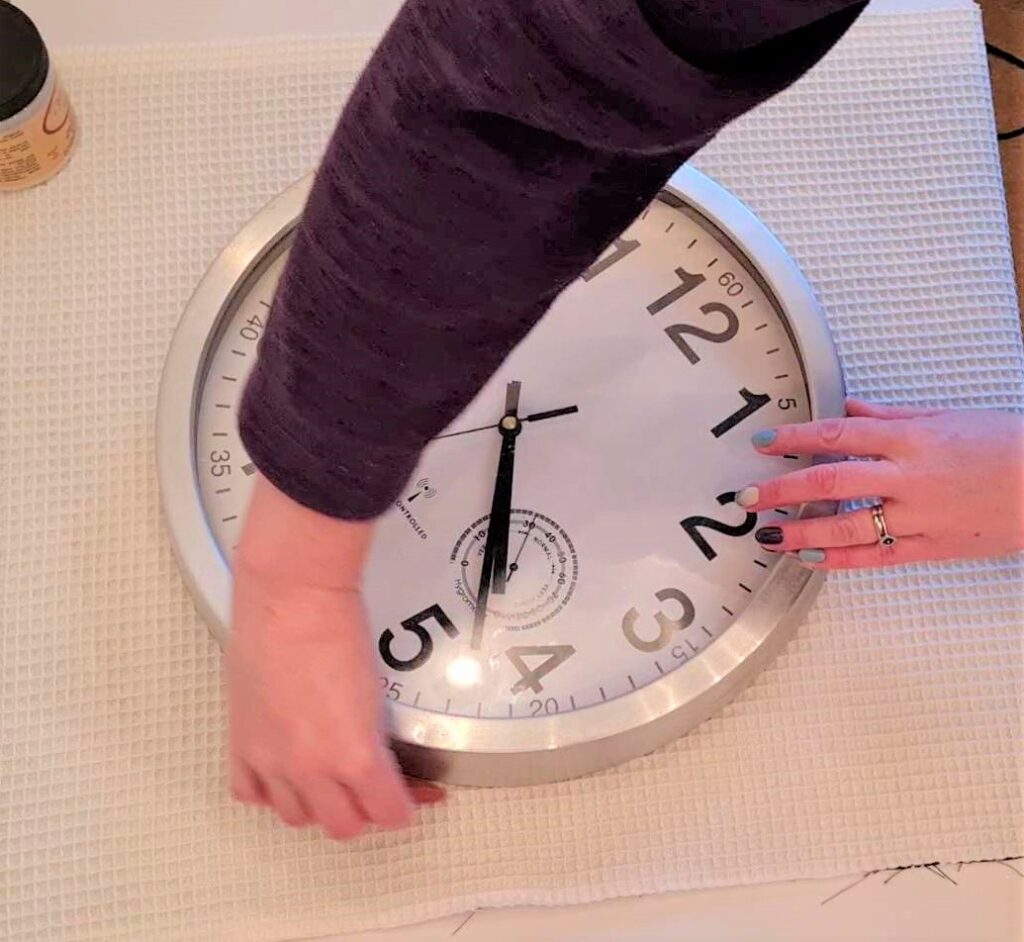
- Template to draw around – you’ll see in the pictures that I used a clock.
- Sellotape
Step by step guide
Step 1. Lay out your fabric, one on top of the other. And draw a circle you are using for the template.
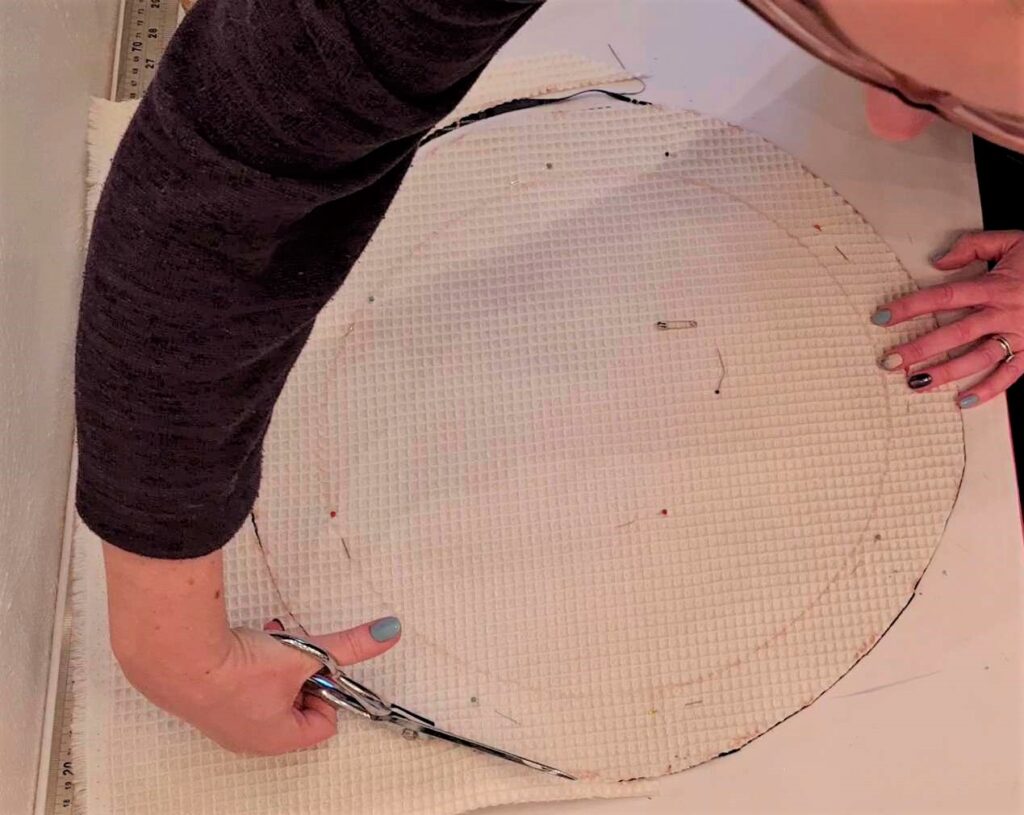
Step 2. Pin the two pieces together so that they don’t move while you’re cutting. Cut out the circles!
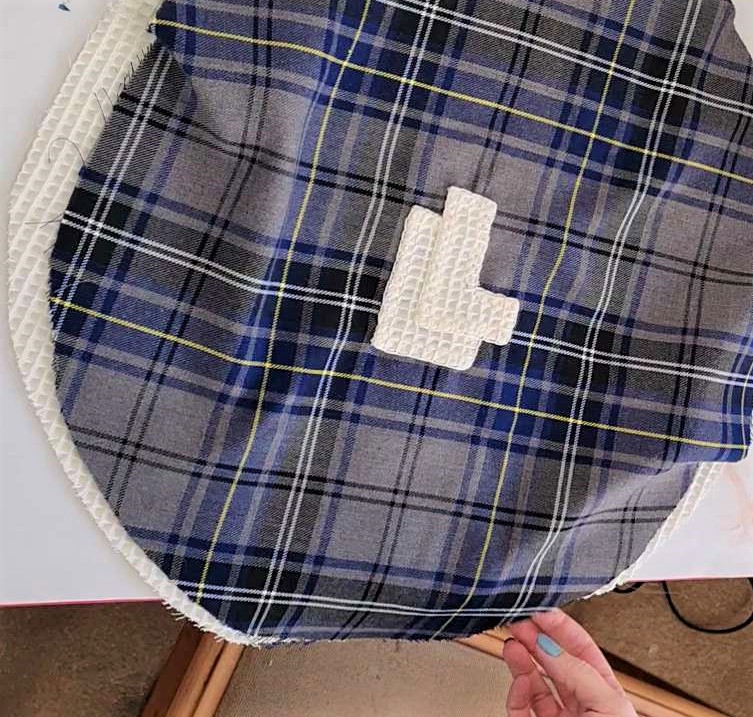
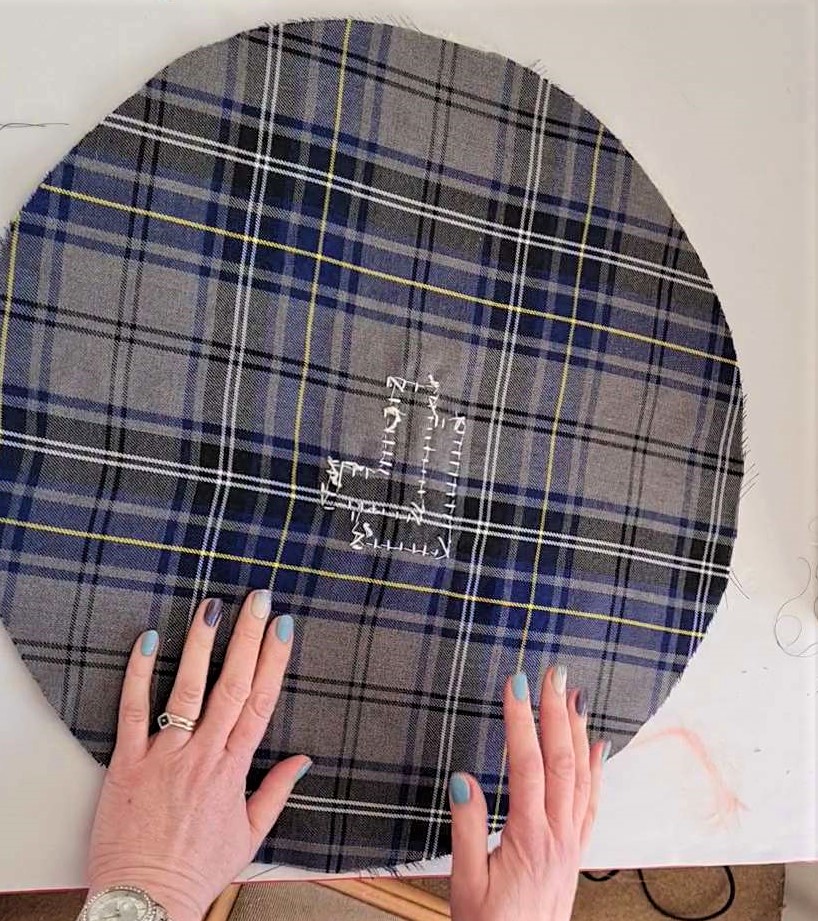
Step 3. If you are putting on applique/embroidery, paint or any kind of decoration, do it now on either one or both the circles.
Step 4. The drawstring will need to come out at a point in the circle. Identify where this is going to be and fold over the edge by 10mm, with the seam on the underside. Sew along this section on both circles separately.
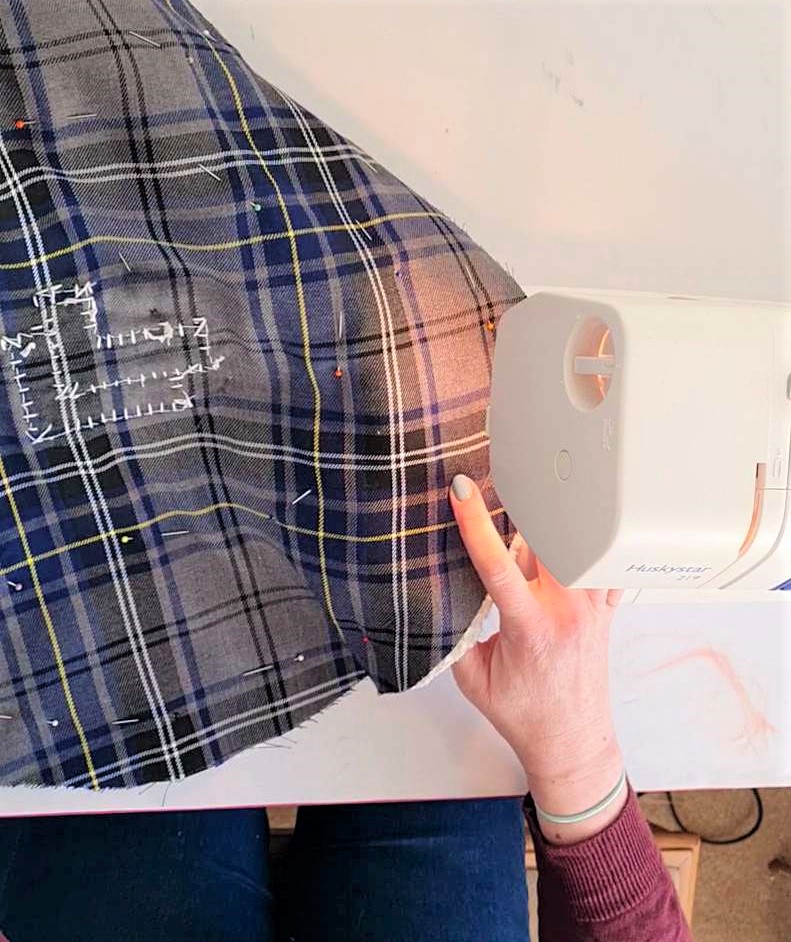
Step 5. Pin the 2 circles together, with the outside faces placed together aligning the folded edges created in step 4. Sew around the circles with a 10mm seam, stopping either side of the folder edges which will give a gap. This is also what you can use to flip the bag so that the inside is on the outside! You should then have a double sided circle, with a straight edge with an opening.
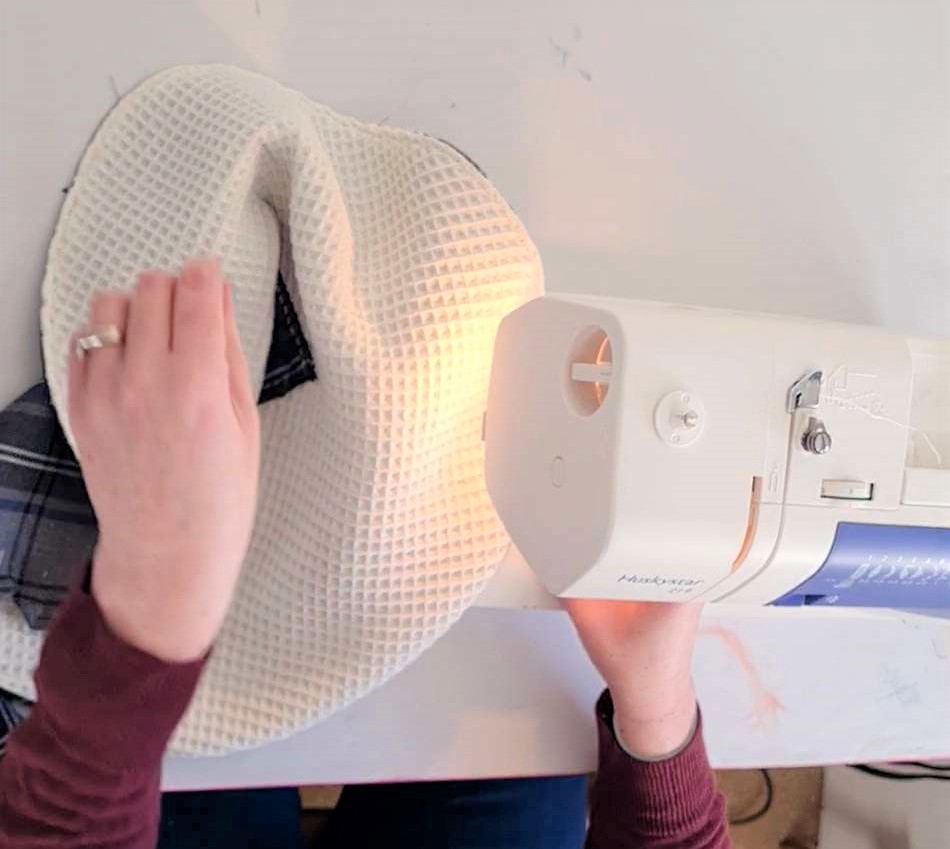
Step 6. Mark a circle 15mm inside the outside edge, and sew all the way around along this line. This will make the space for the drawstring.
Step 7. Attach a safety pin to the end of the cord you are using for the drawstring. Ensure this is quite secure – maybe add a bit of sellotape if you aren’t sure. You don’t want it to come off when you are mid way through threading this through!
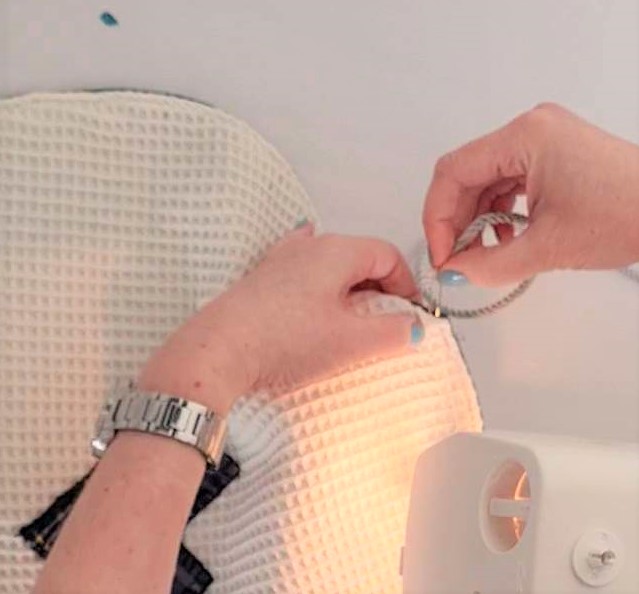
Step 8. Thread the cord, via the safety pin, through the space made in step 6. Open the bag out fully and then put a knot in the cord and cut to length. Seal each end with a bit of tape.
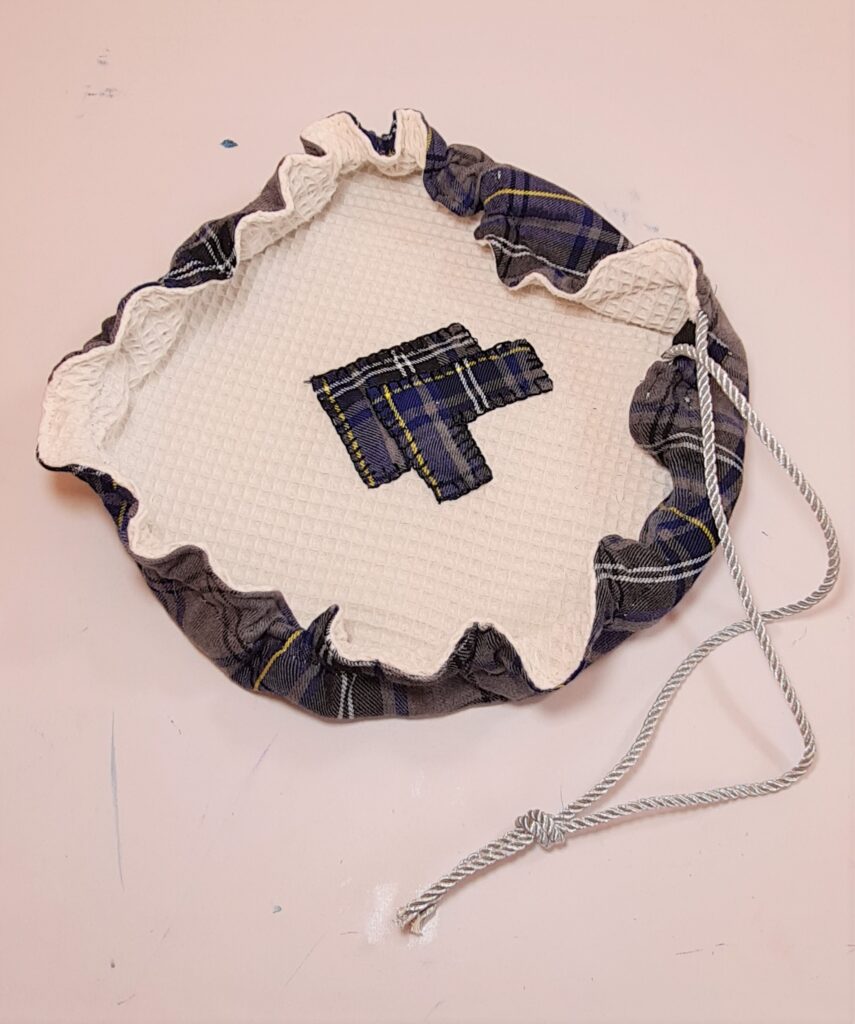
And that is it! I was really pleased with the result – a personalised gift that is useful (we all need more bags, as the amount of stuff we have increases! Or is that just me…. ☹

