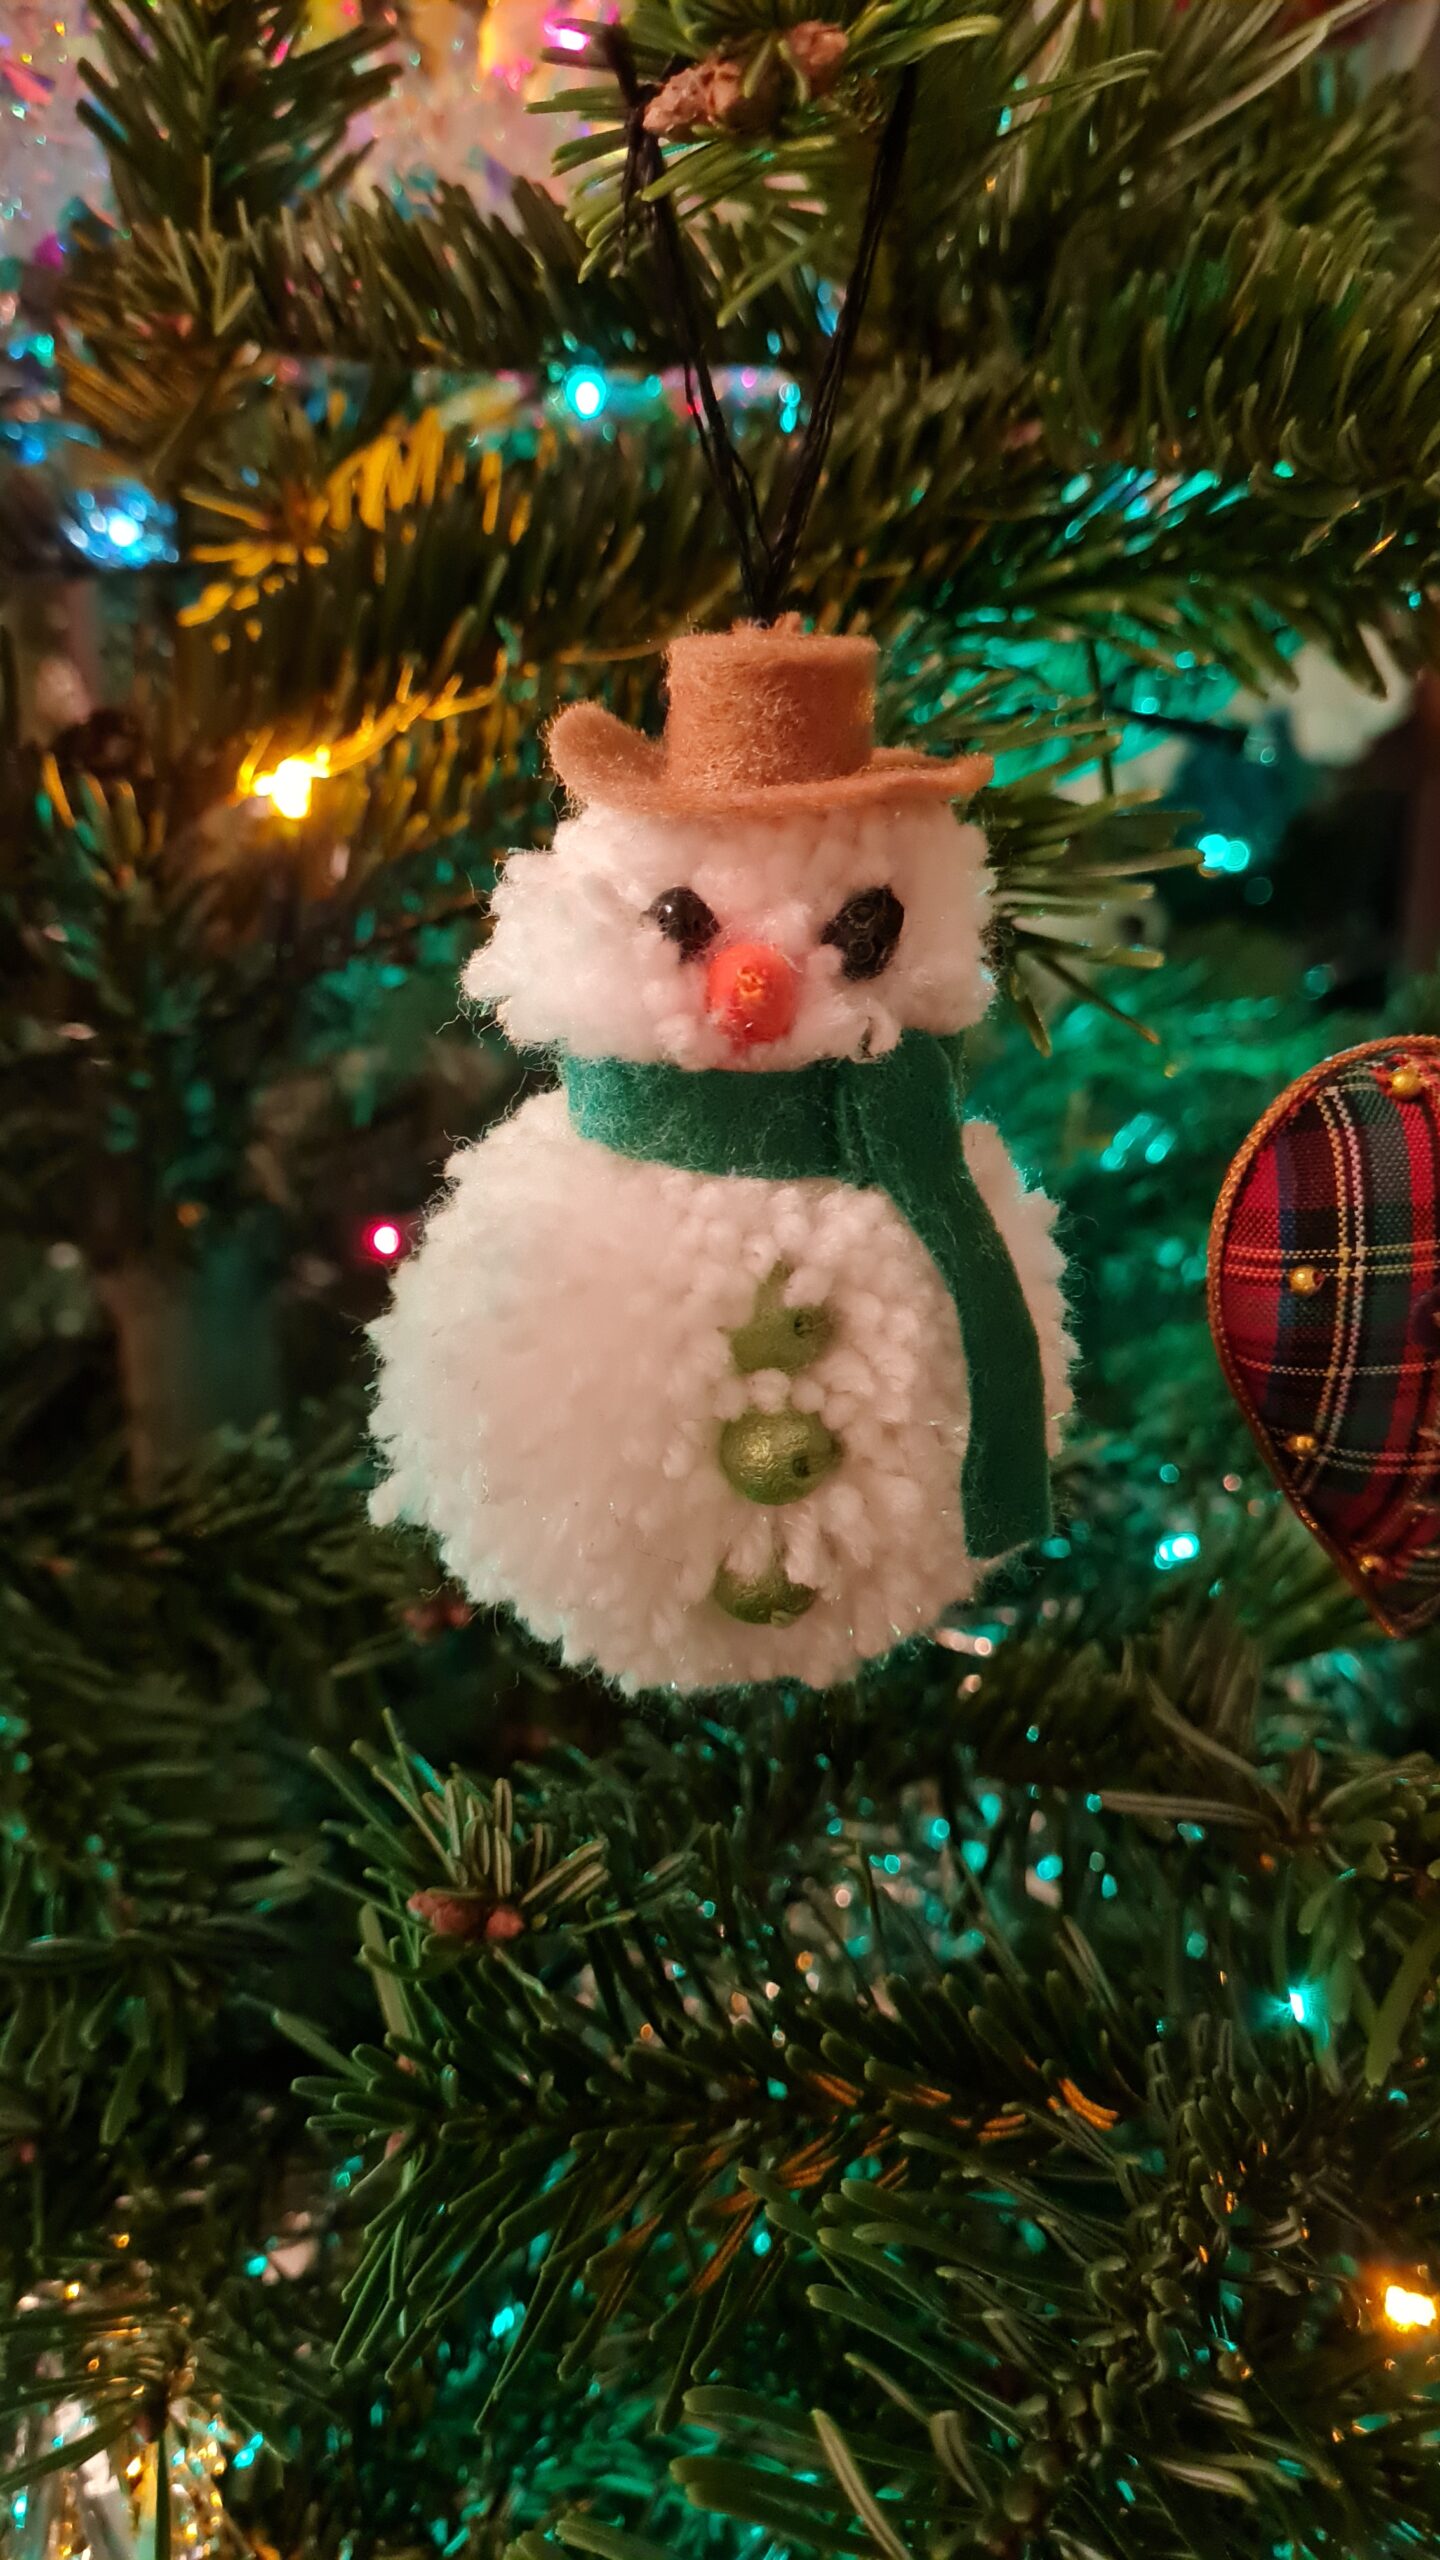
These cute little guys look great on the Christmas tree, bringing a bit of bling on the buttons, with the classically charming imagery of the Snowman. They are a bit more tricky than the Christmas puddings (see earlier blog post), and can be a bit fiddly – but so worth it!
While they are a bit fiddly, it’s nothing a pair of nimble hands can’t do with little experience. I’ve put a few additional tips in this though to help get over some of the more tricky areas! The kids can help with making the pompoms, but the rest is not for the younger ones.
Handmade items on the Christmas tree, and as gifts for your loved ones, is something we all like to have – and you can even make them colour coordinated with your chosen scheme if you have one (which I used to until I had kids then I conceded!) 😊
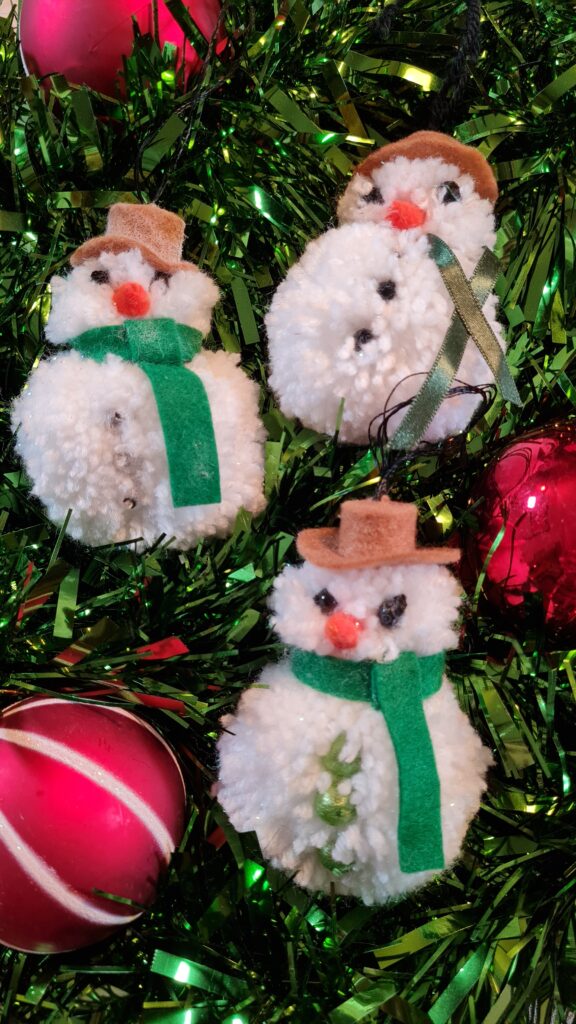
There is quite a bit of needle work in this, so be careful!
A top tip, is to make the hat and nose in advance of the rest, so the glue has time to dry. If not, then the needle picks up glue as it goes and then it is almost impossible to get through anything.
- White wool (sparkly if possible)
- Brown felt for the hat
- Orange felt for the nose
- Your choice of colour felt for the scarf
- Black embroidery thread
- Orange embroidery thread
- 2 black beads for the eyes
- 3 coloured beads for the buttons
- Embroidery thread that matches the beads for the buttons
- Needle
- PVA glue
- Gadgets for making the pompoms (I use Hobbycraft set)
Step by step guide
Step 1. To make the hat, cut a piece of brown wool 1cm x 12cm. Put a line of PVA glue down the middle of the length and roll up. Try to make sure there is a small hole right at the centre, but then keep the rest of the roll quite tight. Hold together long enough for the PVA to hold.
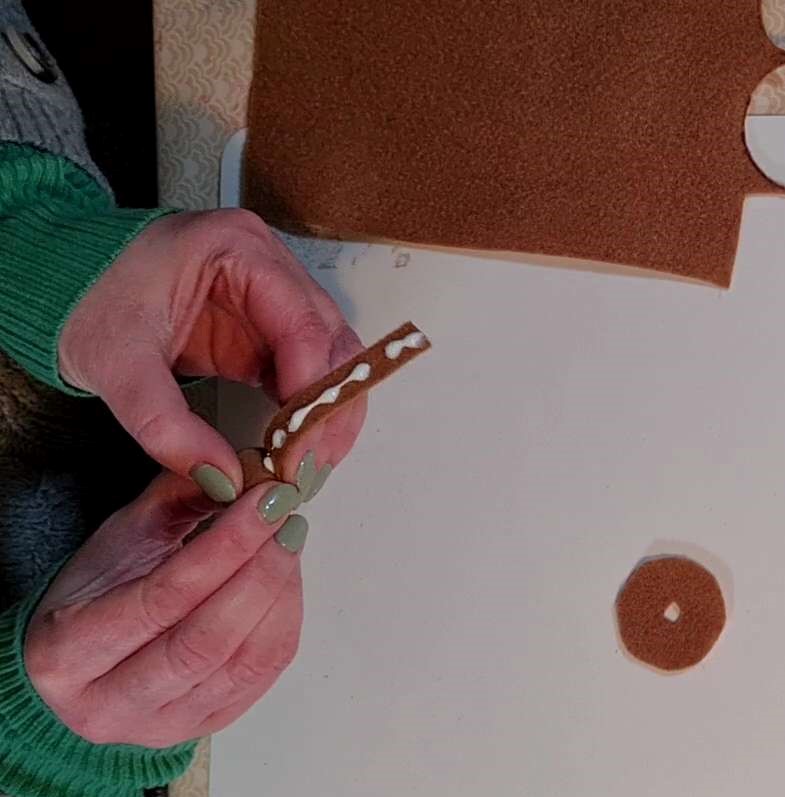
Step 2. Cut a circle of brown felt approximately 2cm diameter. Cut a small hole in the middle – this will be useful for the later stage when you thread the embroidery thread through. Glue the roll onto the circle to make the hat!
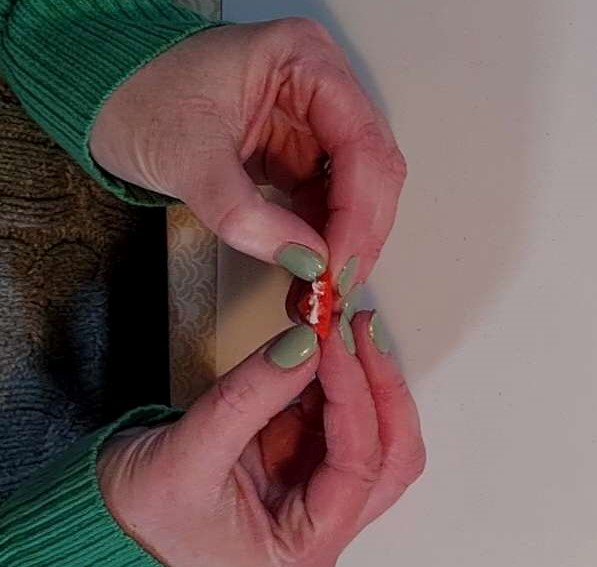
Step 3. To make the nose, cut a right angle triangle of orange felt about 7mm on each side. Dot some glue in the middle (be generous here, it will dry clear so don’t worry about having too much). Roll into a tiny cone – this is one of the fiddliest parts as it’s so small. Cut the base of the nose to make a cone shape. Do the best you can – a carrot is traditional, and they are far from perfect cone shapes!
Step 4. Make a 5.5cm pompom with the white wool for the snowman’s body. Tie with a long piece of the white wool, and leave this long as you need it for tying the body to the head.
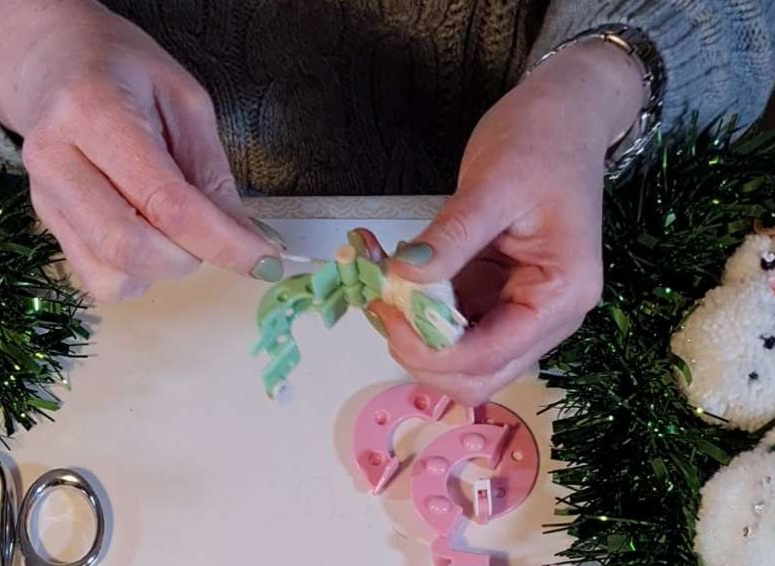
Step 5. Make a 3.5cm pompom with the white wool for the snowman’s head. This needs to 2 ties before you take the pompom maker off. The first is white and needs to stay long (used to attach the head to the body). The other should be black embroidery thread and knotted in place opposite the white tie. Make this piece at least 25cm long as it will be used to go up through the hat and make the loop needed for the tree.
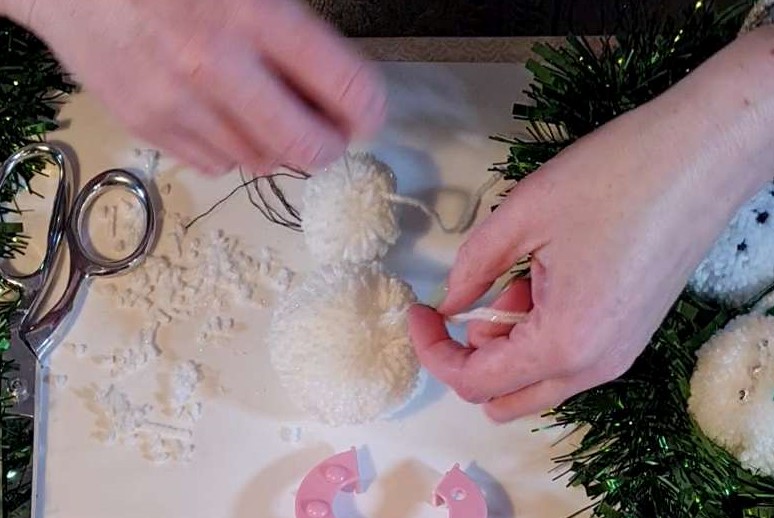
Step 6. Tie the head and body together using the white wool lengths from each pompom.
Step 7. To make the eyes, take a length of black embroidery thread and thread a needle. Push the needle through a black bead once, then back around and put through again in the same way. Tie a knot in the thread using the needle to create. Once this is really secure, you have the bead on the end – cut off the thread on one side as flush as possible to the bead. The other end should have a long tail still. Now put the needle through the whole 3.5cm pompom )the head), placing the bead in the right place for the first eye. At the other end, tie a knot in the thread as close to the pompom centre as possible and cut off. Repeat this step for the second eye.
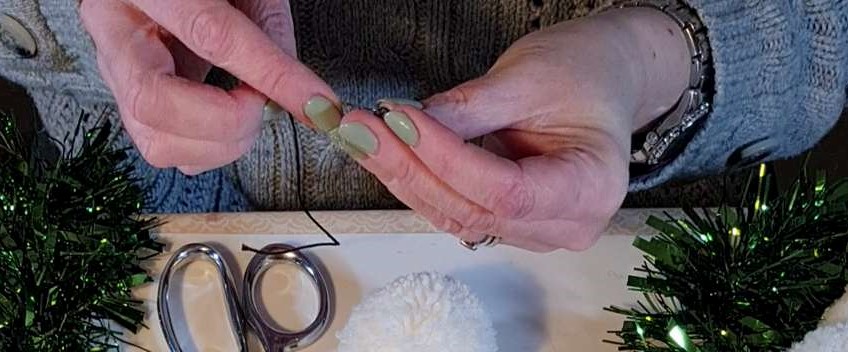
Step 8. To make the buttons, repeat the step in 7, but use the colour bead and thread of your choice and place in a row down the front of the 5.5cm pompom (the body).
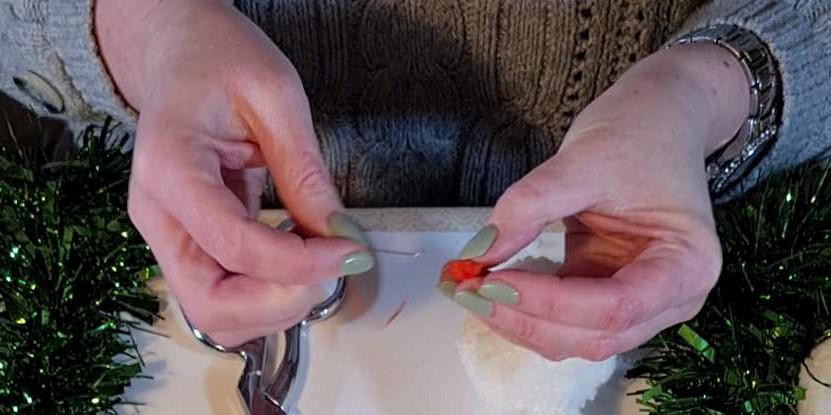
Step 9. To put on the nose, use the orange embroidery thread. Put a knot in the end, cut off as close to the knot as possible to ensure secured, and sew through the orange felt nose (that needs to be dry!) from the point (so the knot is at the end of the nose) to the middle. I suggest adding a dot of glue on the knot also, so that it is secure. Then also sew through the head pompom in the appropriate position for the nose. Knot at the back as close to the centre of the pompom as possible and cut off.
Step 10. For the hat, put one of the black embroidery threads, that are coming out of the snowman’s head, through a needle, and push up through the middle of the hat (that is dry). Remove the needle. Do the same with the other thread that is there. Knot at the top, then create the loop for the tree at your preferred length.
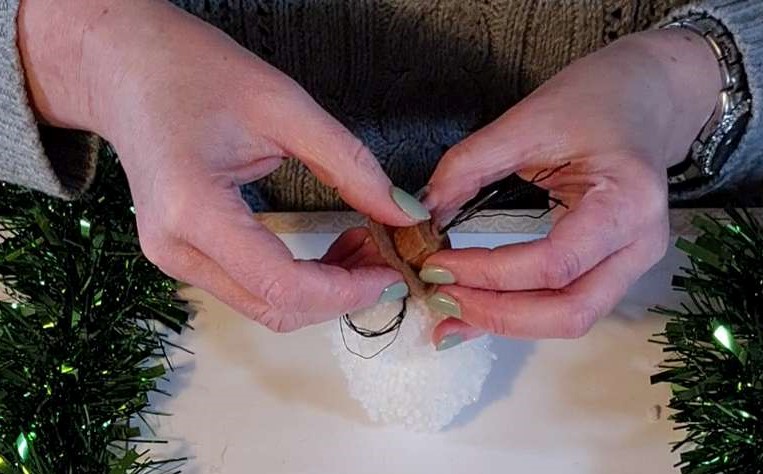
Step 11. For the scarf cut 2 pieces of felt: 8mm x 10cm and 8mm x 8cm. Take the longest pieces and wrap around the snowman’s neck – glue in place and hold until the glue holds it. Make this fairly tight, and cut off the excess. The join should be at the front, underneath where the length will be. Then take the shorter length which will be the front length, going down the front of the snowman’s body. Put a line of glue along the length. Place the top of this section over the neck piece, with enough to fold back down underneath the neck piece, then hold down there, and down the body until the glue holds. Cut to the length that you want!
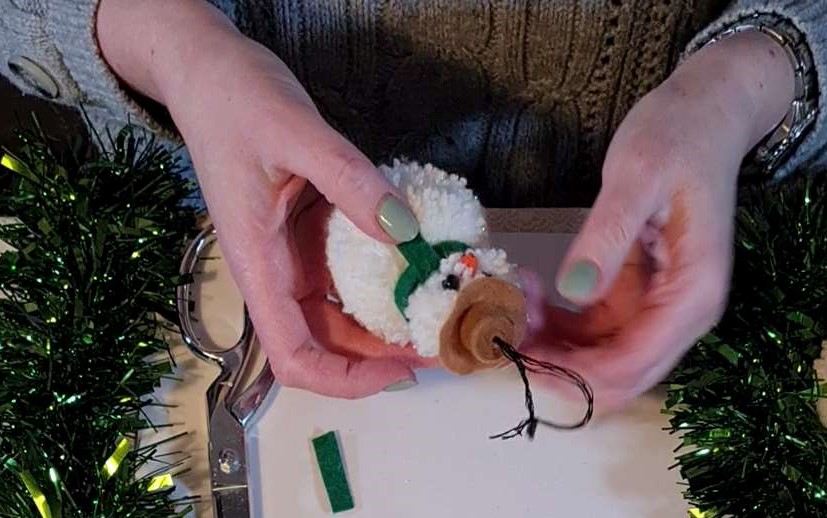
As you can see, this is a bit fiddly, but you’ll get the hang of it! It took me about an hour for the 3rd one I did (there was some trial and error in there!), but I did have a break after making the hat and nose to ensure that glue dried fully. I did love these, and the family all exclaimed how cute they are. So, I hope you think so too!

