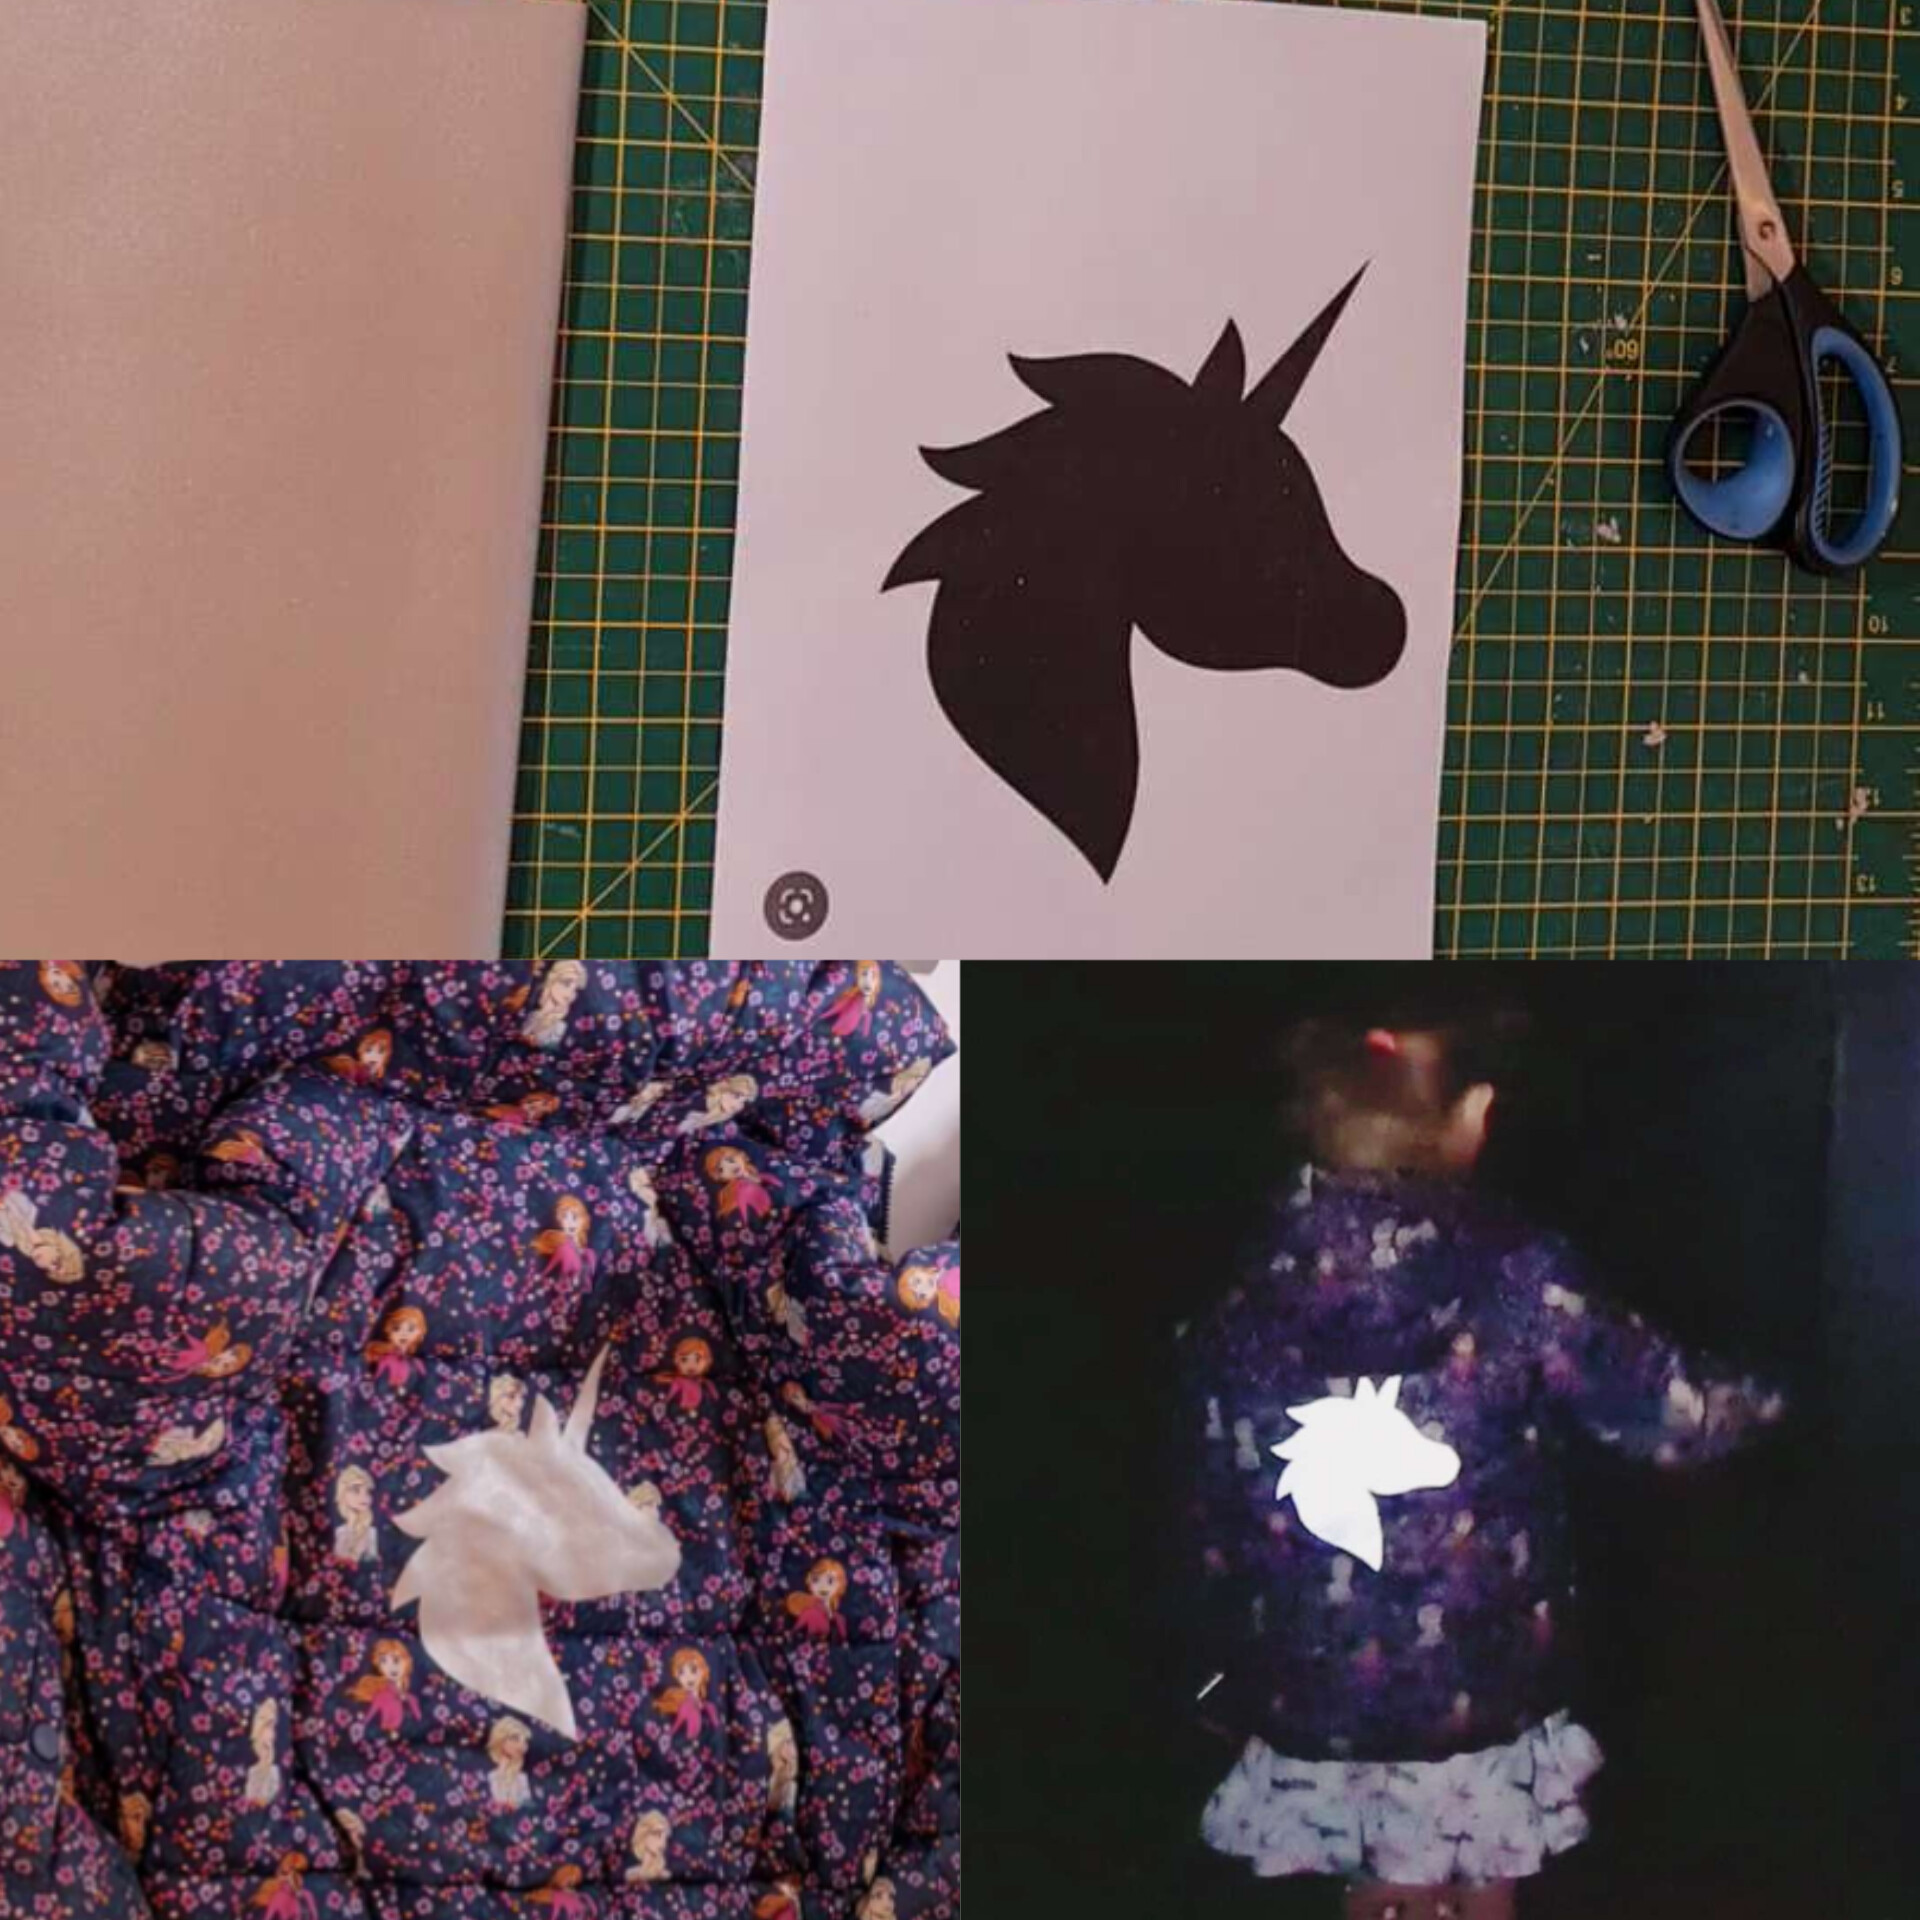
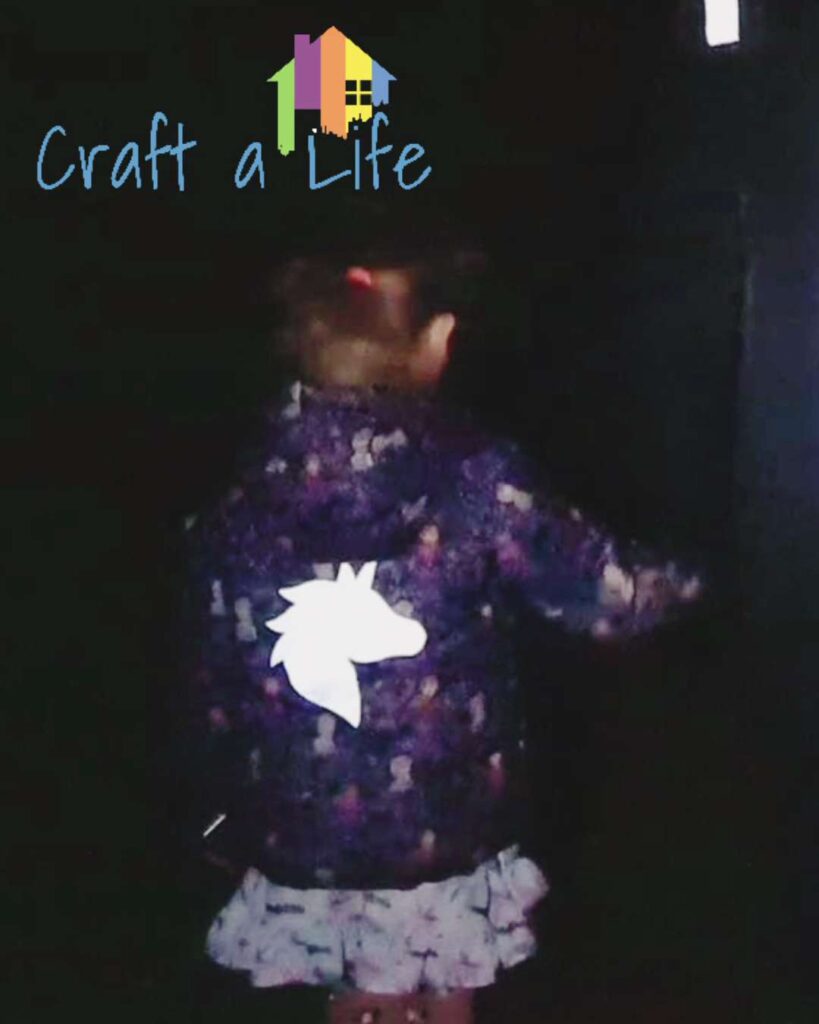
During the winter months especially, it’s so important for your child to be seen walking around at night. With hats, scarfs, coats on, in poorly lit areas, knowing that you and your loved ones can be seen adds some protection. This is a simple, 15 minute, project to add a reflector, and it can be any shape you want!
This is for anyone who needs some extra visibility at night – everyone!
This, like many of my posts, takes very little skill. Cutting and sticking is all it is! You could say, ‘childsplay’ 😊
Equipment needed:
- Paper template which you can make yourself
- Pencil
- Scissors for paper and fabric
- Fabric glue
- 3M scotchlite reflective fabric

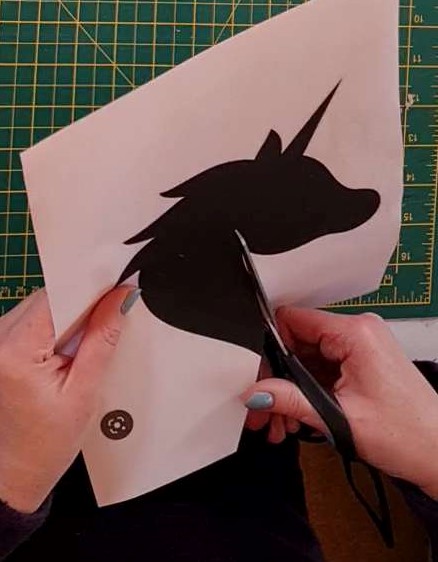
Step 1. Cut out your paper template to whatever image you want! In this example I used a unicorn shape as it’s for my 6 year old daughter.
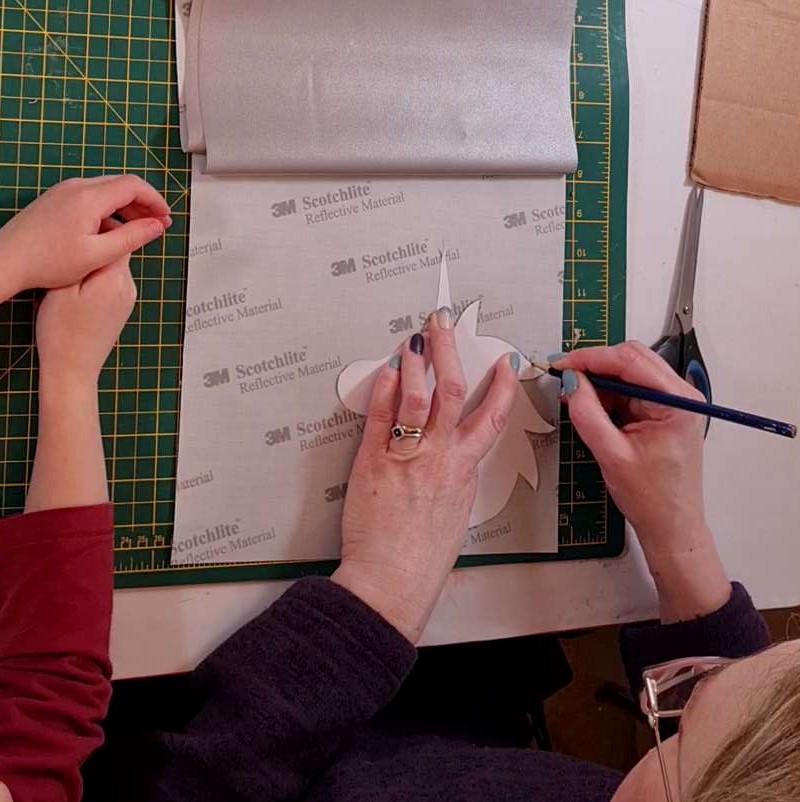
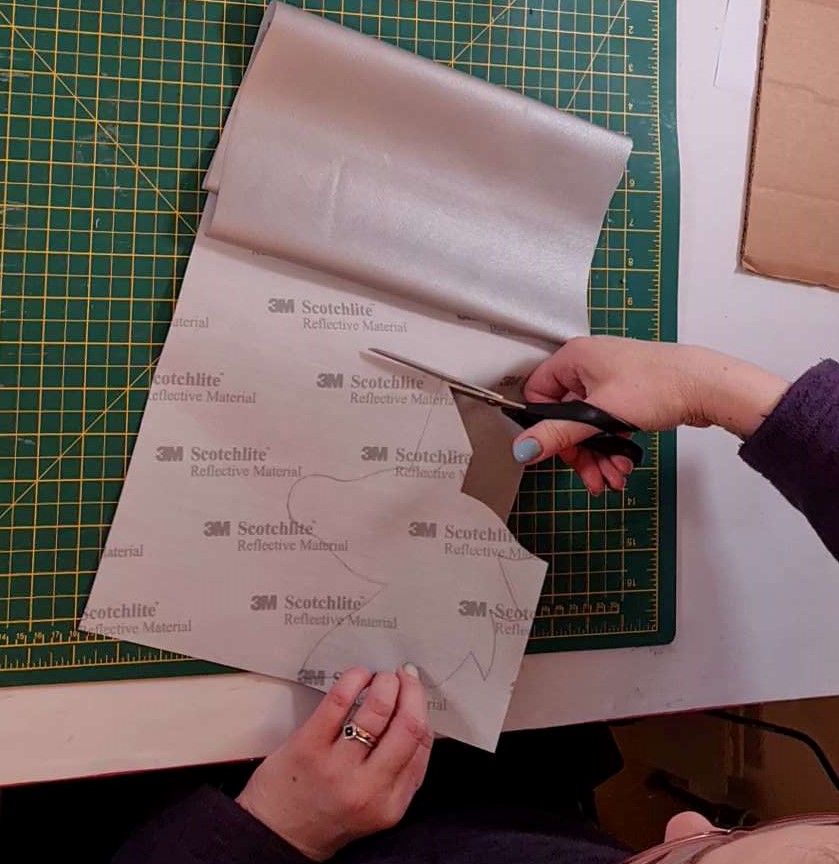
Step 2. Turn over the reflective fabric and draw around your template on the back in pencil. Remember that as this is the back, you need to place the template on the opposite way to the end result.
Step 3. Cut out the shape from the fabric
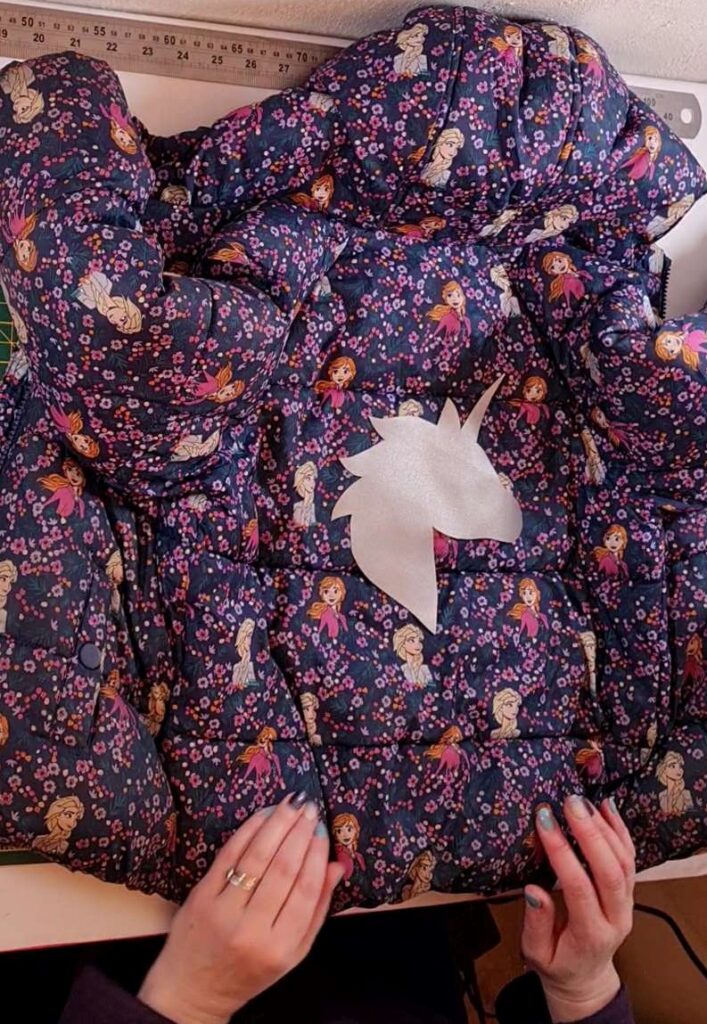
Step 4. Place the coat on the table and try to make the area as flat as possible. Place the fabric shape on and move around to get to the position you want.
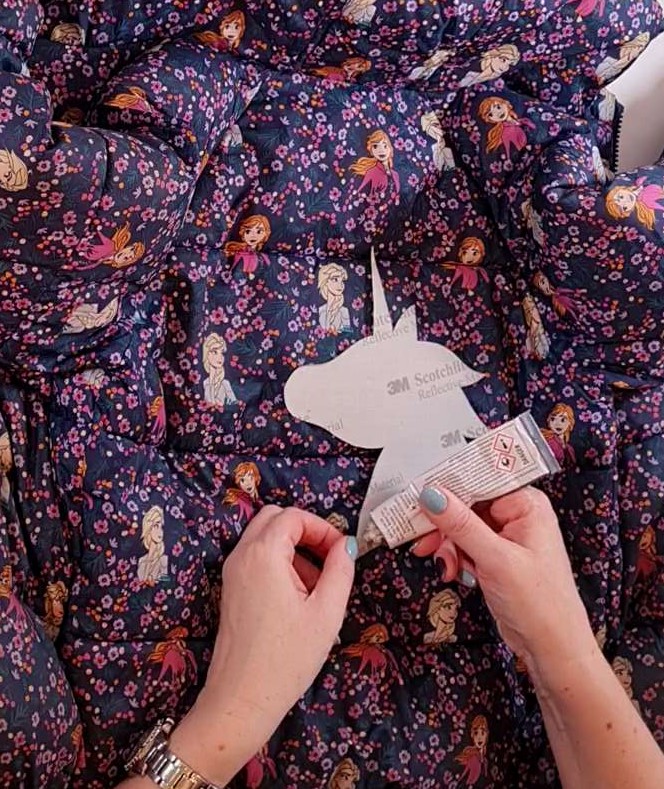
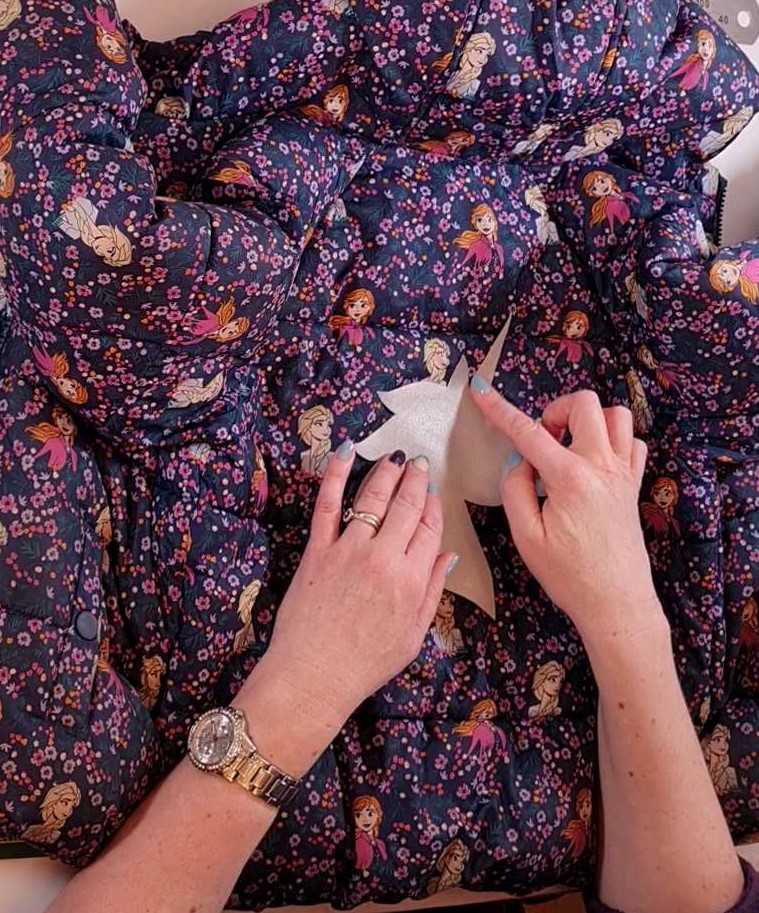
Step 5. Turn over the fabric shape and put fabric glue on the back, ensuring that you get the edges ok and an even coverage. Turn it over and rub from the inside, to the outside, to ensure no creases and as much contact as possible. Hold down for a few minutes.
Step 6. Leave to dry!! And that’s it 😊
A very personalised result – kids happy, parents happy, and everyone safer!
