This is a great project if you would like some unique boots! There a a few special materials that you need, but nothing that will break the bank.
Materials:
- Boots! Leather or faux leather is fine, but be aware that if they are too flexible, the paint is more likely to crack.
- Rubbing alcohol
- PVA
- Angelus leather protector
- Acrylic paint (I use Deco Art acrylic paint)
- Thin masking tape
Method
Clean the boots with rubbing alcohol and a lint free cloth. I used an old tshirt that I had cut up for rags for this type of thing. This step is really important, don’t skip it or miss bits. A really good thorough clean is needed to remove any oils or treatments that have been put on the boots.
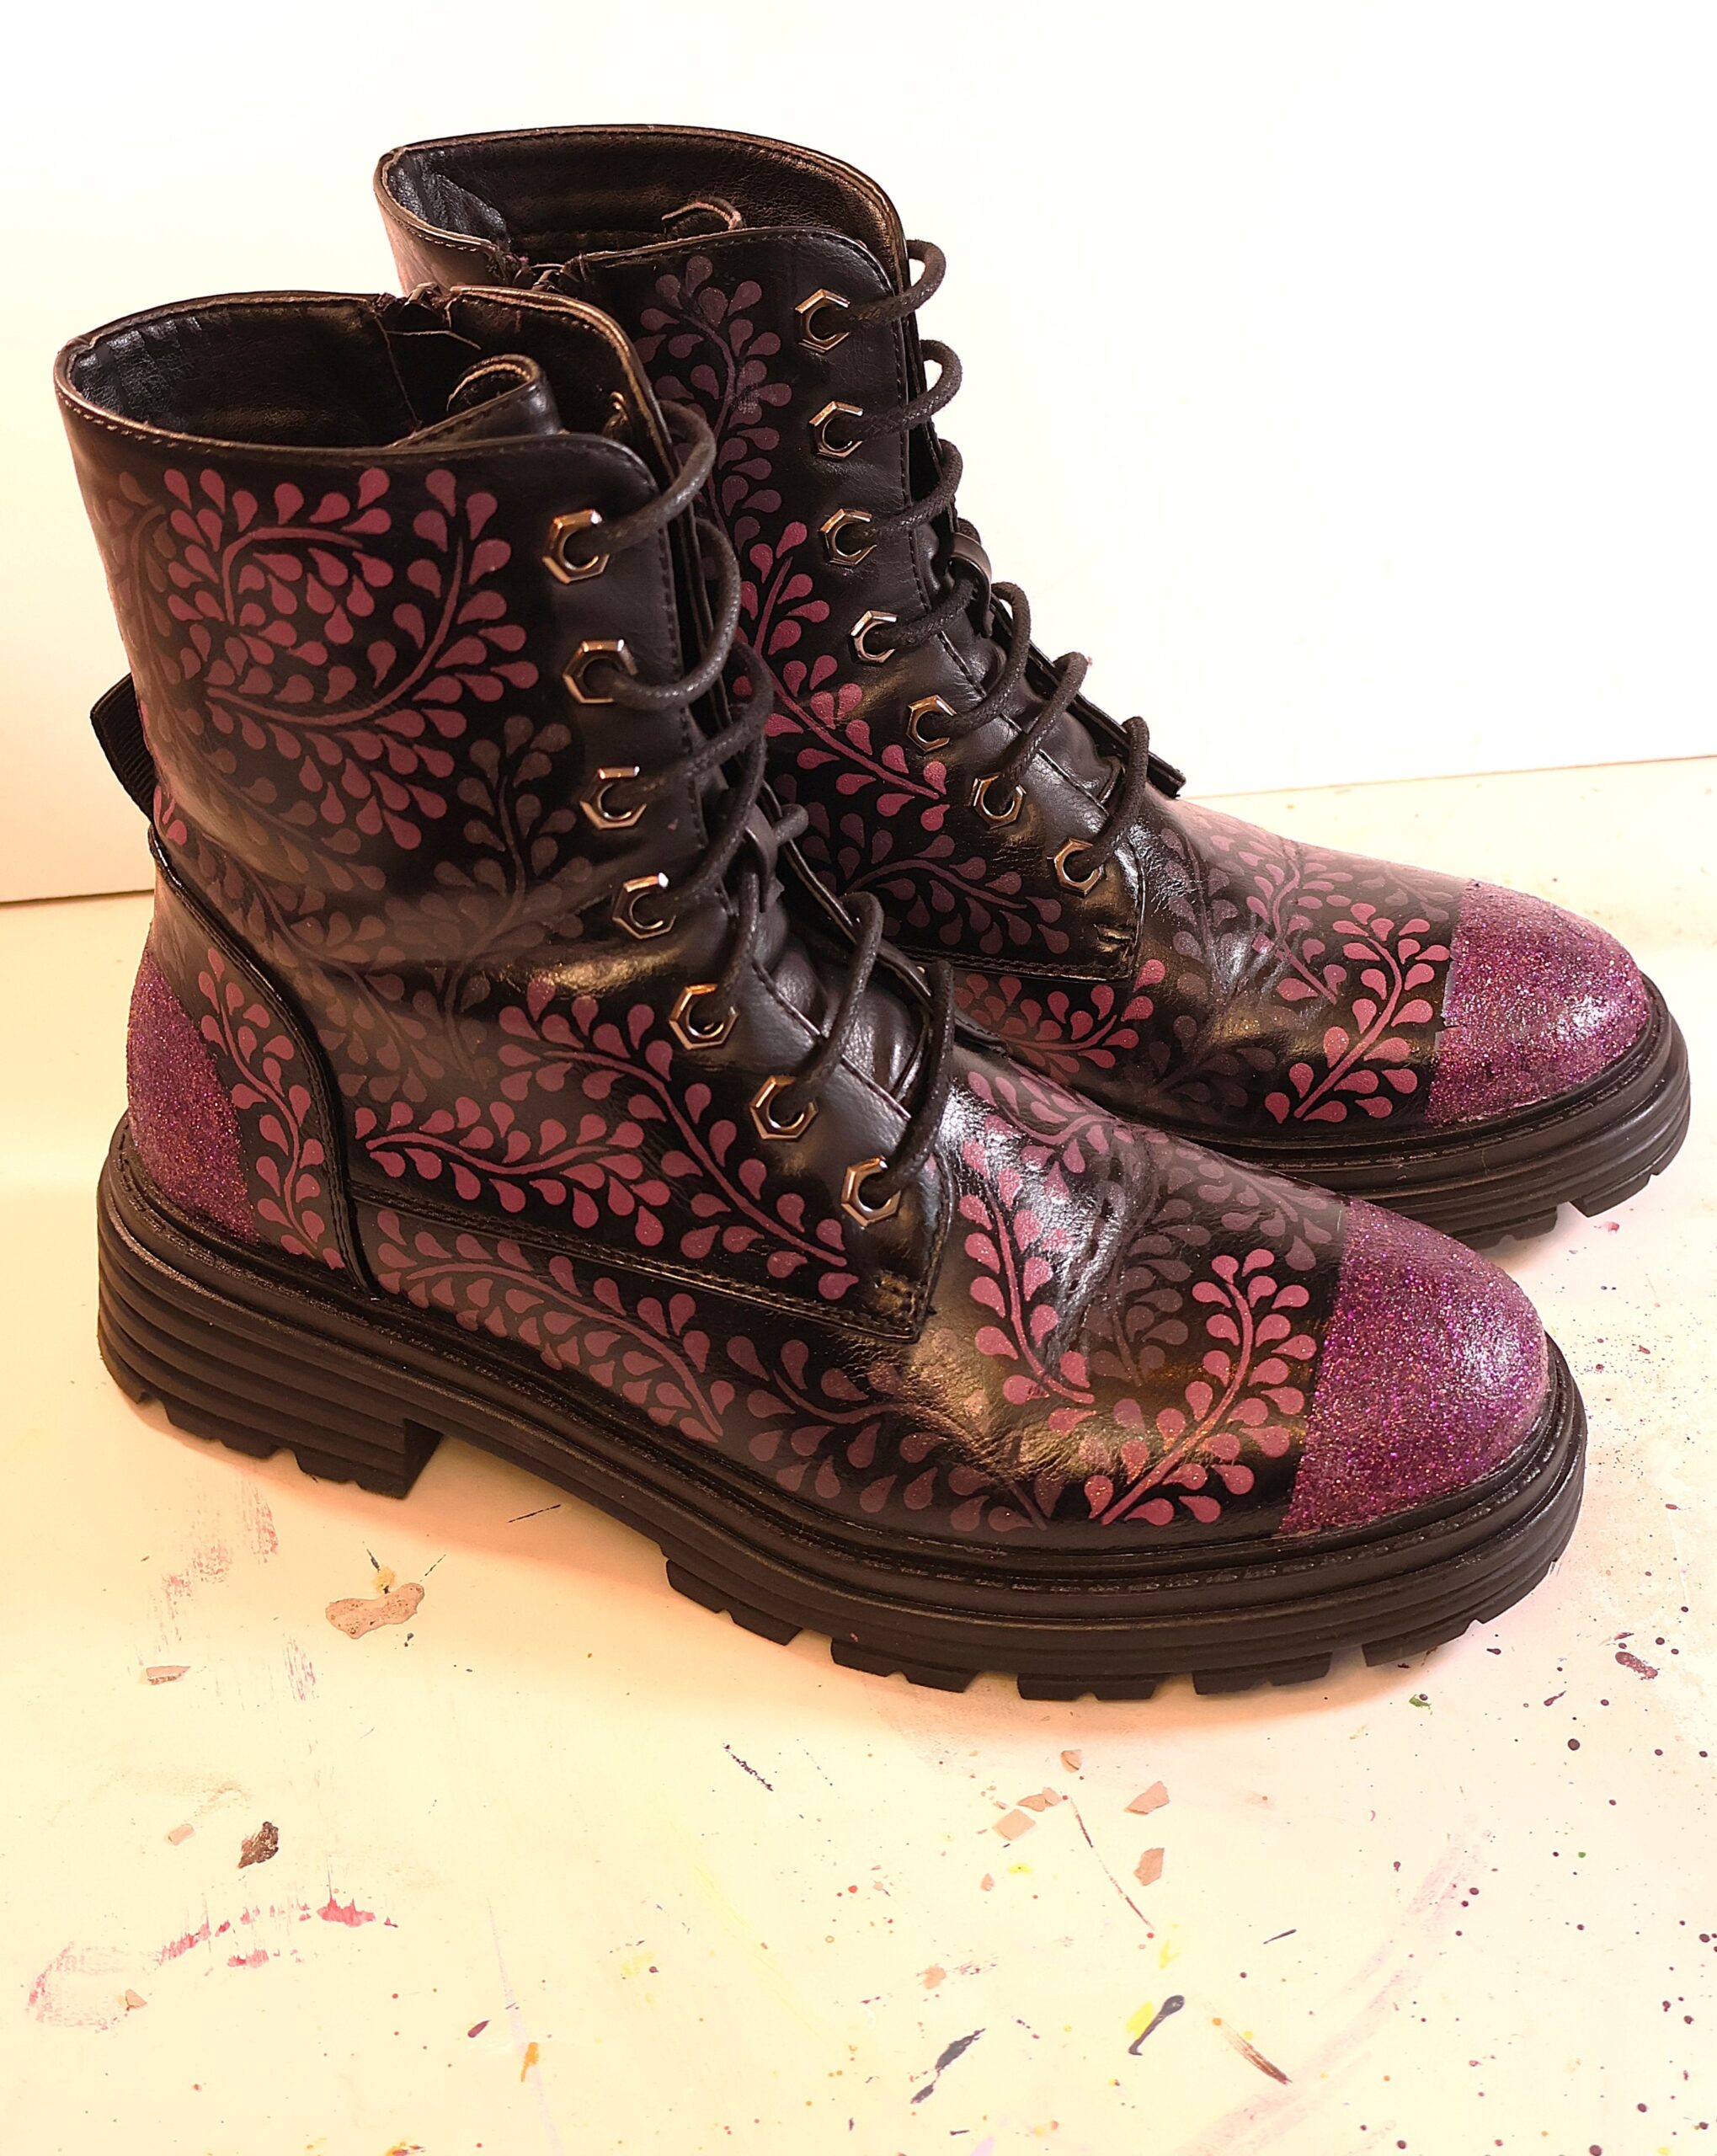
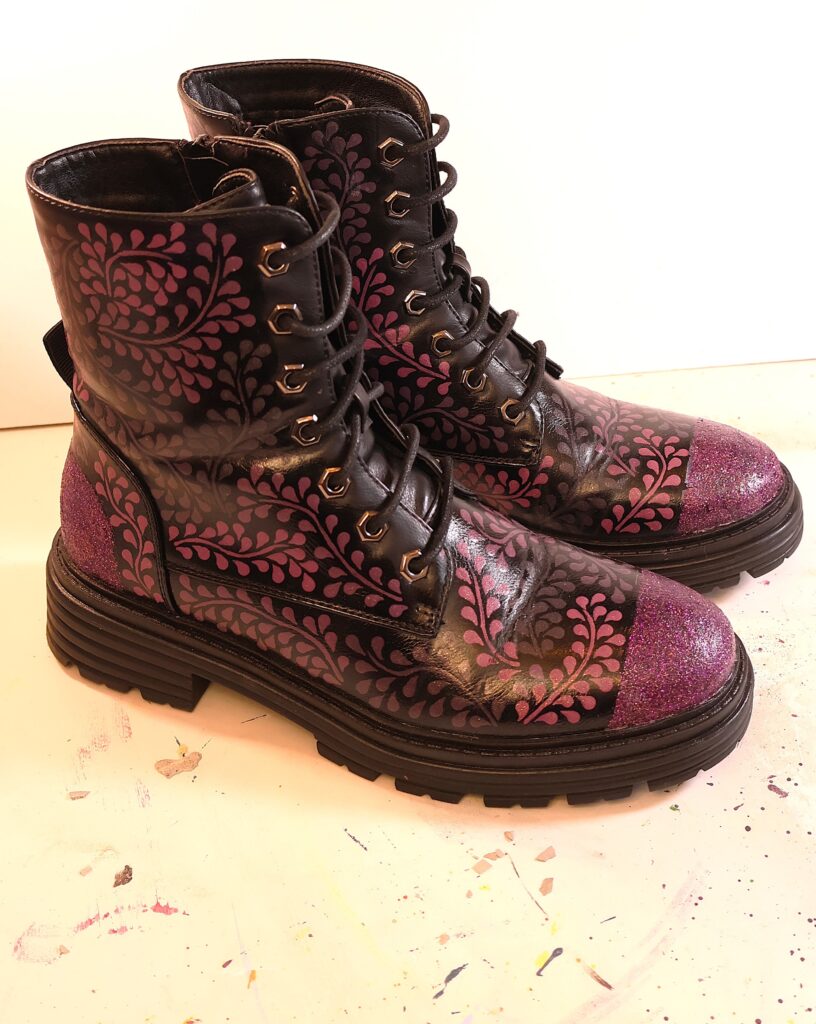
Choose which section you would like to have glitter on. Mask that area off with the tape.
Paint in a layer of PVA glue where you want the glitter to go. Try to make this coat even, without blobs of glue, or missed bits. The glitter will stick to this, so it needs to be a nice smooth coat.
Over a piece of paper, generously pour the glitter onto the area of the boot. The paper means that you can be generous, as you can tip what comes off back into the pot. Once you have a good coat, tap the boots (again over your paper! this makes a mess!) to remove the excess glitter. Then put the boots to one side to dry fully for at least 3 hours. Pour the excess glitter back in the pot.
After three hours, repeat the above 2 steps. This gives the boots a second coat. Remove the masking tape. If any glitter or glue come away when you take the masking tape off, just pat it down with a bit of glue underneath. While the PVA dries clear, you don’t want it on the boots where there is no glitter
After another three hours, coat the glitter in another coat of PVA (it will dry clear, though the glitter will not be so sparkly). and let dry.
Now, on to the dots. I used 4 shades of purple, that were mixed purple, grey and white, and some glitter paint too. The dots are created with dotting tools. For more details on these tools, head to my Materials and Tools post here: Recommended materials and tools for dot art – Craft a Life
I have a video on this on my Instagram and Facebook pages. To see those, below are the links:
Instagram:
https://www.instagram.com/reel/DGI__T9Nkou/?utm_source=ig_web_copy_link&igsh=MzRlODBiNWFlZA==
Facebook:
https://www.facebook.com/share/r/19Pu8iBaRL
Once you have finished your dotting, leave to dry well. Try to resist touching them for a few hours at least!
Once dry, give them 3 coats of Angelus acrylic sealer, following the manufacturers instructions.