Upcycle a nightstand with Decoupage with me!
Introduction
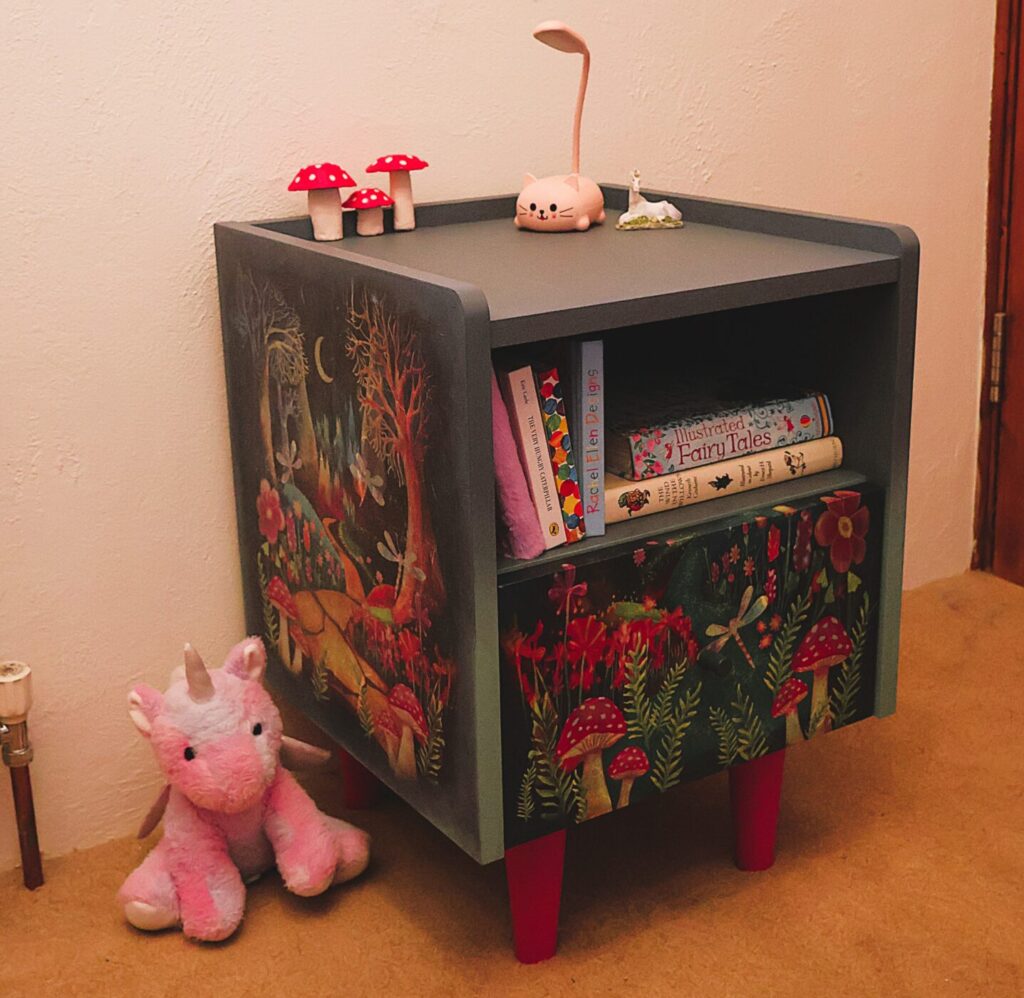
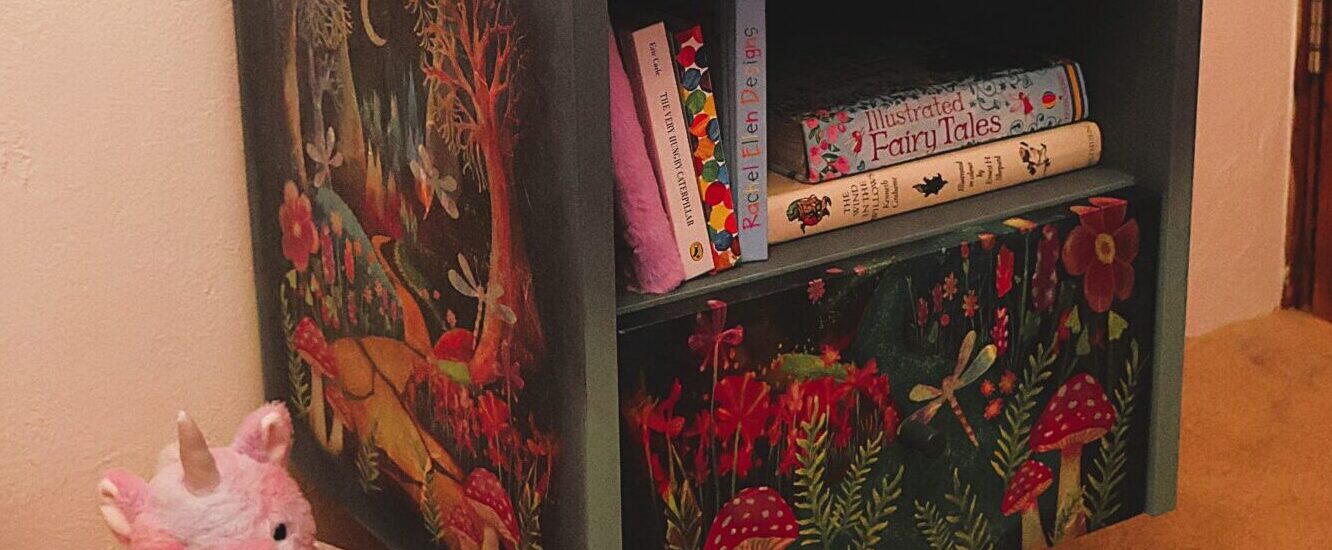
This upcycle holds a special place in my heart, as it was done for my daughters bedroom. And I am so pleased with the result. The decoupage on this unit is from a very talented artist, Susan Blakely (click here for her Facebook site), and I just love it!
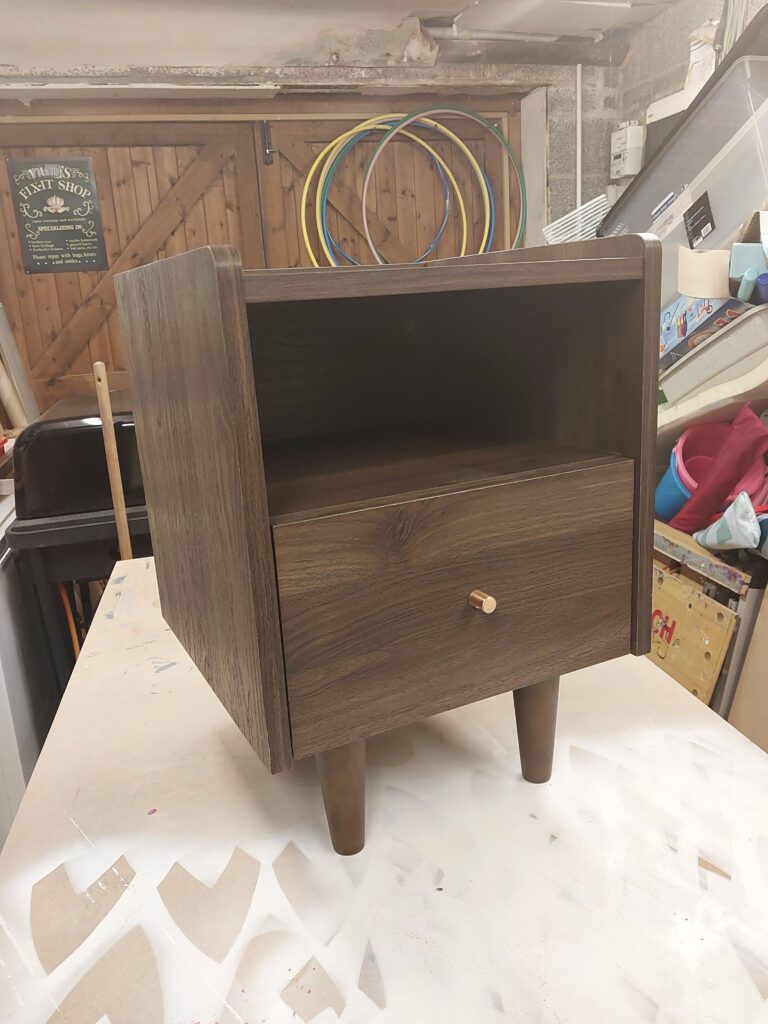
The unit was originally purchased from FB marketplace as a very boring dark wood veneered chipboard – I purchased it for the shape and it’s potential! Outlined below are a few steps to do this upcycle – very high level to give you an idea if you would like to try it.
Step 1 – strip and clean
Don’t take the full unit apart unless it really has structural issues that you need to resolve; taking the drawer out and the furniture / drawer glides / handles etc off will suffice. Vacuum it and then clean all the surfaces with a degreaser. A sugar soap or krud cutter will work well. Once this is done, give the unit a really good sand, getting into all the corners where grime or layers of paint can build up. This step is really important – don’t skimp on it! Once sanded, give is another vacuum and clean with plain water to remove any dust from the sanding or any of the chemicals you used to clean it.
Step 2 – paint
If you are painting on bare wood, put on a good undercoat / primer. While many paints don’t need it, I still like to do this on old furniture as you really don’t know what has soaked into the wood that you haven’t been able to clean or sand off.
Give the unit the first top coat. You will need a second, but I suggest doing that after the decoupage is put in. Follow the instructions for how long to leave your paint until it is dry enough for a second coat / the decoupage.
Step 3 – decoupage
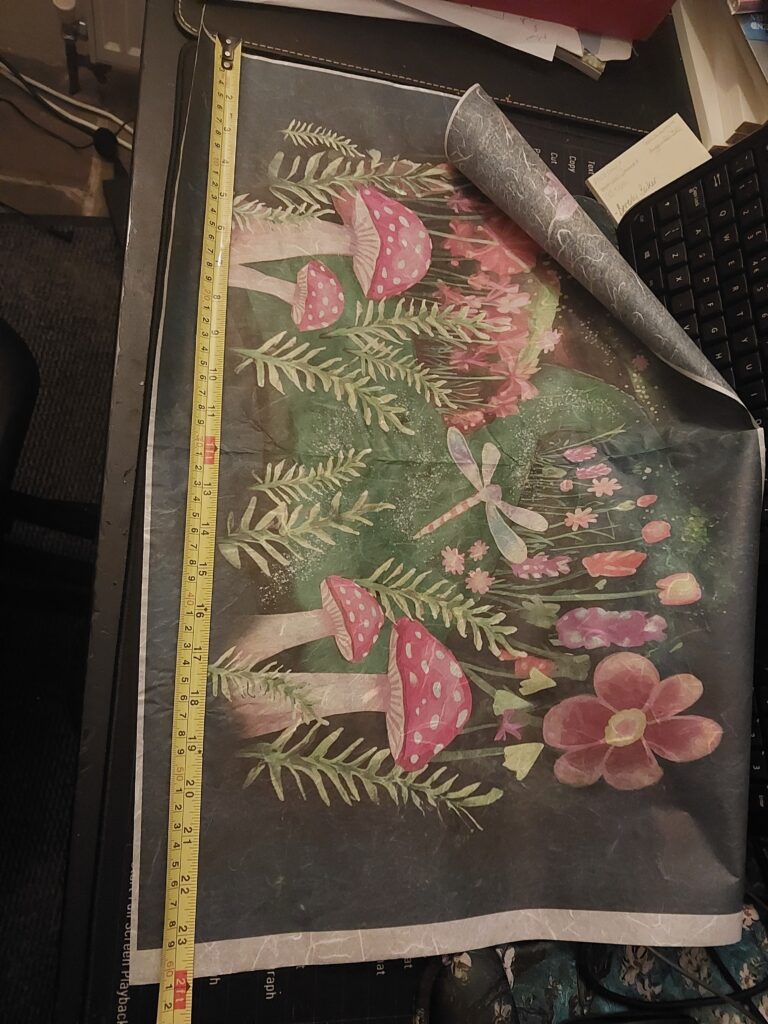
Decoupage is a form of decoration that uses pictures that are printed on paper, napkins or, tissue. This means that you can apply so many different designs to your furniture (or whatever else you want to do!). I love this craft as the results are beautiful and unique – and you don’t need to be an artist!
Take your image and ensure it is flat – a quick careful iron under a towel is ideal – this will really help. Work out what shape and size you need and tear the paper to the right size. Tearing is good because the edges are then able to be blended into the paint. Where you are going to place the image, paint in a coat of modge podge. this is another crafting must have in my opinion as it can be useful for so many things. Before it dries, place over the paper and work quickly and carefully to flatten it. There are loads of techniques for this which you can find on utube. There is definite skill needed for this and the more you do it, the better you get. Work carefully as the paper can tear once it is softened from the modge podge. Fingers can tear. I was advised to use a rolled up piece of cling film, but look for ideas and find something that works for you.
Once flat, coat with another layer of modge podge. The dry, give the whole image a light sand. The repeat this 2 more times with another coat and light sand.
Step 4 – blending and top coat
The image will have a teared edge, and now you want to blend in the paint with the image – there are so many options for this and it really depends on your piece. Those more arty than me will extend the image and blend gradually. I am not at all arty and so I will blend straight into the main paint colour!
For more information on this, please go to:
For the video blog, please go to:
Instagram reel for decoupage nightstand
Facebook post for decoupage nightstand