
Do they make piano stools anymore? I mean the kind that you store music inside? They are items that get passed down through the family quite often, and the one we had was well worn, the upholstery flat, and all rather dull. But very useful!
In my love of furniture and colour, I had my eyes on it for a long time before I finally went for it! And went for it, I did! Below are a couple of pictures of before and after. It is not to everyone’s taste, I respect that, but it does still make me smile when I sit on it everyday. It doubles as my piano stool and craft stool, as it’s the only seat in the room that houses the musical instruments and the crafts…. it’s a very full box room!
Anyway, I digress!

BEFORE!
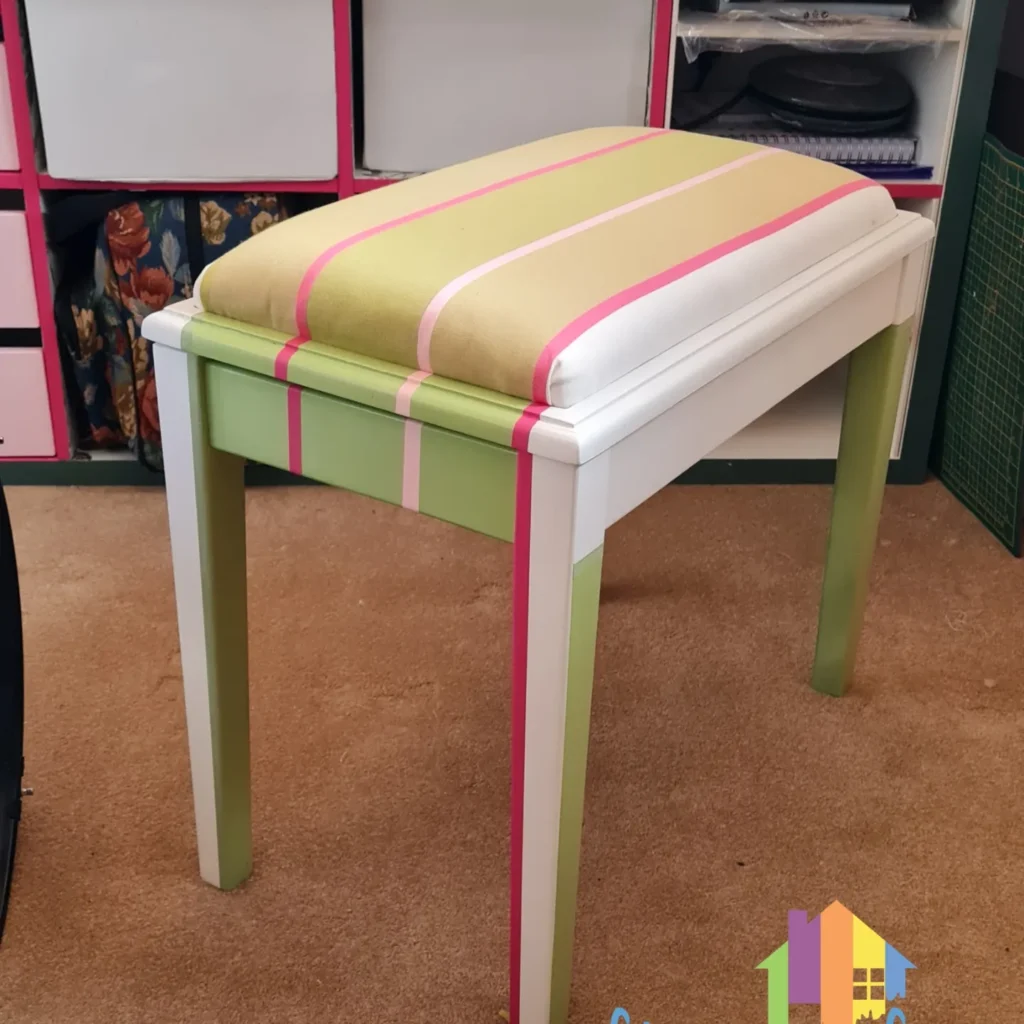
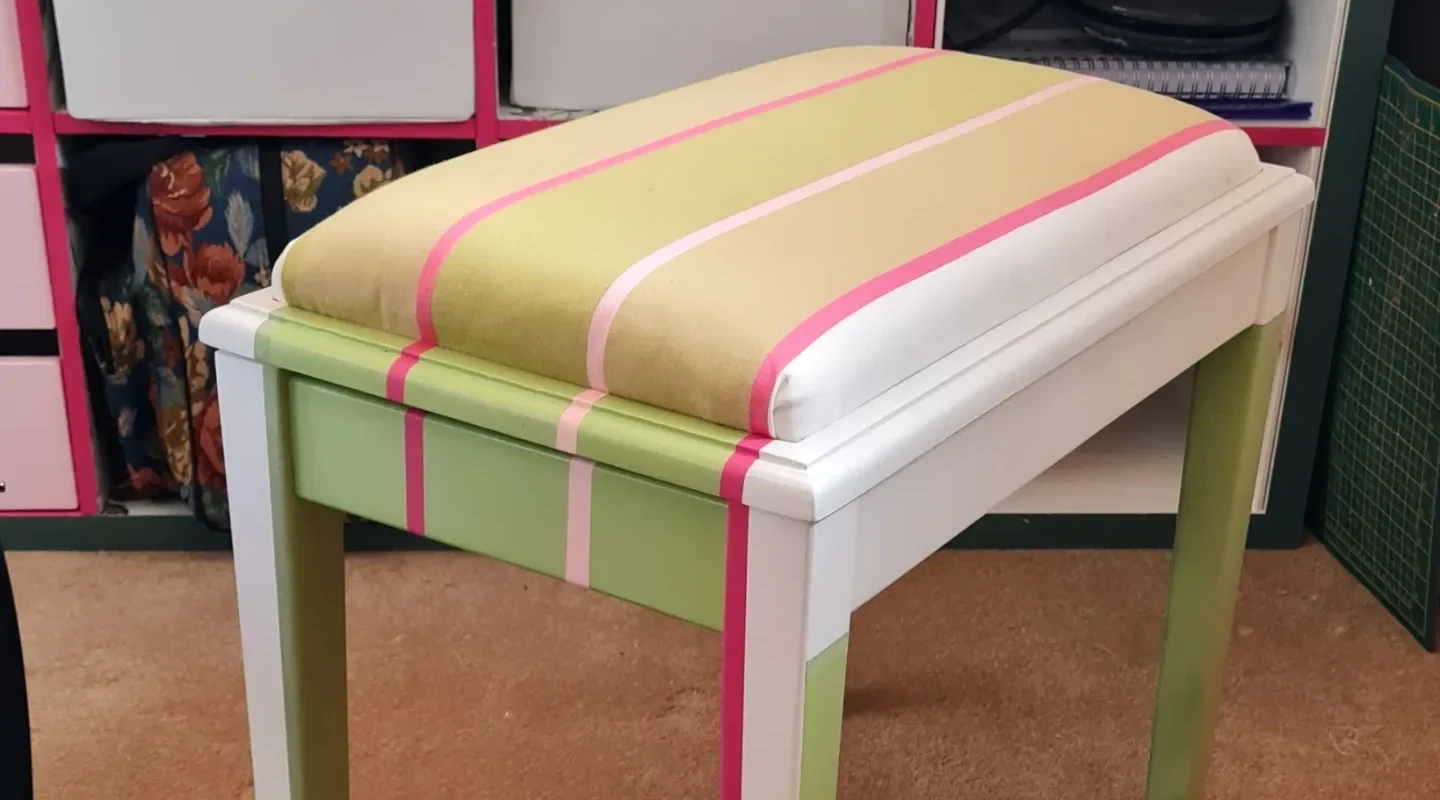
AFTER!
Method
To start with the stool needs to be taken apart, the finish stripped and the upholstery taken off. That is a labour in itself, but it is so important to go back to the wood and structure if you can with pieces like this. It was wobbly and that needed fixing.
Once stripped, cleaned and sanded, the wood needs to be primed. If the wood had been really good I would have just treated it and brought out the grain, but in this instance it wasn’t great quality wood, and painting was ok. While the primer is drying, reupholstered the seat.
Upholstery
For a seat like this, a foam pad 2″ thick, cotton wadding and a calico layer is fine. My trusty staple gun makes this so much easier, but hammer and tacks will work just as well.
In this instance, as you can probably guess , the fabric determined the whole design. The fabric then went on over the calico.
Painting
To match the stripes, upholster the seat pad first and install it temporarily into the seat frame.
As the stripes will need a nice clean masking line, paint the wood initially in matt pure white on the legs and sides, and a matching green one the ends. This part needs time to cure really well as the masking tape will go on the paint. Once given 2 coats, or maybe 2 depending on the finish, leave to fully cure for at least 72 hours, maybe longer if it’s cold. Don’t rush this, you will regret it if you do!
So, once fully dry, determine your stripes to match the fabric and use masking tape to give you nice clean lines. I use Frog tape – it’s a bit more expensive than your everyday masking tape, but it is worth it when the tape comes away cleanly and gives good lines! Press down the tape well so that the paint doesn’t seep.
As an extra tip to give clean lines, once you have masked, paint over the edge of the masking tape with the original colour. Once that is dry, paint your stripes! I remove the tape before the new paint is fully cured as it can go brittle and it makes a cleaner line if the paint is still a little maleable.
Then put the seat back in!
I did the inside as well, but just gave it a prime and lined with the fabric. Paint, paper, fabric, nothing but the wood (though I would treat it at least), is all good!