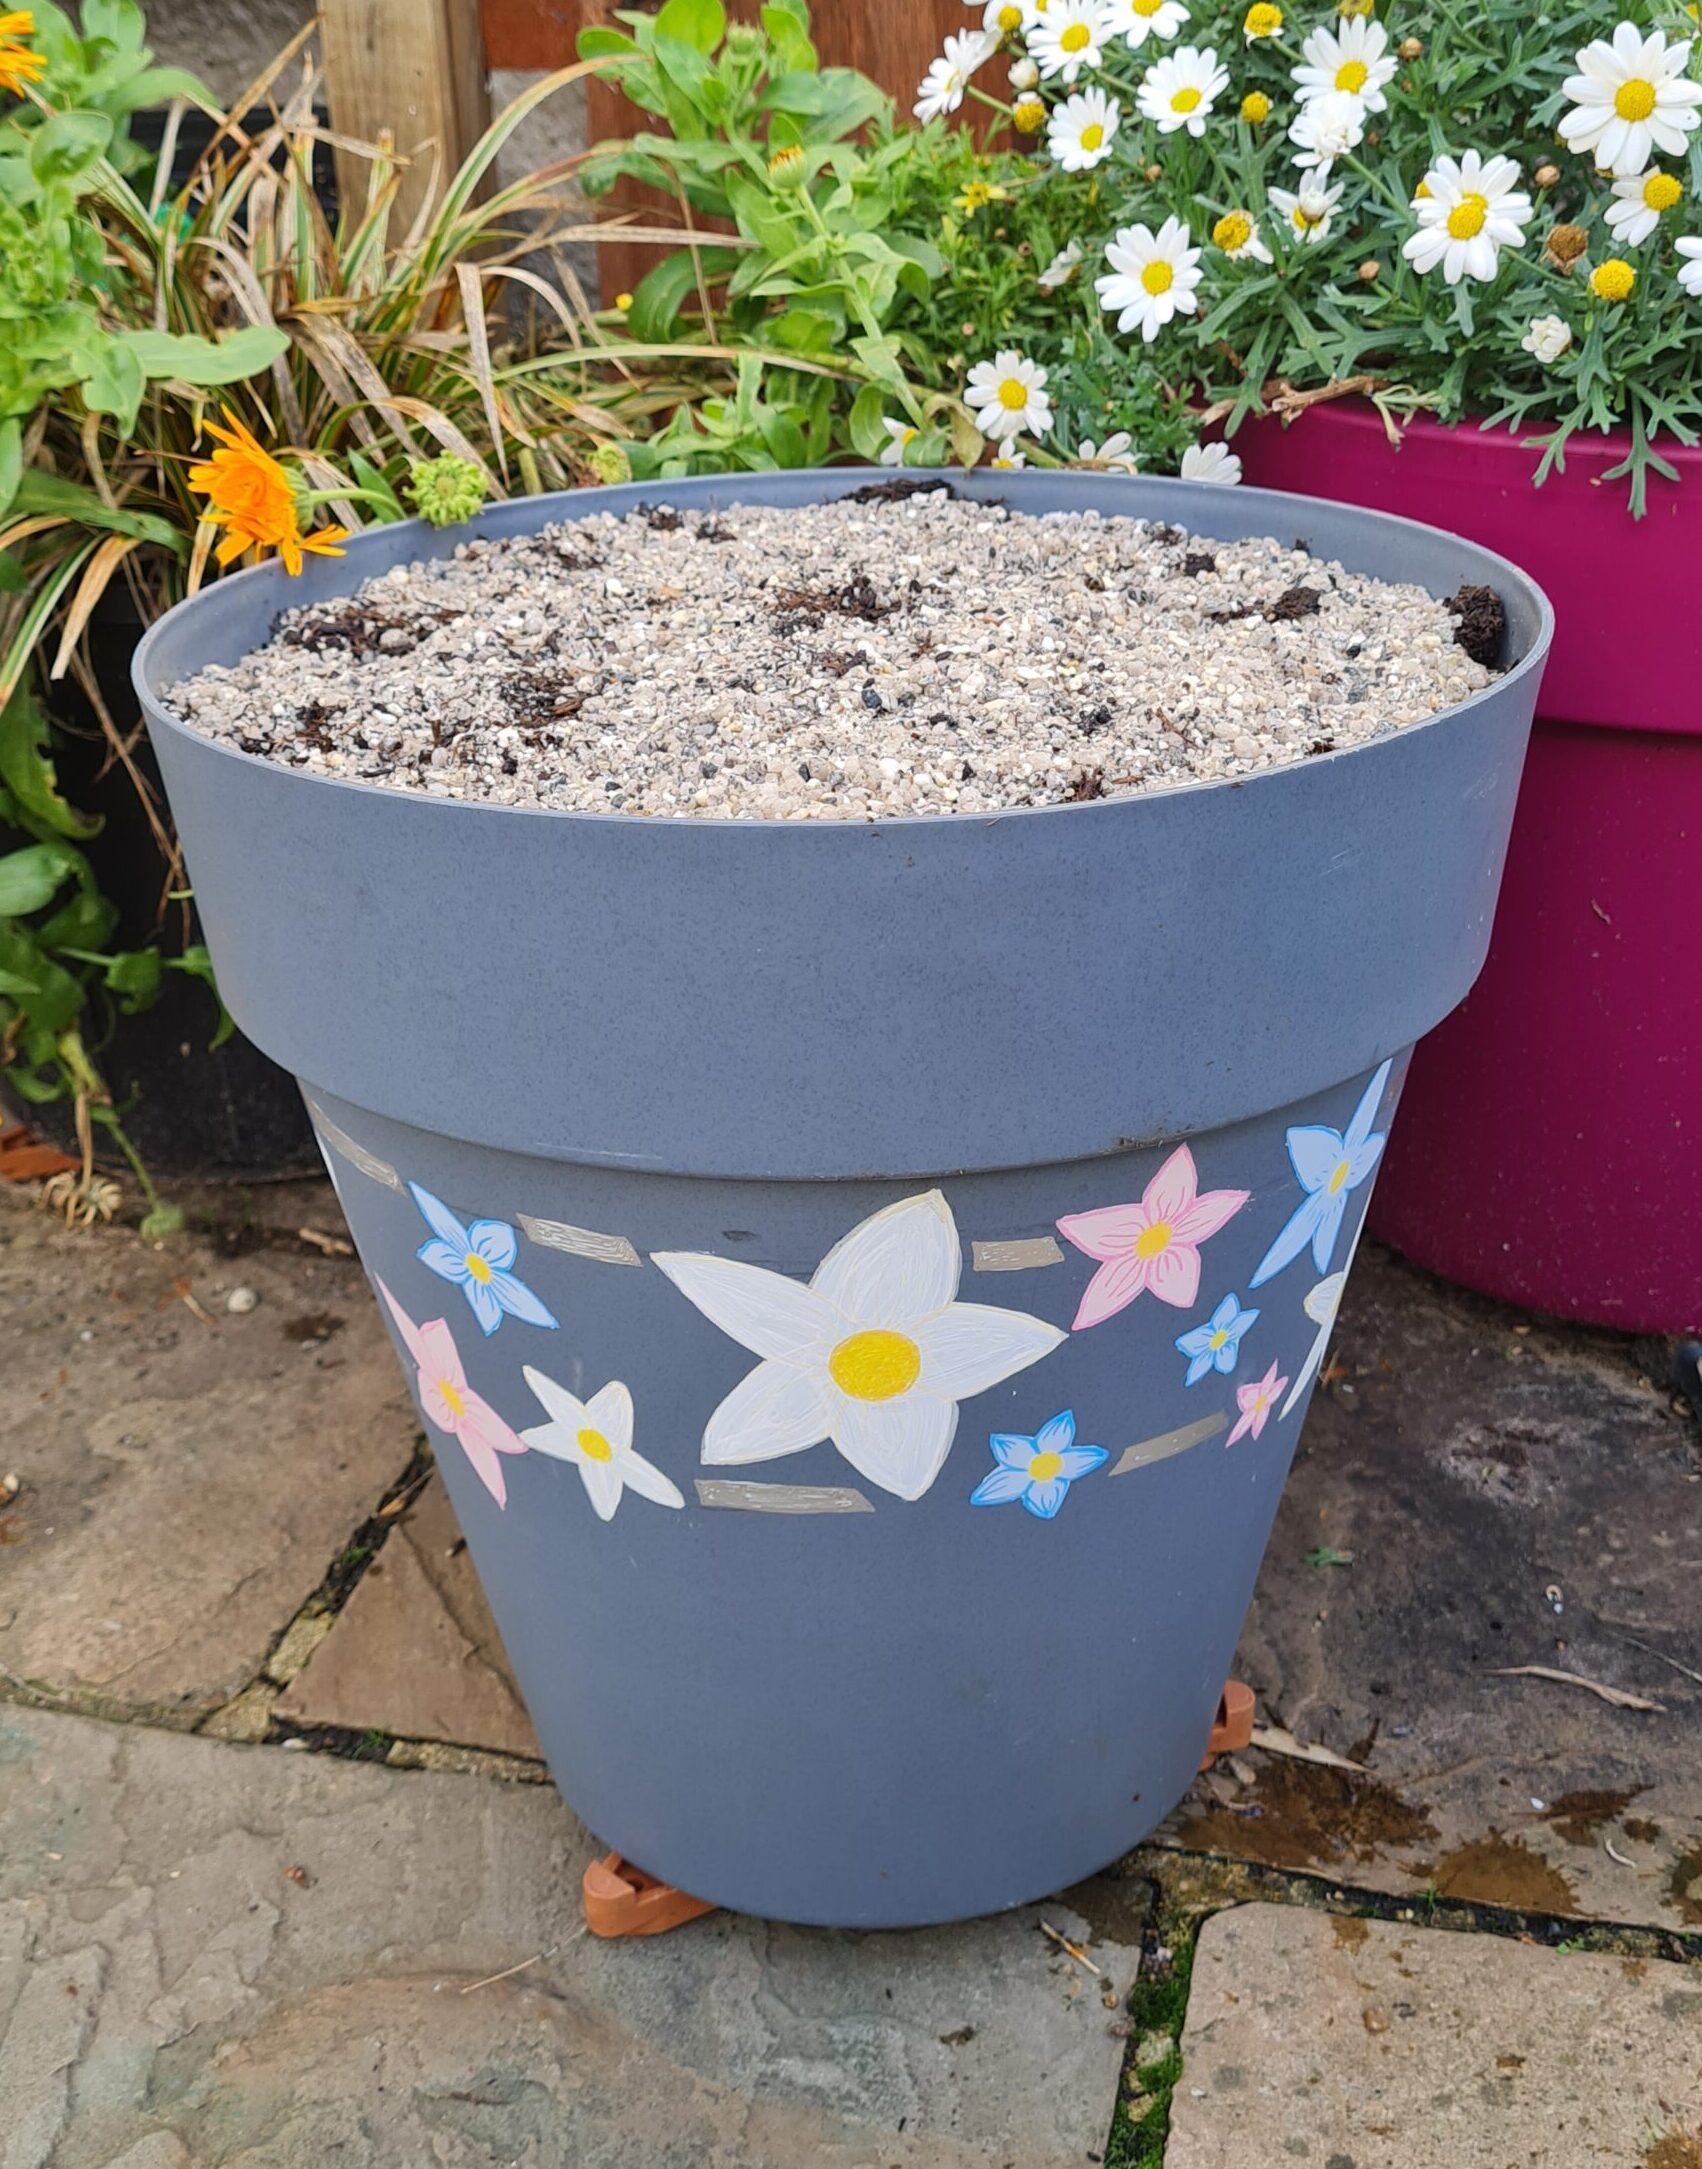
I have quite a few outside pots that I use year after year, and most of them are a bit boring. Mostly plastic (it’s much cheaper, let’s be honest!) but not very exciting. I don’t want to throw them away as I know it’s bad for the environment, but they are dreary – and who wants dreary in their garden! I know that the flowers are the star of the show, but most of the year the flowers don’t look great, so the pots need to look the part!
Can you do this?
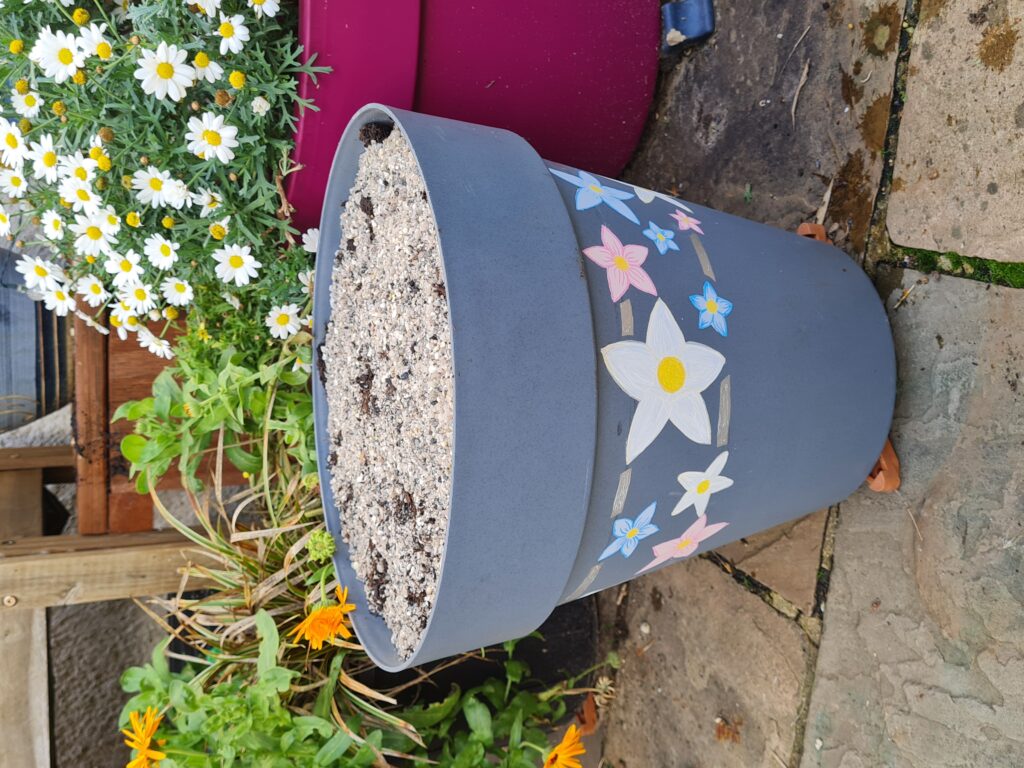
This is another straight forward craft which also recycles plastic! What is not to love! You can paint whatever you want on them. I chose flowers (yes, a bit predictable!), but it could be anything. Dots, stripes, stars, swirls, hearts, whatever you fancy.
The other great thing is that no-one is going to look too closely, so they don’t have to be perfect!
Why can you do it?
Think of the environment, and don’t throw away your plastic! The other thing with this is that you can use tester pots, so it’s not very expensive! I used Rust Oleum garden paint tester pots from B&Q which were £4 each for 125ml and Multi-purpose Graffiti pens that I bought on Amazon which are waterproof. I’ve not used either before so I will see how they stand up to the winter and let you know!
I also think this is a personal Christmas gift; you can paint without too much artistic skill, and plant with spring bulbs or Amarylis perhaps.
Safety notice
When using white spirit to clean the plastic, ensure it’s in a well ventilated area and use gloves. And obviously keep away from the kiddywinks (kids)!
What you need:
- Your plastic pot!
- Soapy water
- White spirit and kitchen paper
- Pencil and eraser
- Brushes suitable to what you want to paint
- Rust Oleum garden paint or equivalent
- Graffiti pens for outdoor use on plastic
- Compost and plants or bulbs
Step by step guide
Step 1: Clean your pot with warm soapy water
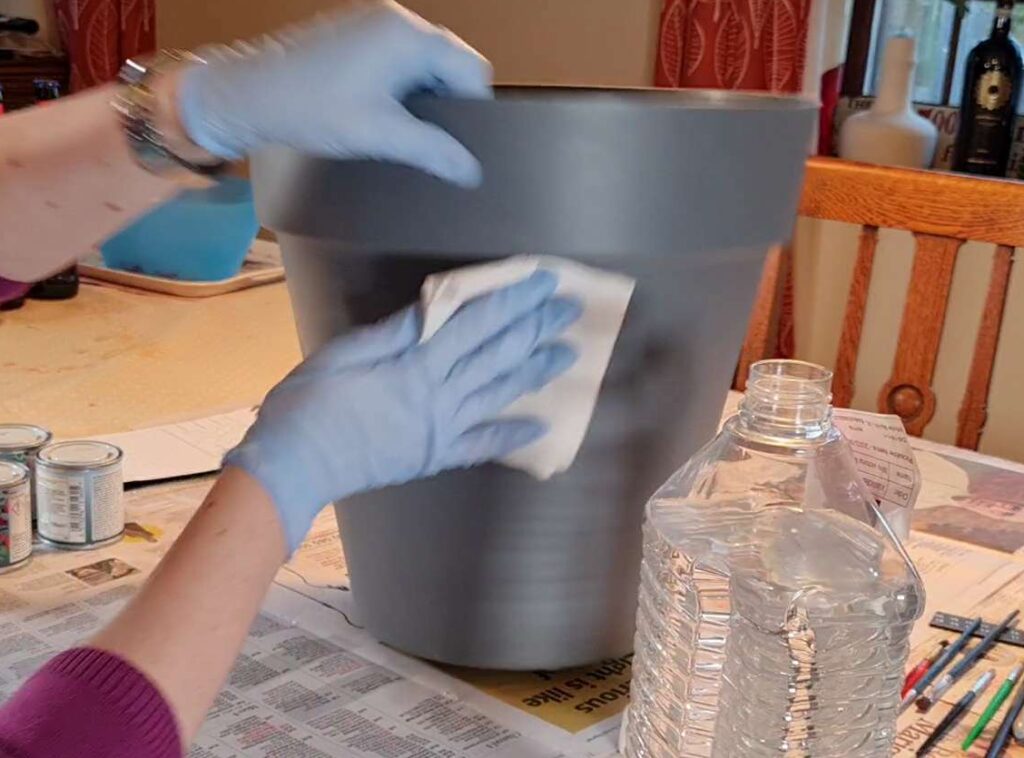
Step 2: Clean the area you will be painting with White Spirit. Just put some on kitchen paper and wipe.
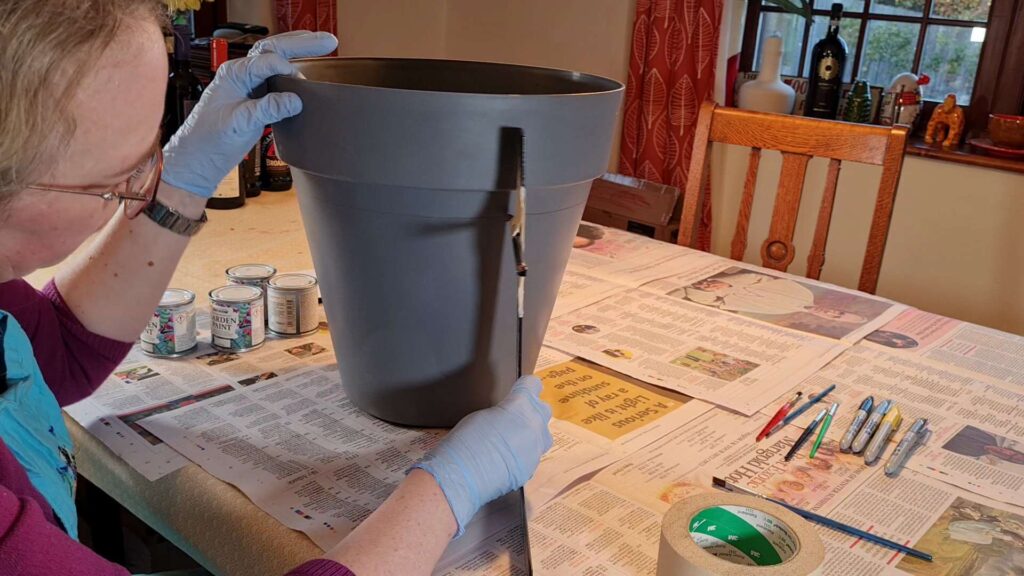
Step 3: Either draw in pencil, or make some markers to help guide you if you are going free hand. YOu could also use frogtape to mask areas off if you want really straight lines. Pencil can just rub out with a normal eraser. I was going free-hand, but I marked out 2 lines around the sides of the pot so that I stayed within the area. Stencil, ruler, whatever will help you – but do something to help you as it’s hard sometimes to keep the pot still and so it’s very easy to go off plan!
Step 4: Paint! I did about 3 coats, but it dries quite quickly, so needed only an hour or so between coats.
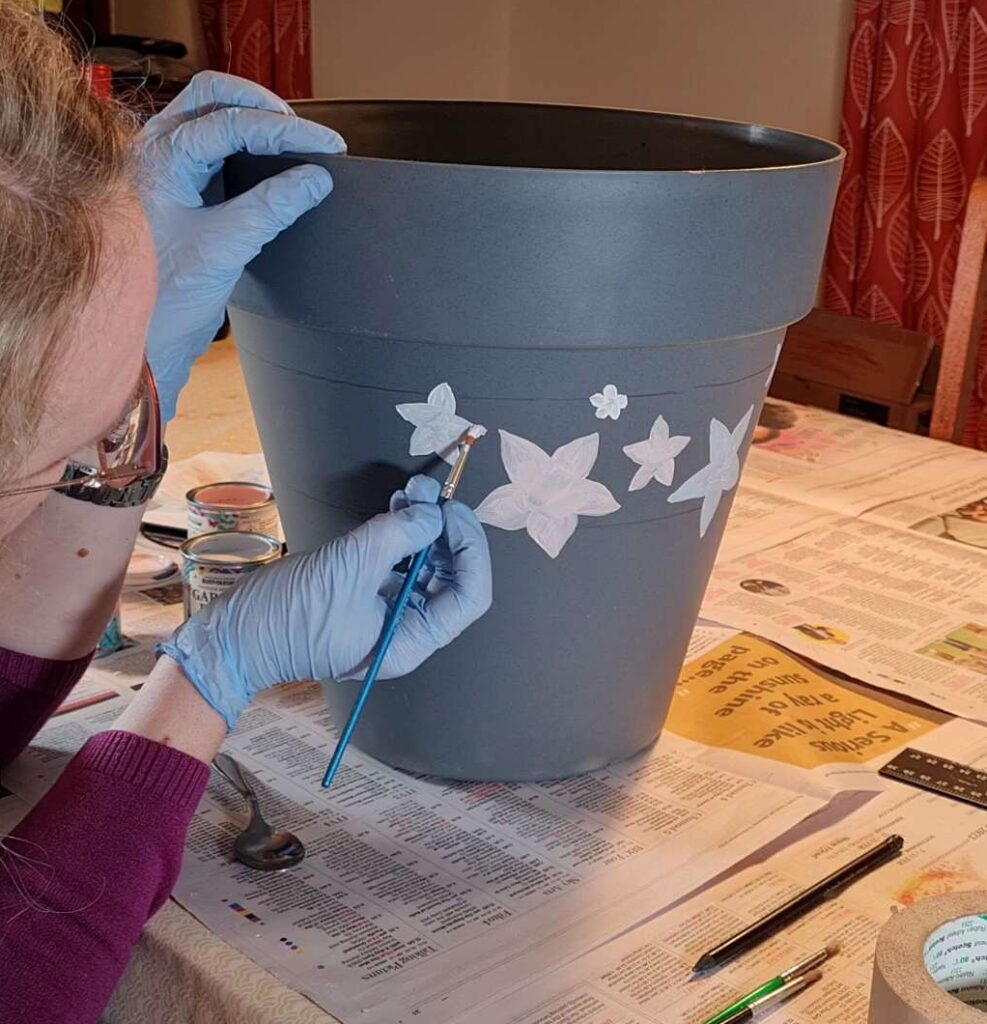
Step 5: For some additional details, if you want them, use the graffiti pens. I used Flysea Graffiti fine pens, which I bought on Amazon.
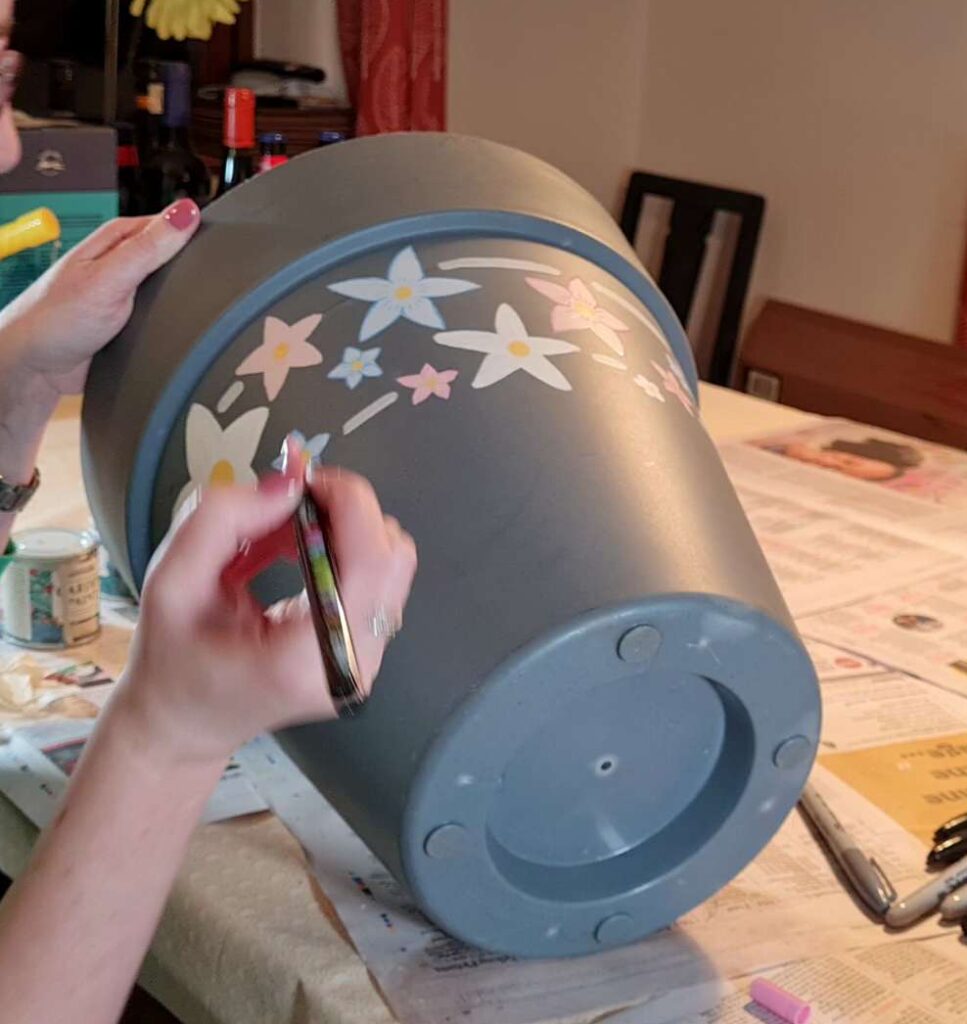
Step 6: Rub off any of your pencil lines you can still see with a normal eraser.
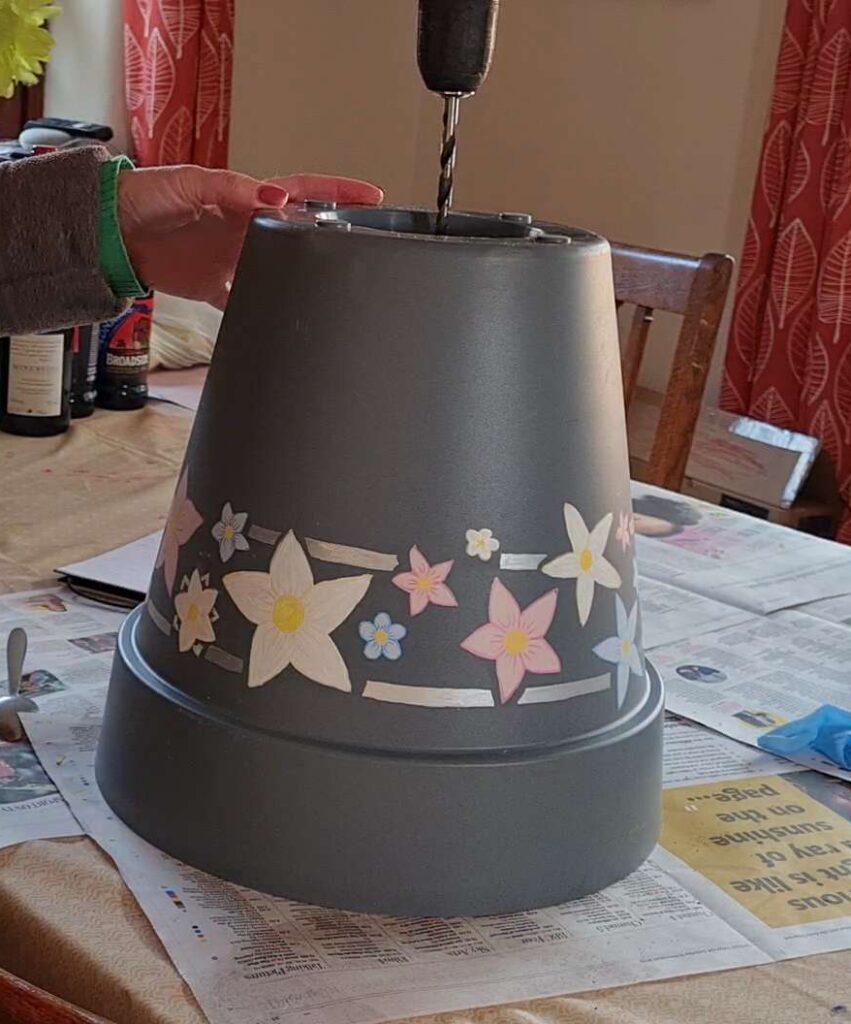
Step 7: Ensure there are holes drilled in the bottom of the pot for drainage.
Step 8: Fill with compost and bulbs, or plants, or whatever you want!
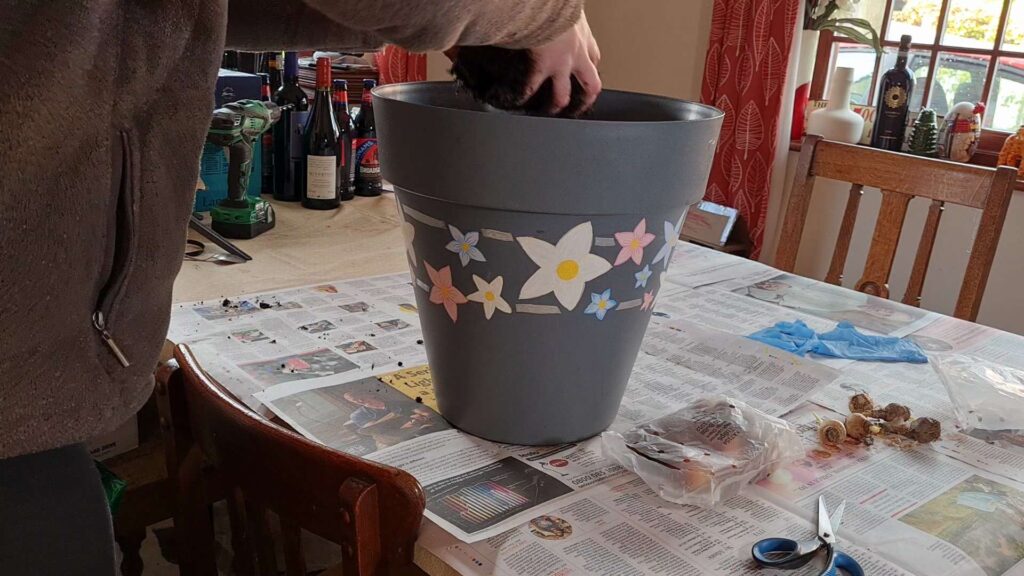
I was pleased with the result of this, and it makes the pot look jolly even when the bulbs are still under the soil. I think I’ll do a few more and put them together to make me smile even in winter when there is very little colour in the garden 😊

